
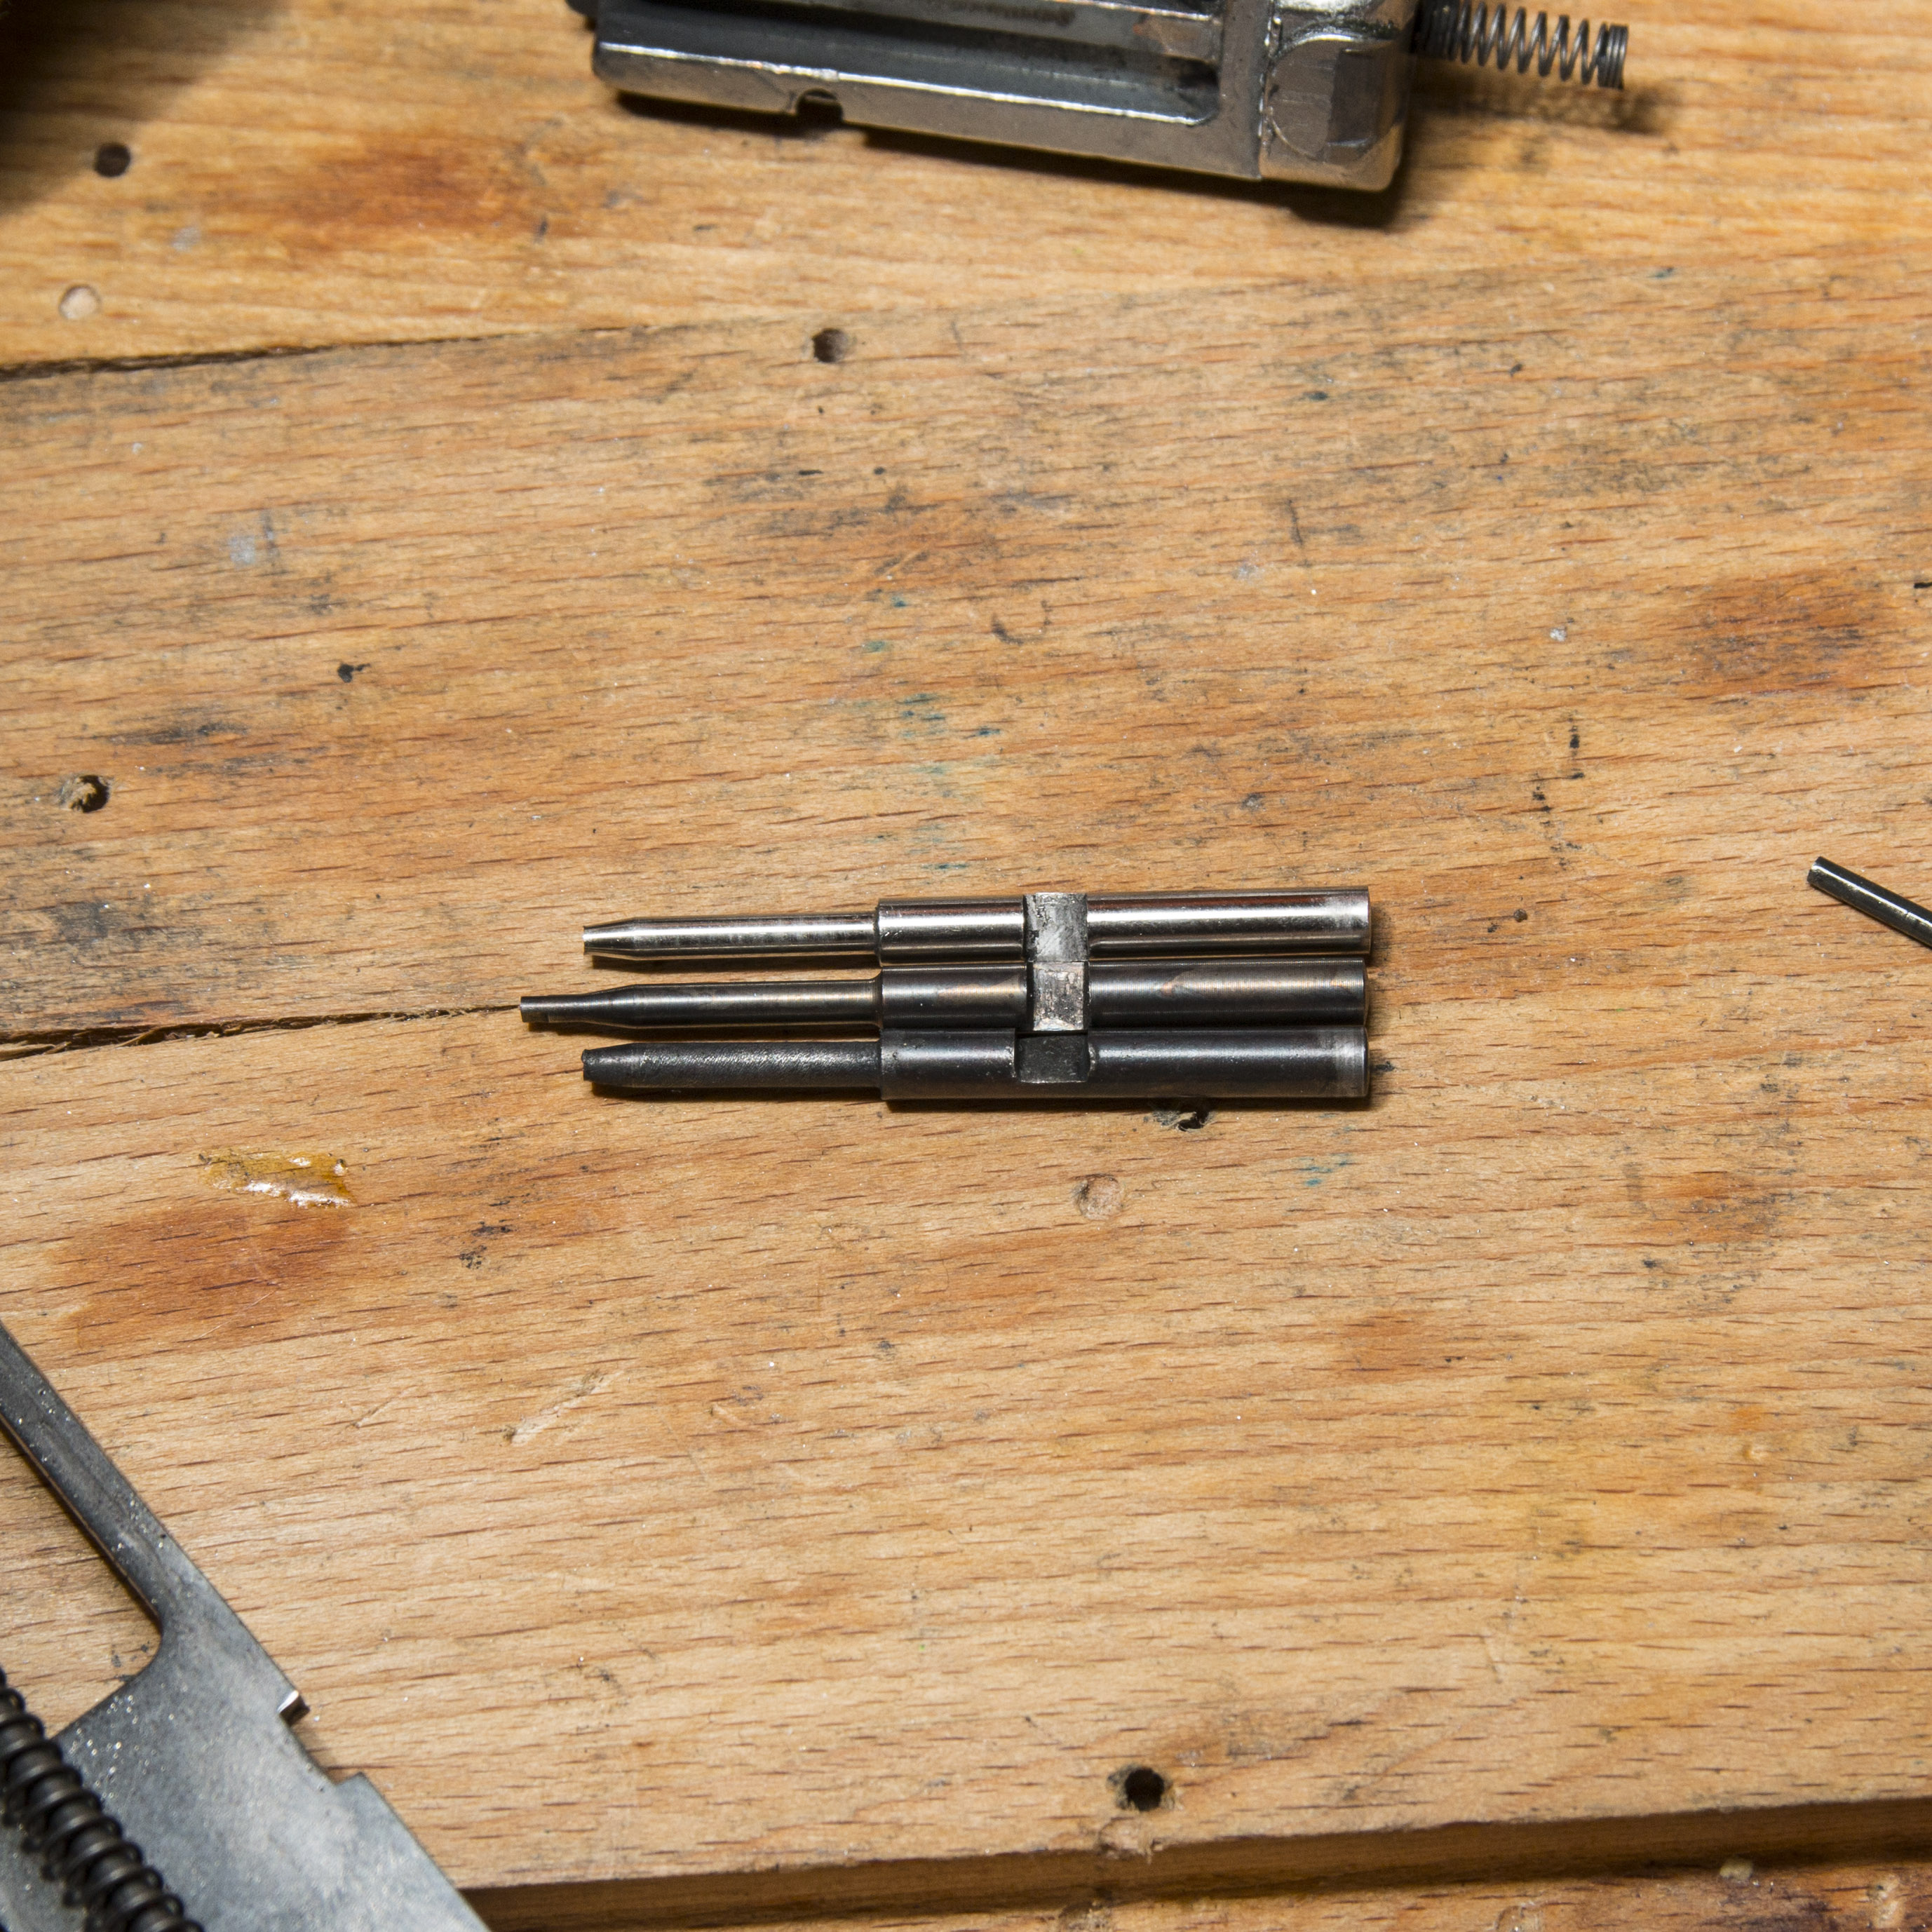
I got a new Chiappa firing pin which (as described in previous posts) is not very good as it is: fat striker head, does not protrude for proper contact with the hammer. So off to the range for test fire and some “gunsmithing” i.e. filing the pin into the place.

In the beginning I got a lot of Failure-to-Fires (FTF) which was sort of a good thing as I noticed that there was some problems with the extraction of rounds that had been deformed, i.e. the non-fired rounds extract fine, but the ones that have been hit with the striker did not always extract.
It still appeared that there might be some contact between the weight behind the bolt and possibly the hammer was also touching the slide rail (wear on the side of the hammer). So I once again filed the weight and also did a little polish/dremel on the bolt rail where the hammer might be touching.

I also noticed that Federal Champion ammunition did not function very well and the load appeared to be tamer than to TopShot. To back this up, the hammer did not always cock and there was some ejection problems which would suggest that the bolt was not moving enough, maybe because the enhanced spring. This was a surprise as I previously thought that Federal ammo would function better as it is almost wax-less compared to the “candles” found in TopShot boxes)
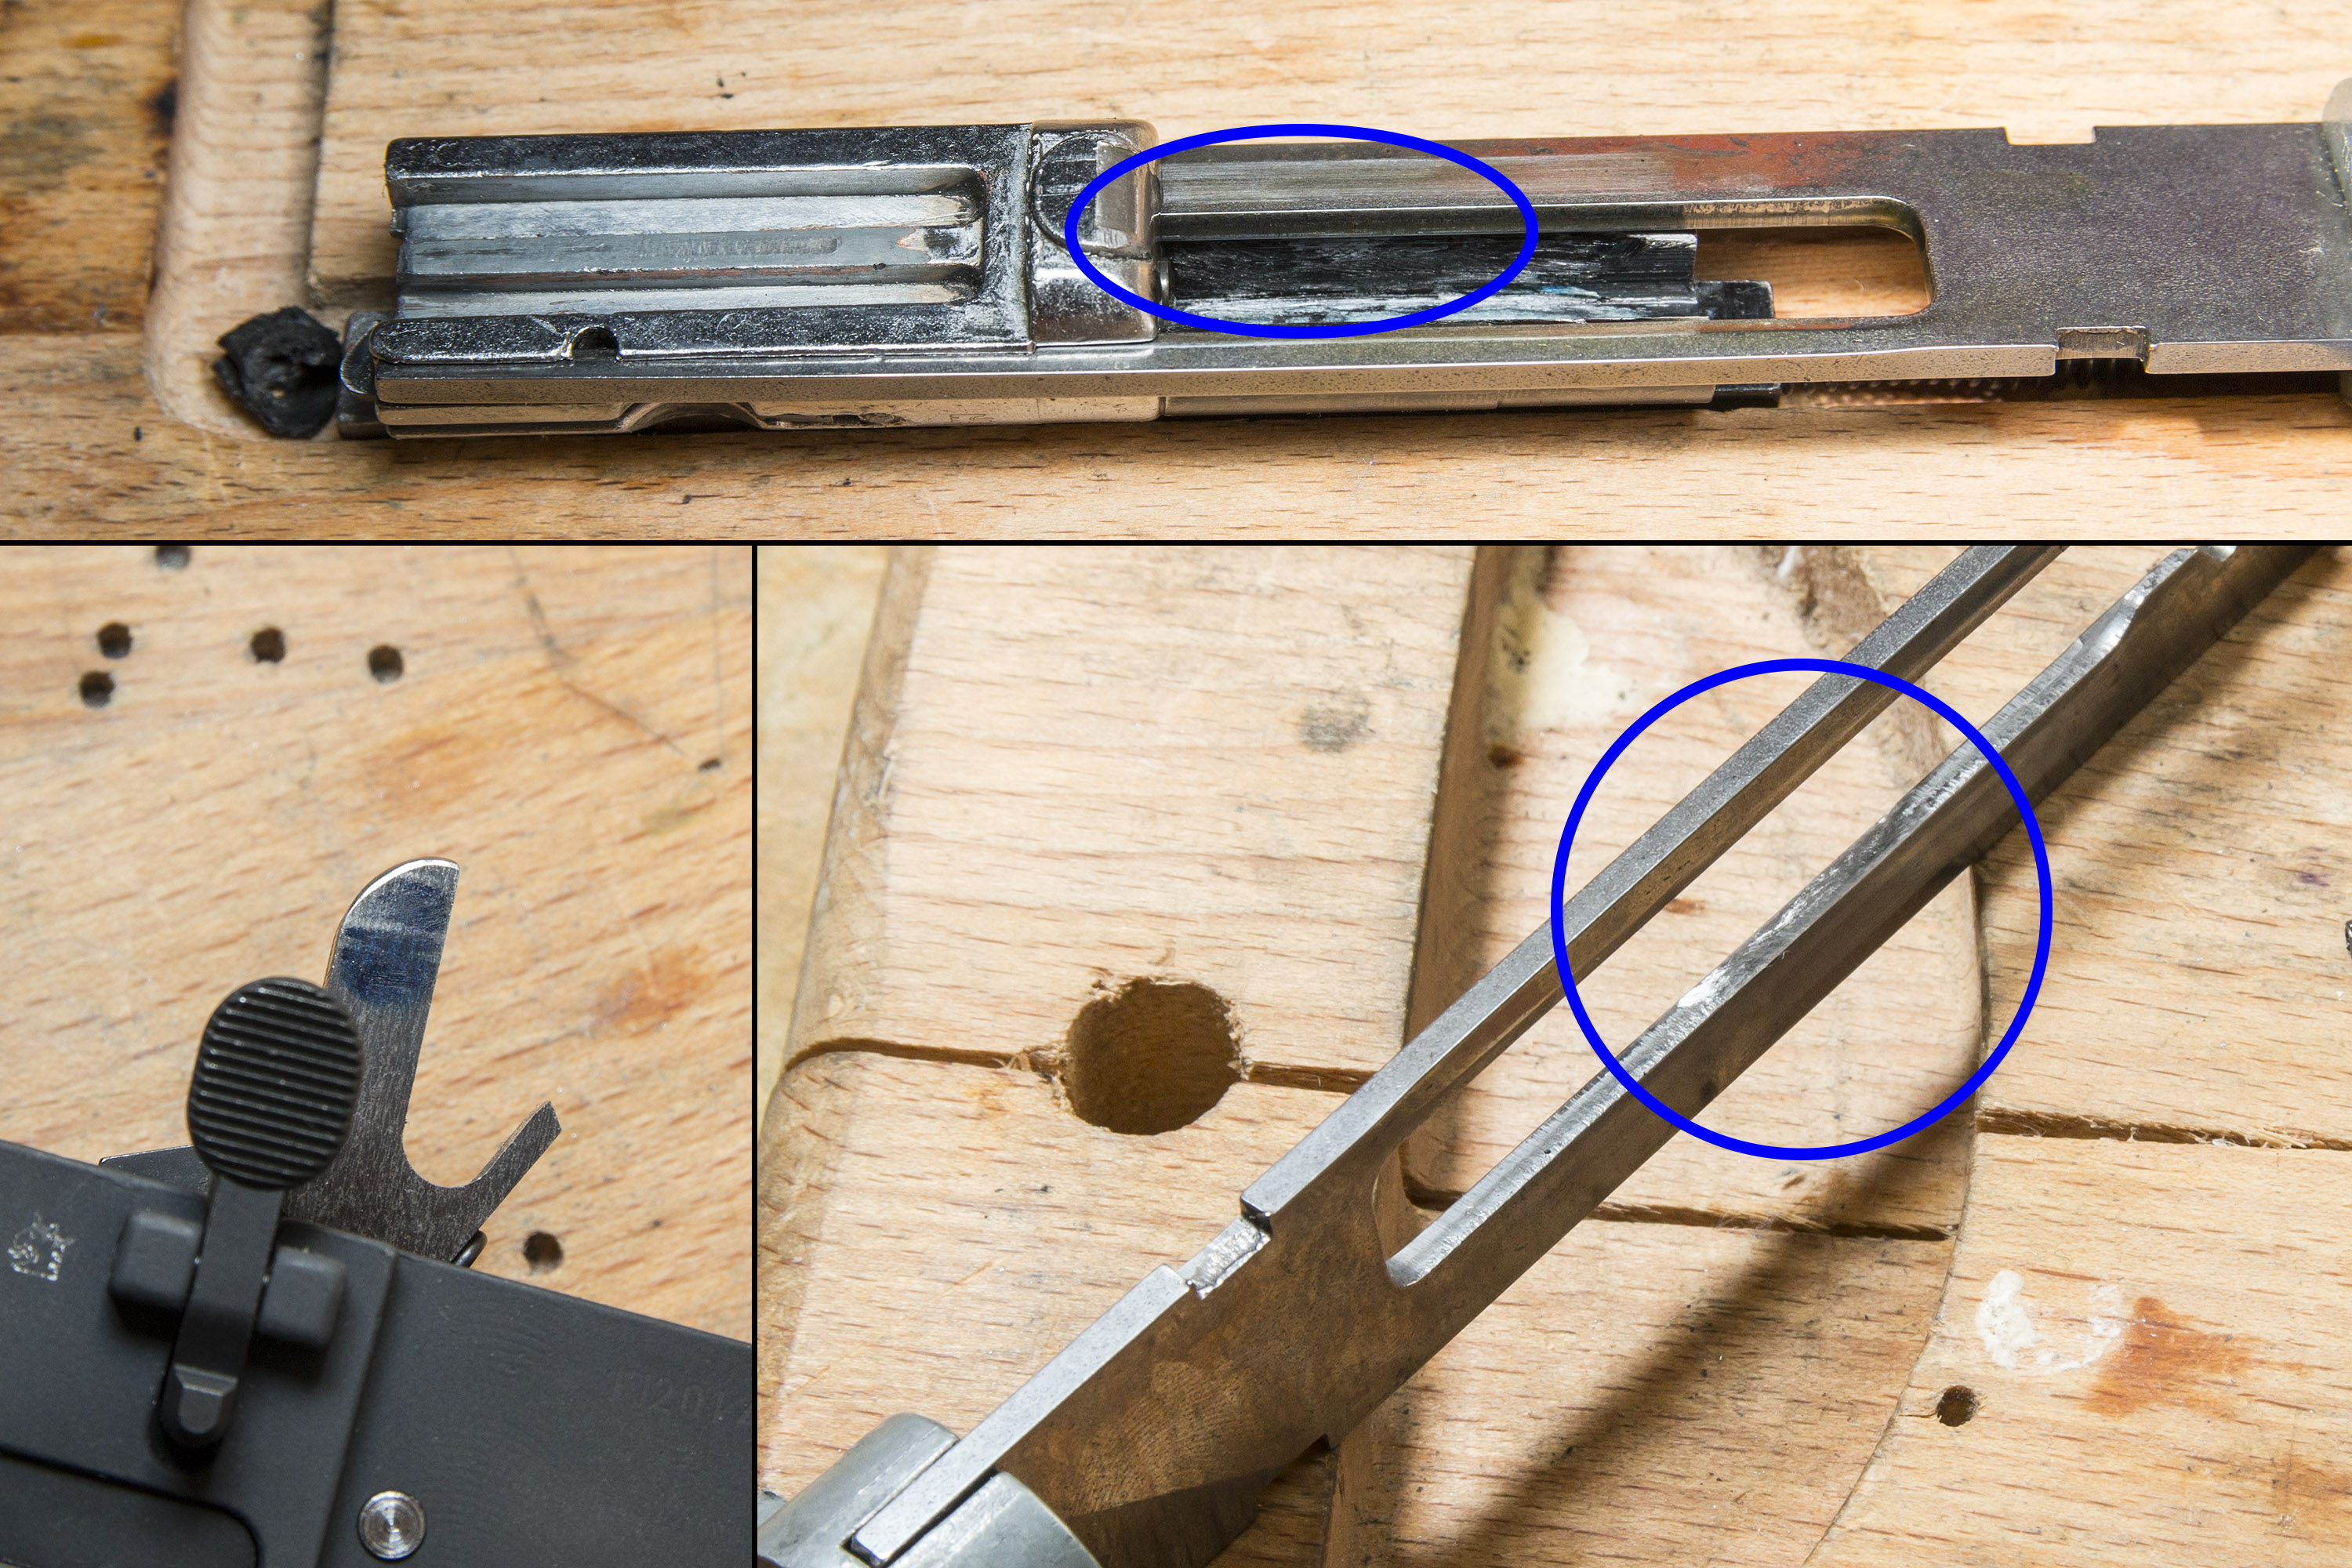
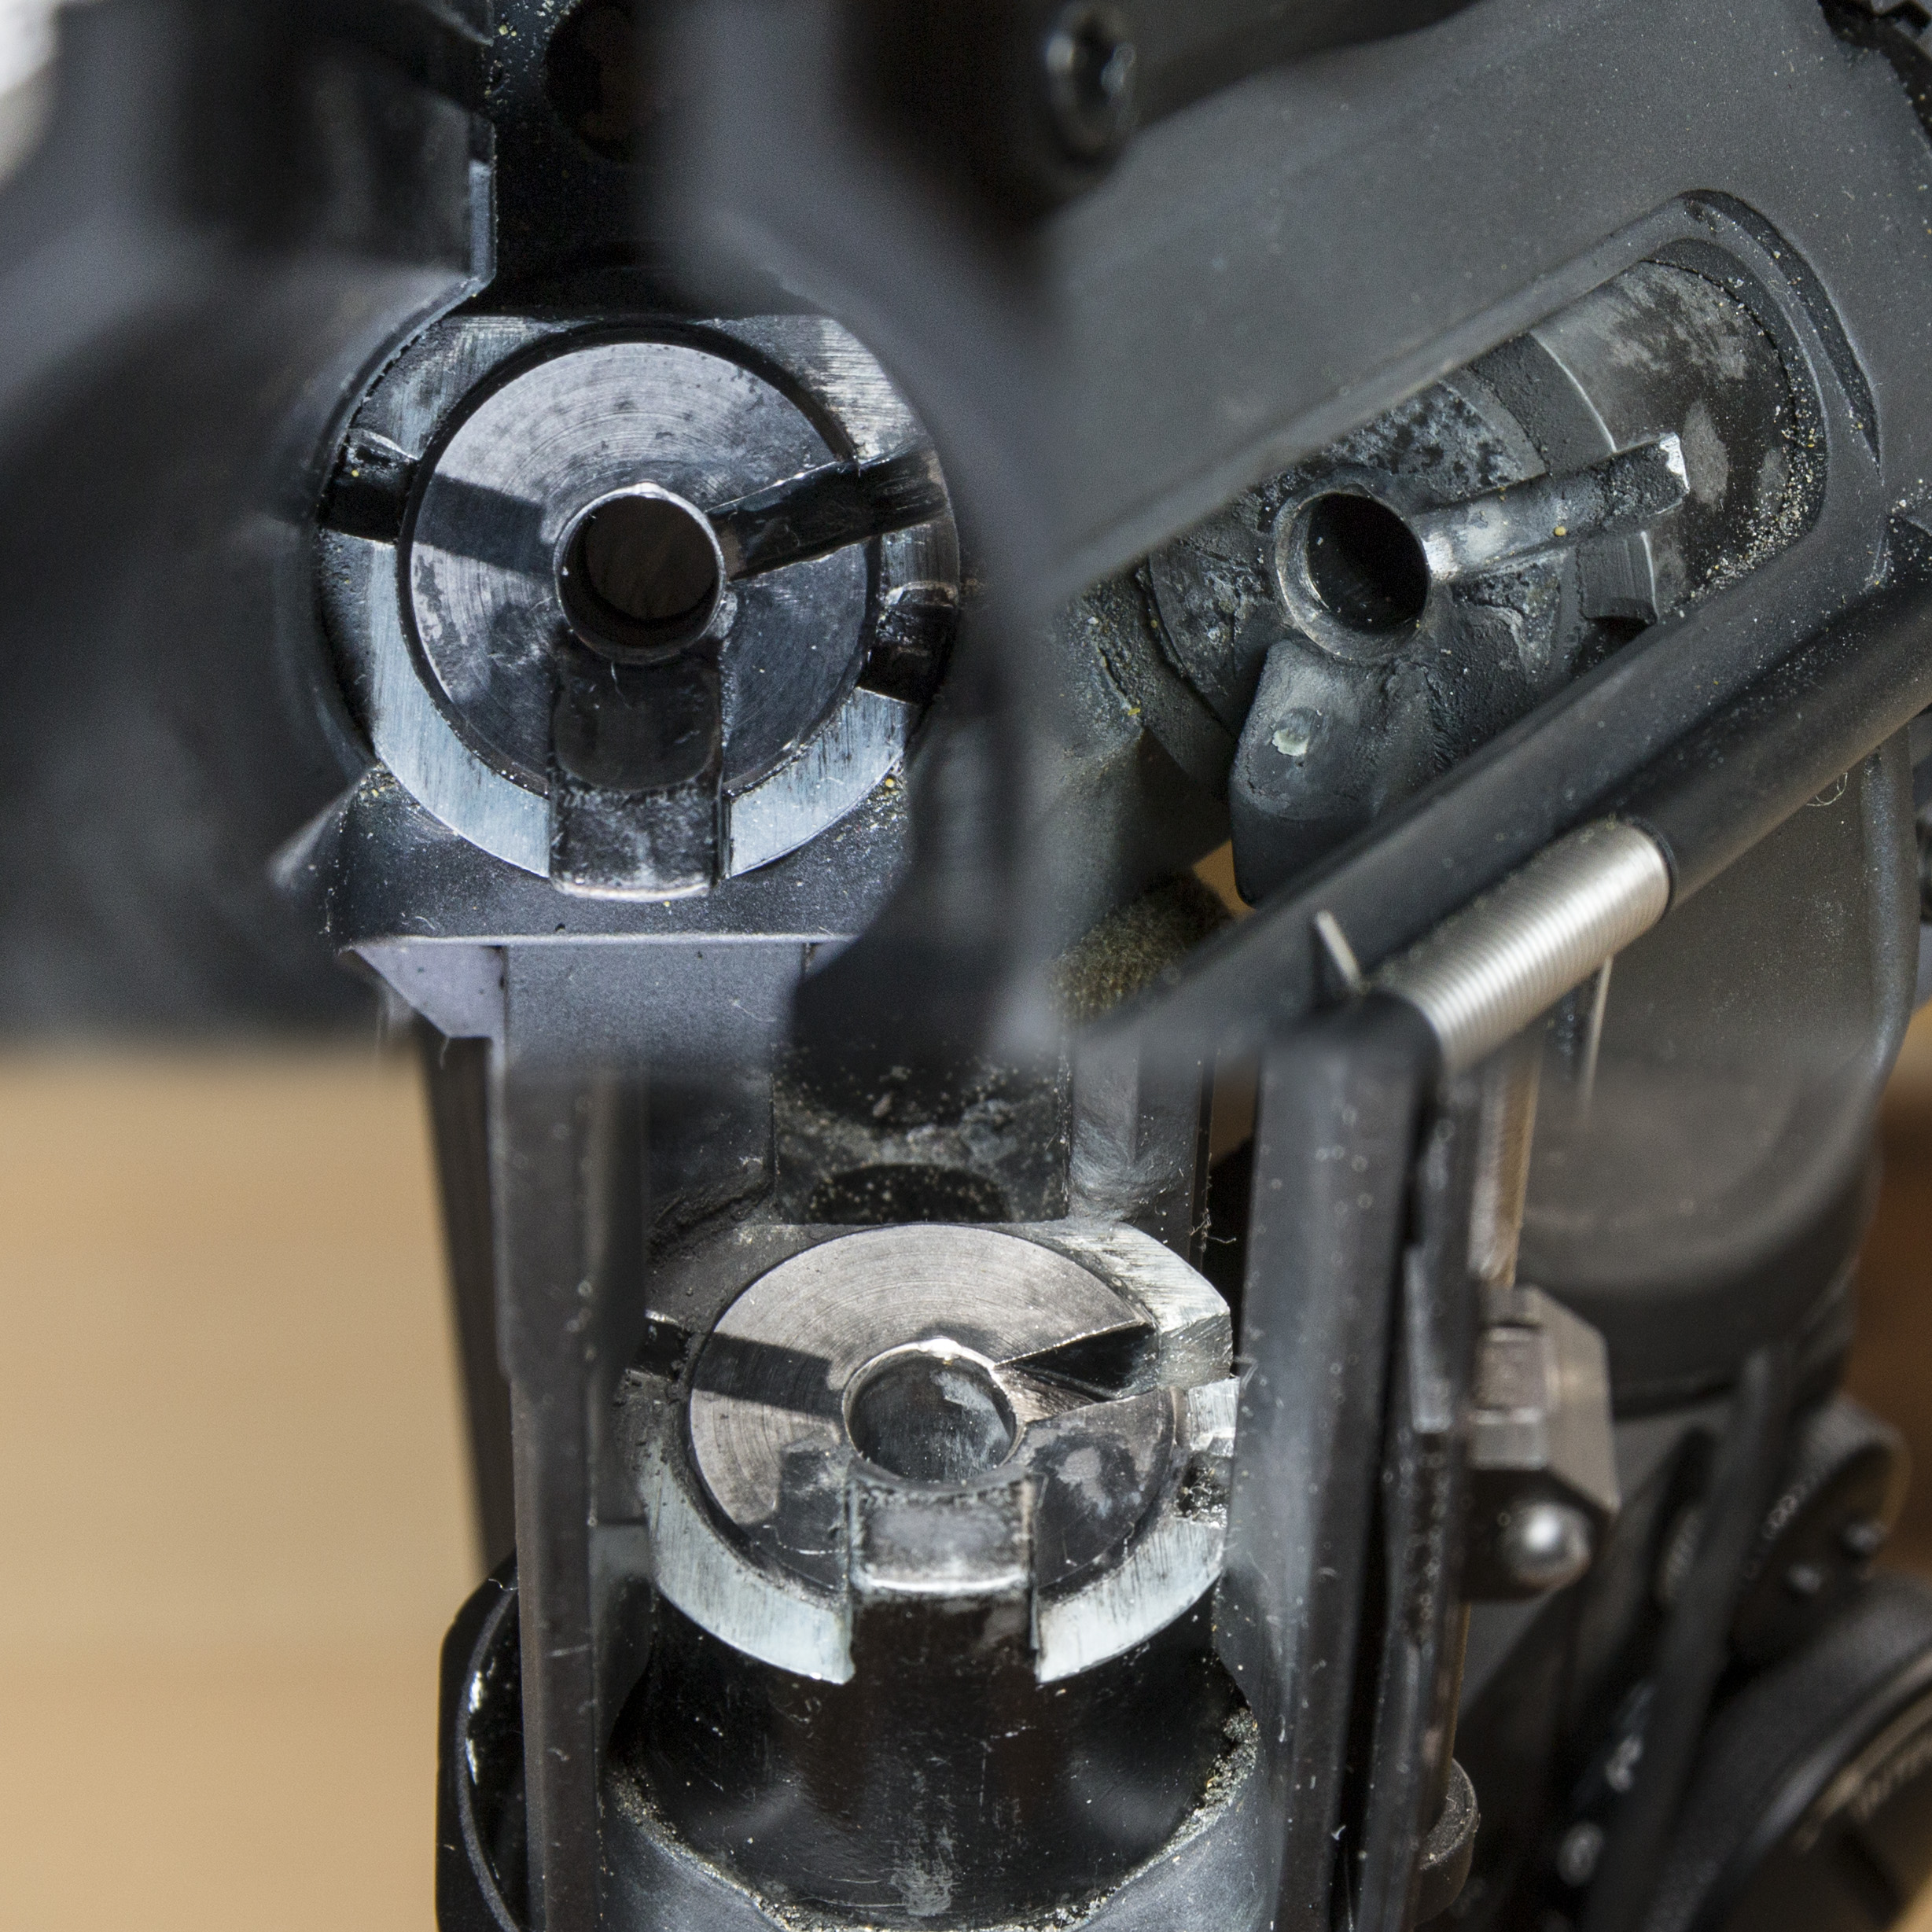
Further investigation revealed, that the extractor was not able to fully reach the side of the casing, i.e. didn’t fully cover the rim…duh. So little filing on the extractor to allow it to move further in.

After the modification, the extractor actually grabbed the rim!
Yeah yeah, basic stuff for real guns, that are not made out of chiappalloy, have straight bolt faces, etc..
But I was pretty satisfied with the result:
https://www.youtube.com/watch?v=a6FhJF8A2xA
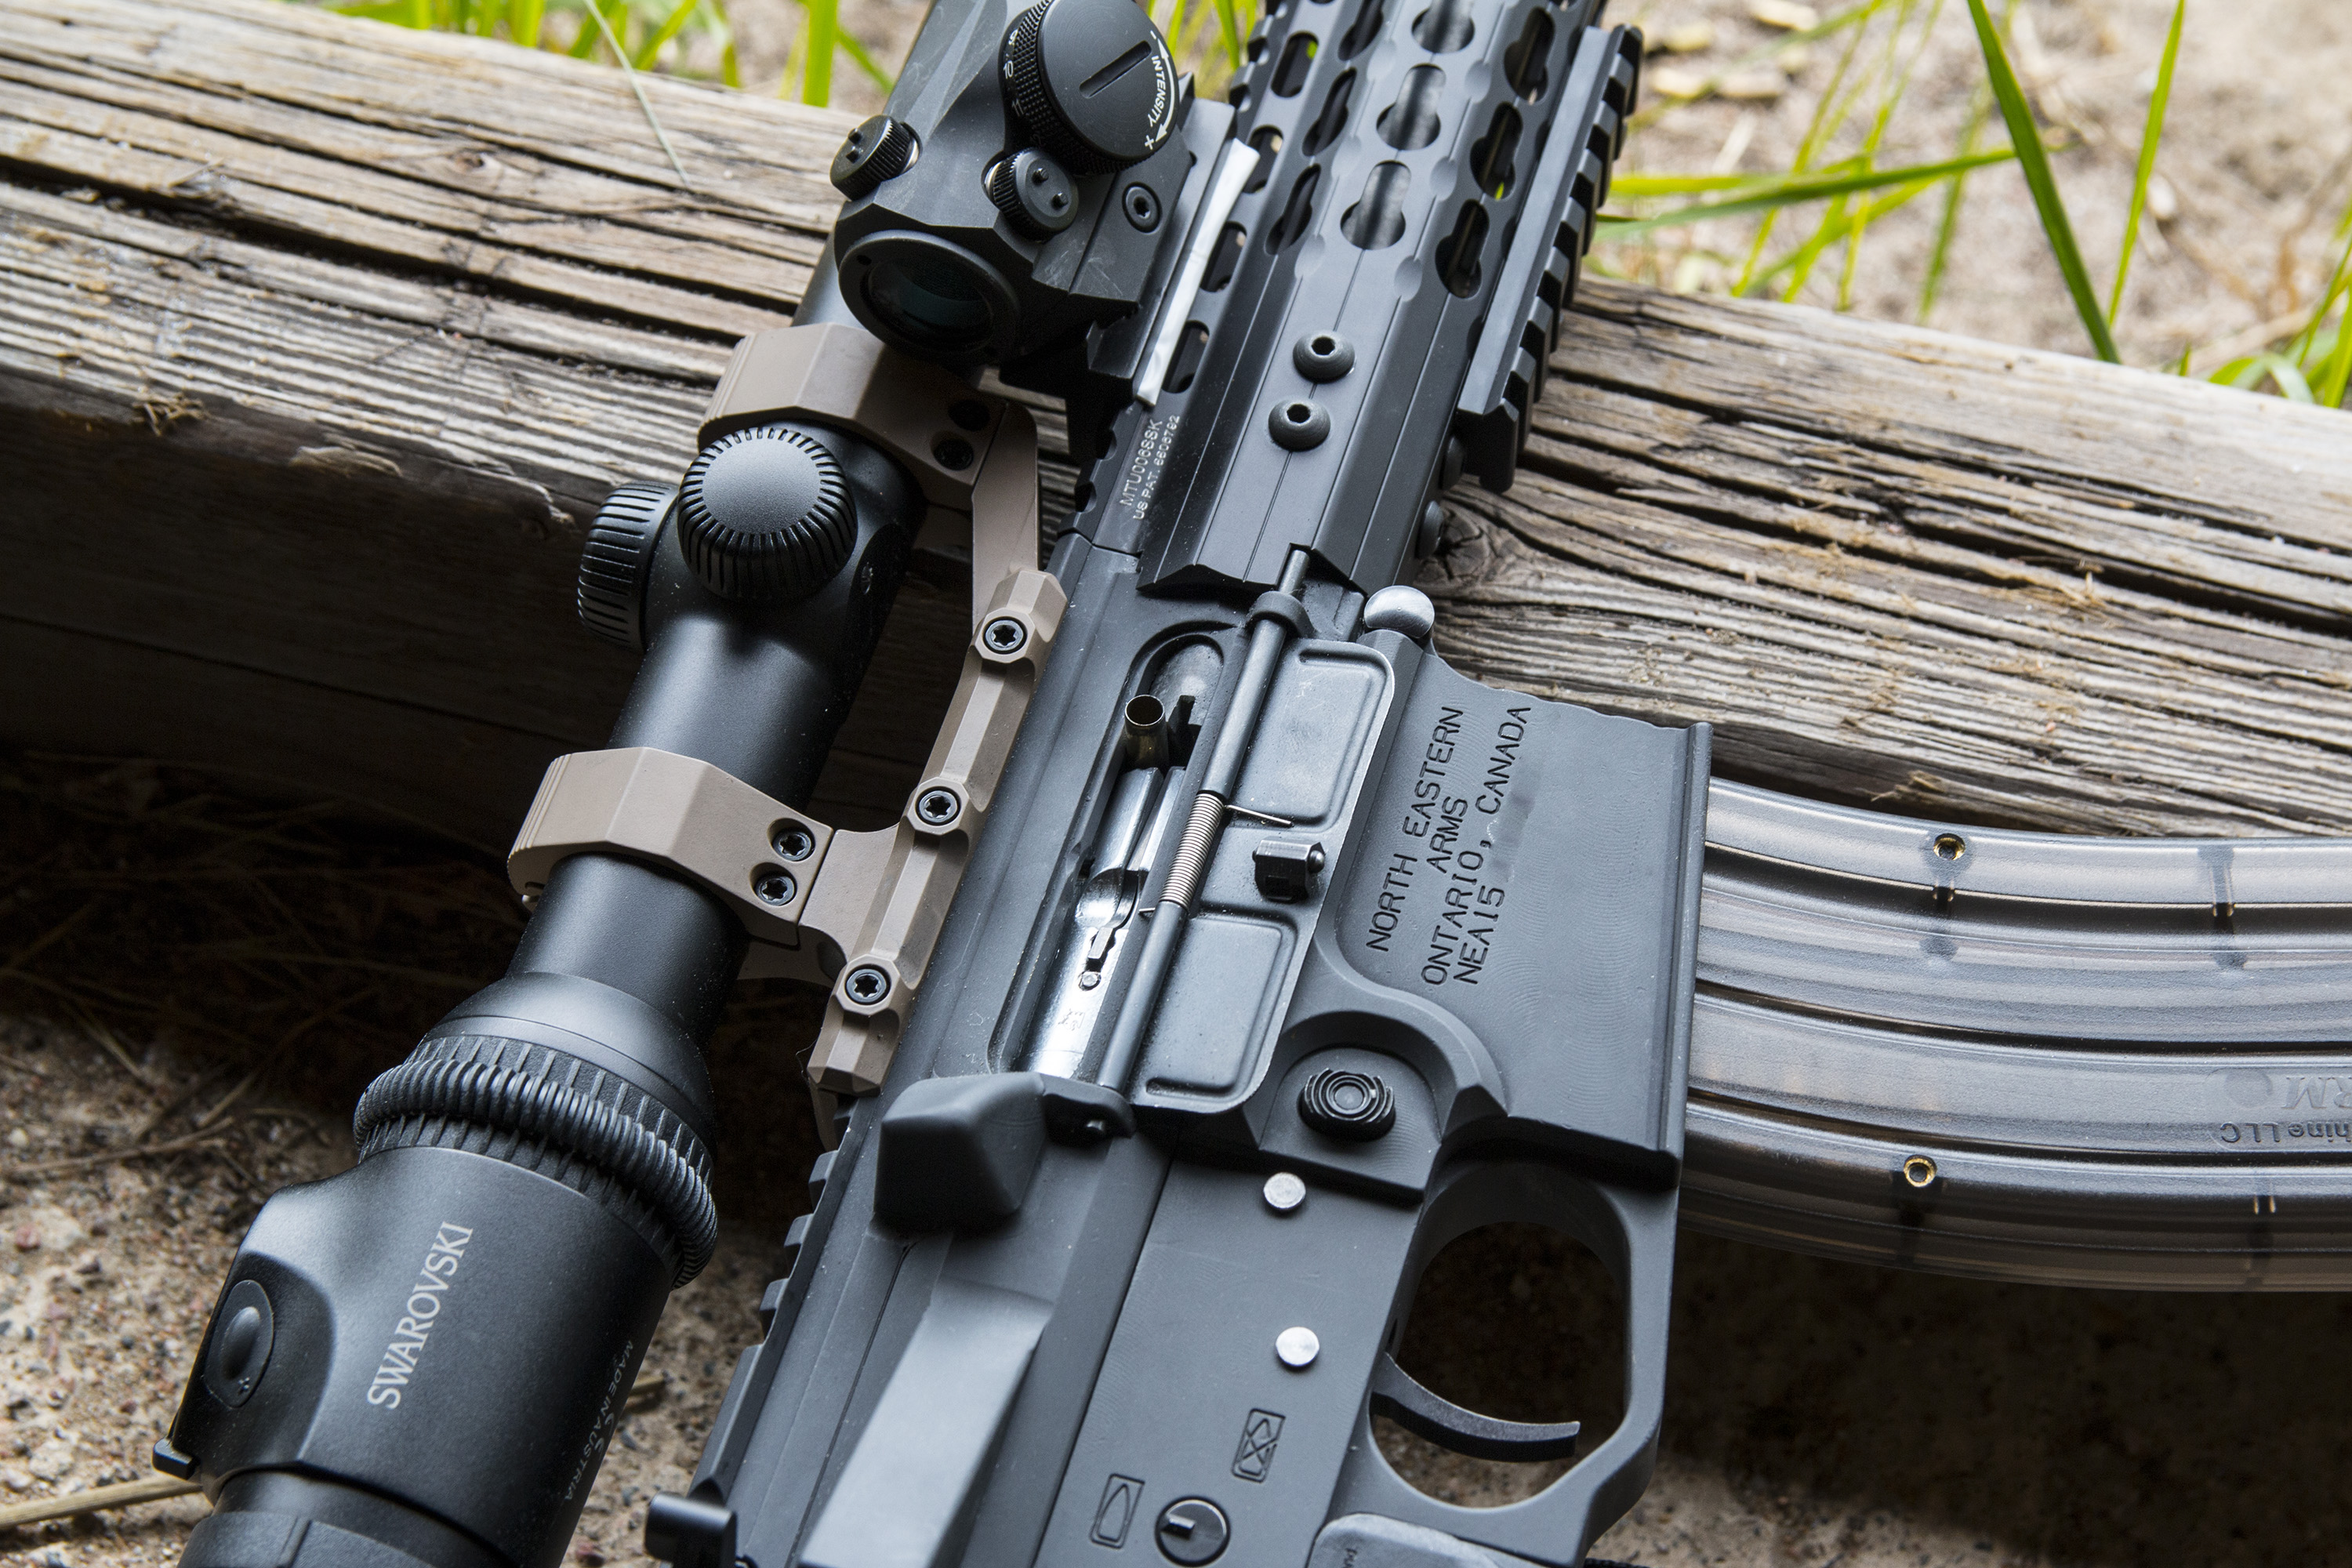
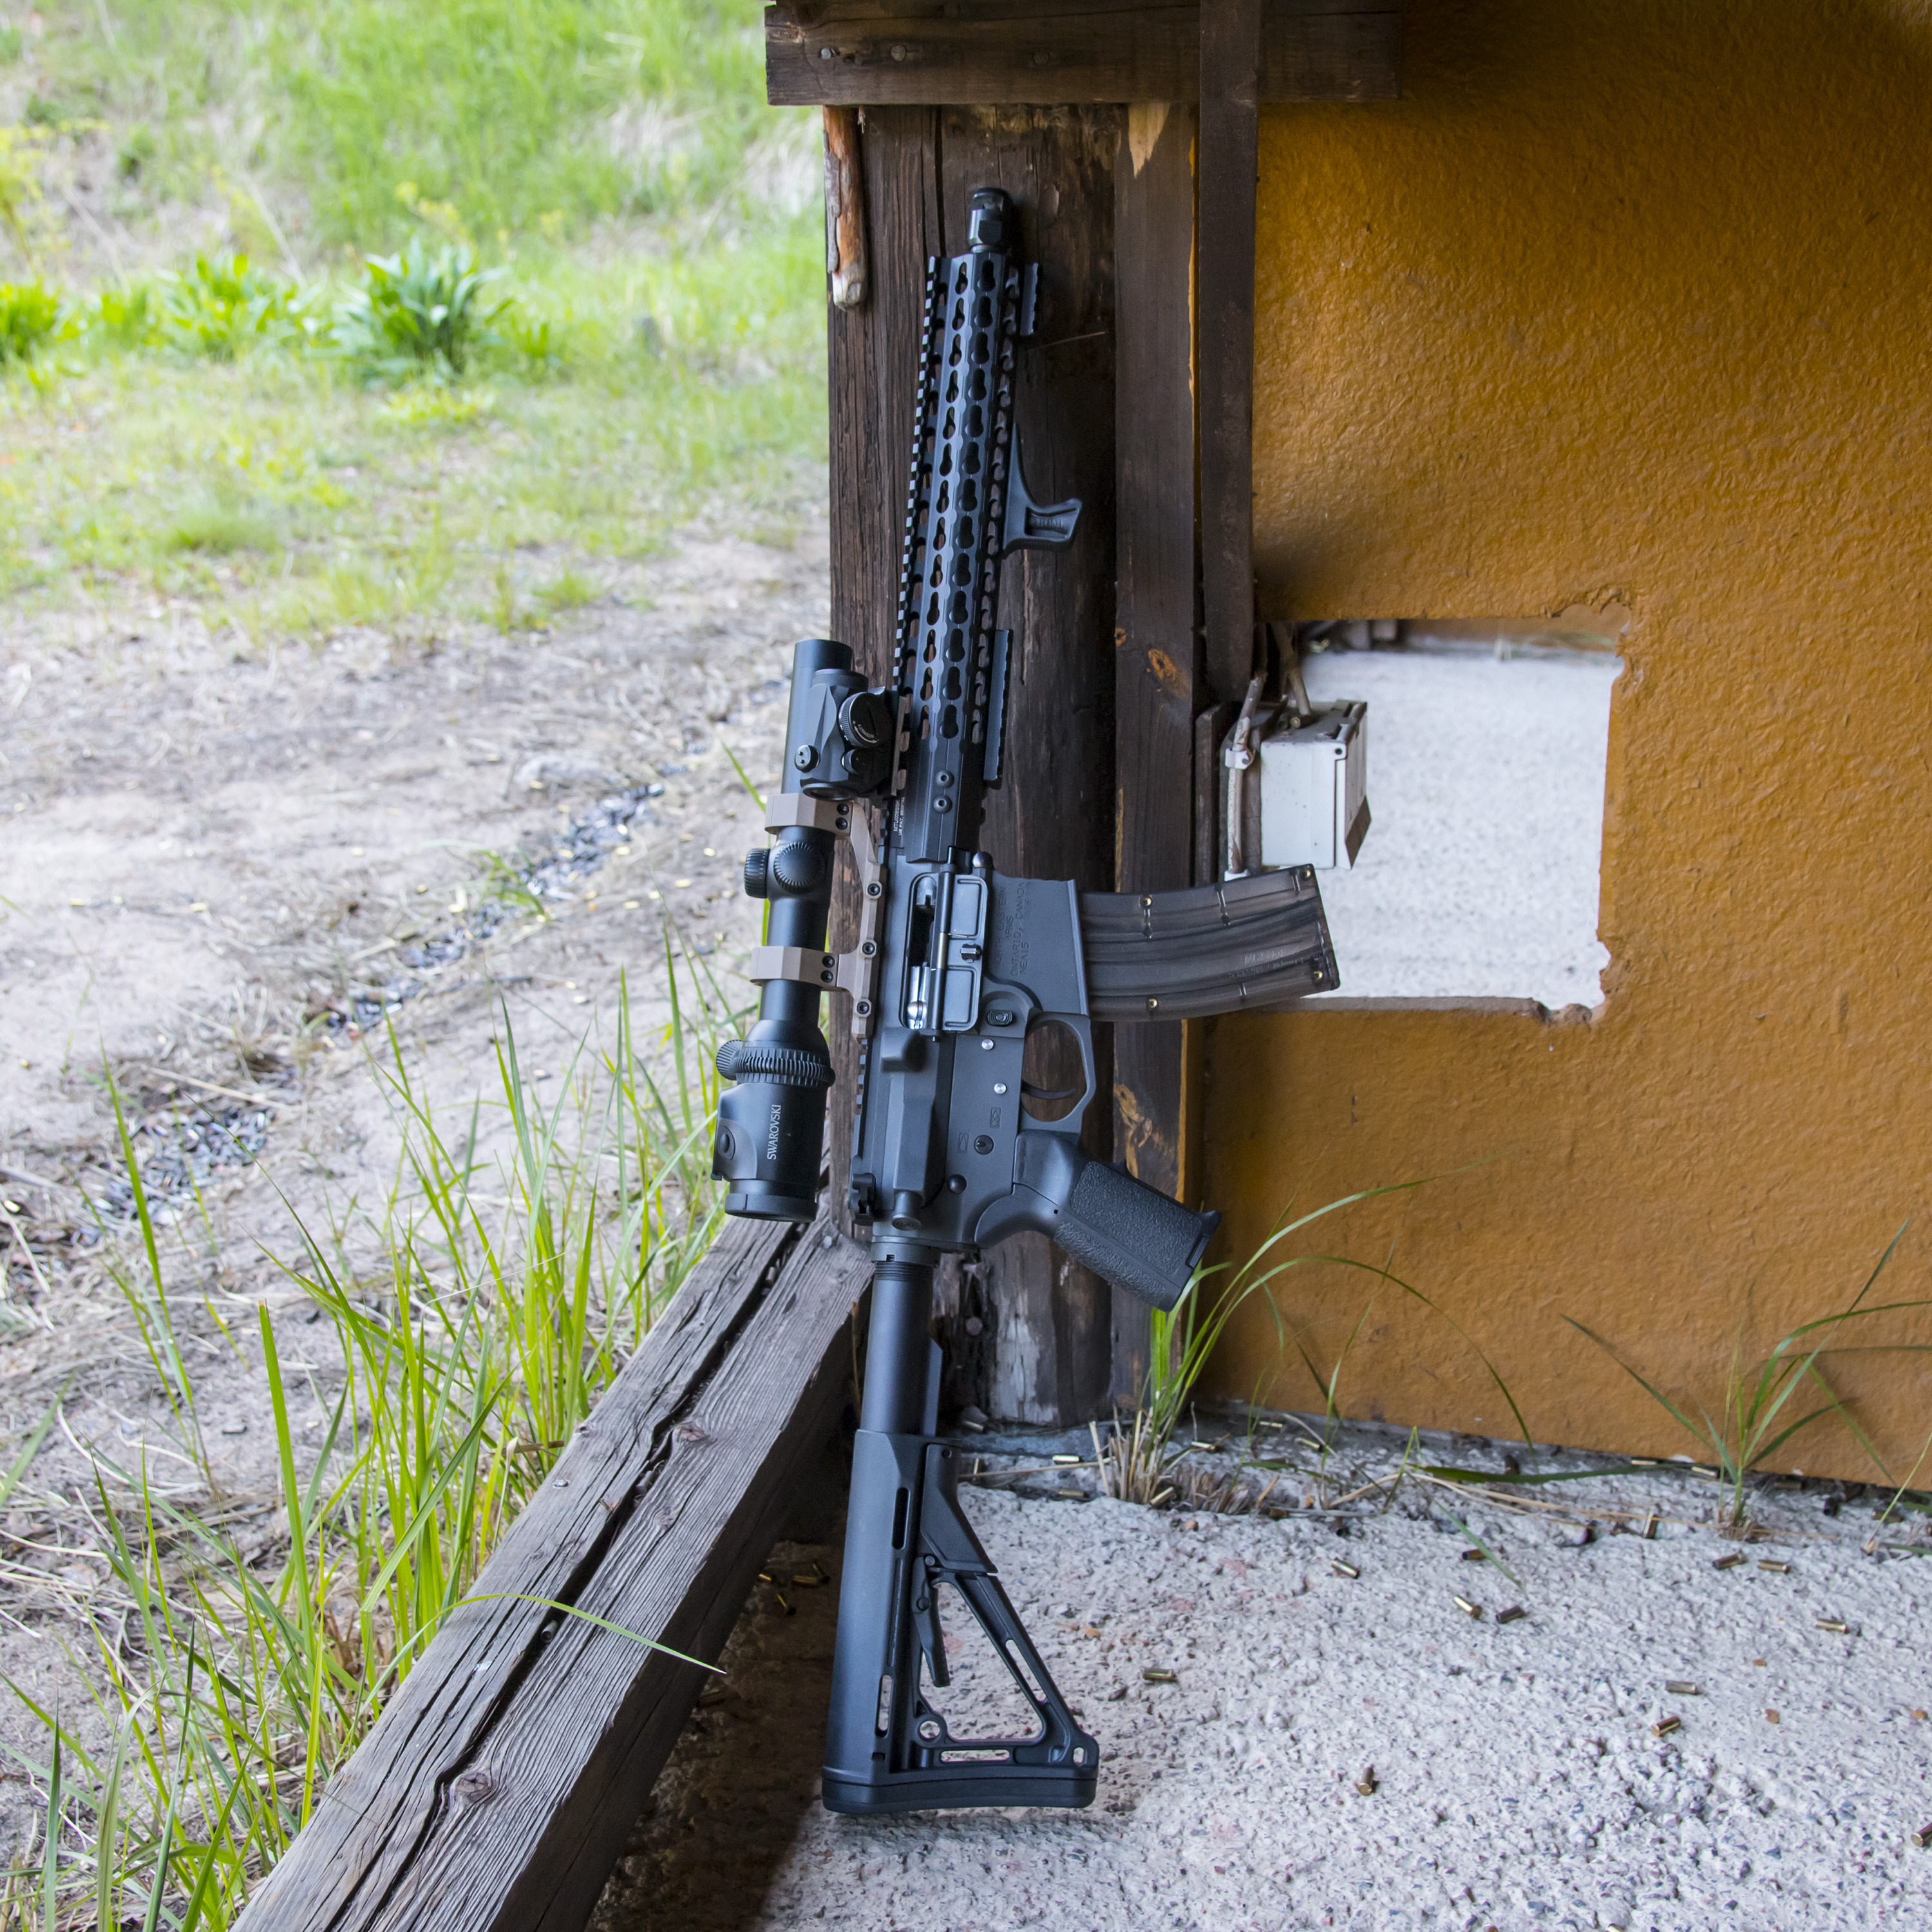
So back to the range for test firing! Being very confident with my enhanced extractor, I purposely chambered some known duds and fired casings and to my surprise, there was still problems to extract. I then noticed that the barrel extension did not allow the extractor to fully grip the rim.

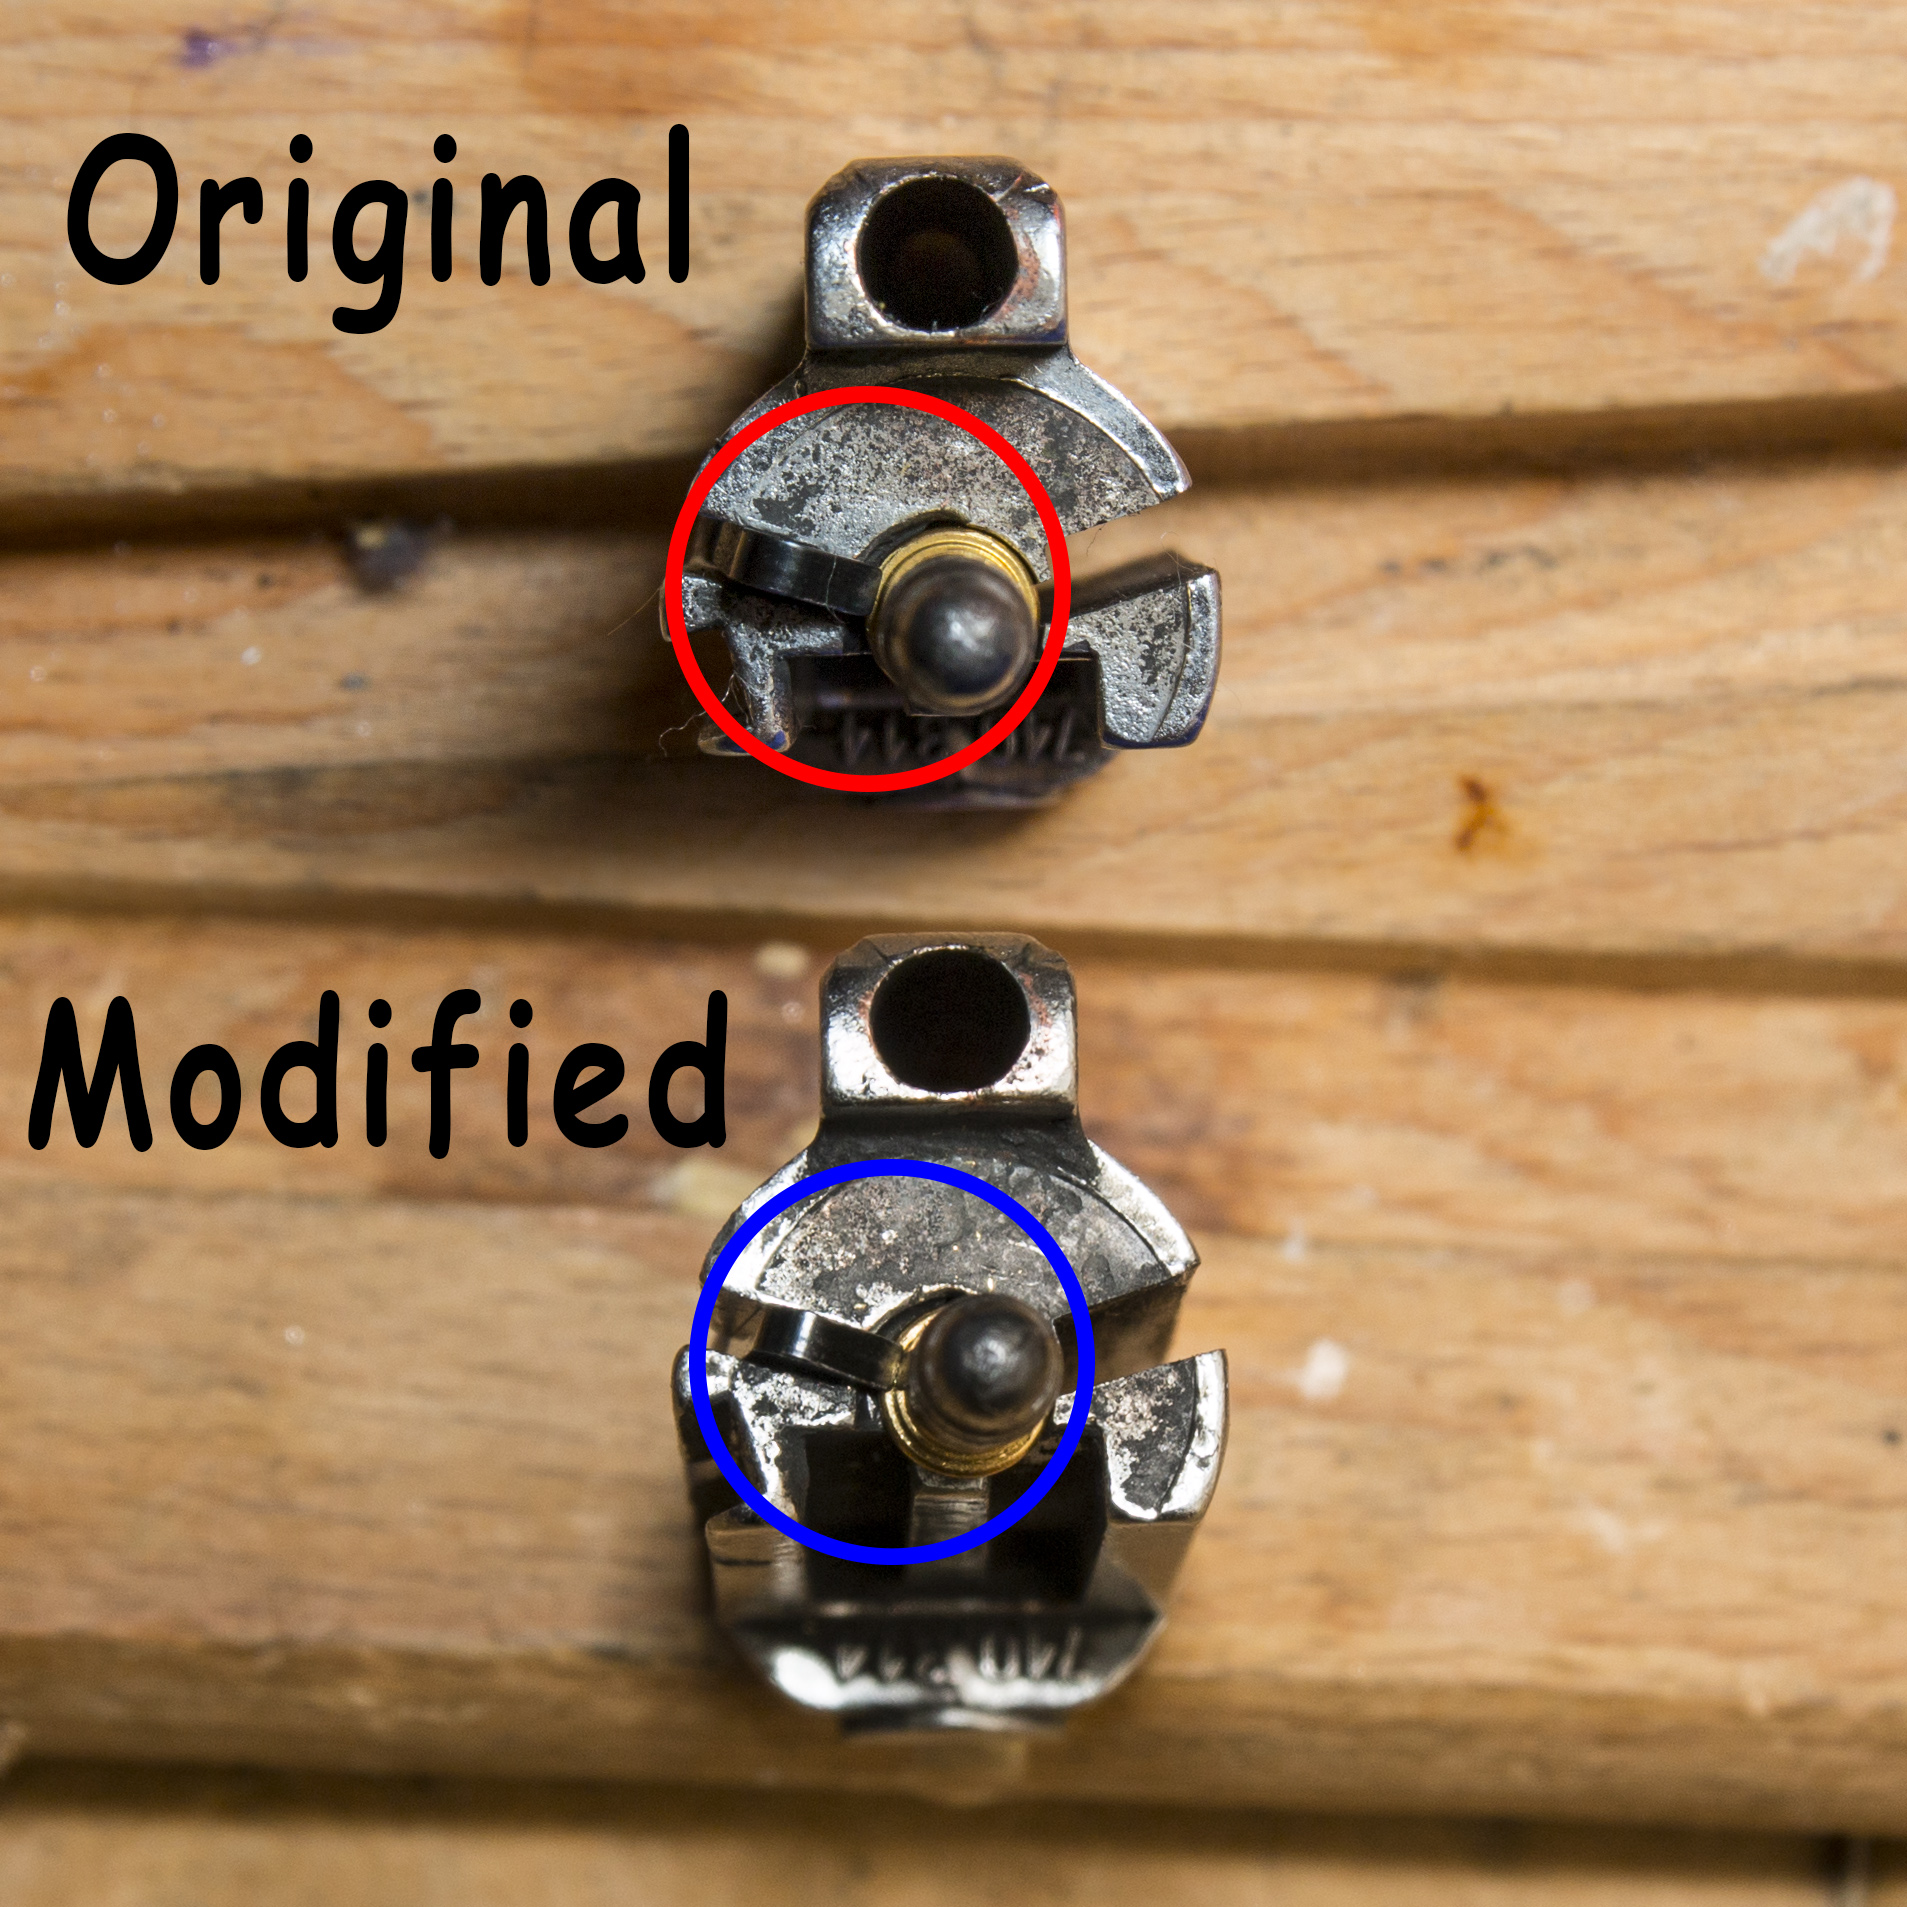
So I took my trustworthy file and made a little relief on the barrel. First I thought this to be a bad idea, but as the corner between the feeding ramp and chamber was already heavily relieved from the factory (resulting in bulged casings, pictured in part III of this saga), I decided to give it a go.
After these modifications, I was able to extract the purposely faulty rounds and the firing pin was also ready, as we shot around 500 rounds of TopShot without problems. This was very satisfying as IPSC Minirifle Finnish Championships was just around the corner.
Previous parts of the saga: NEA15-22 part I, part II, part III, part IV, part V, part VI, part VII