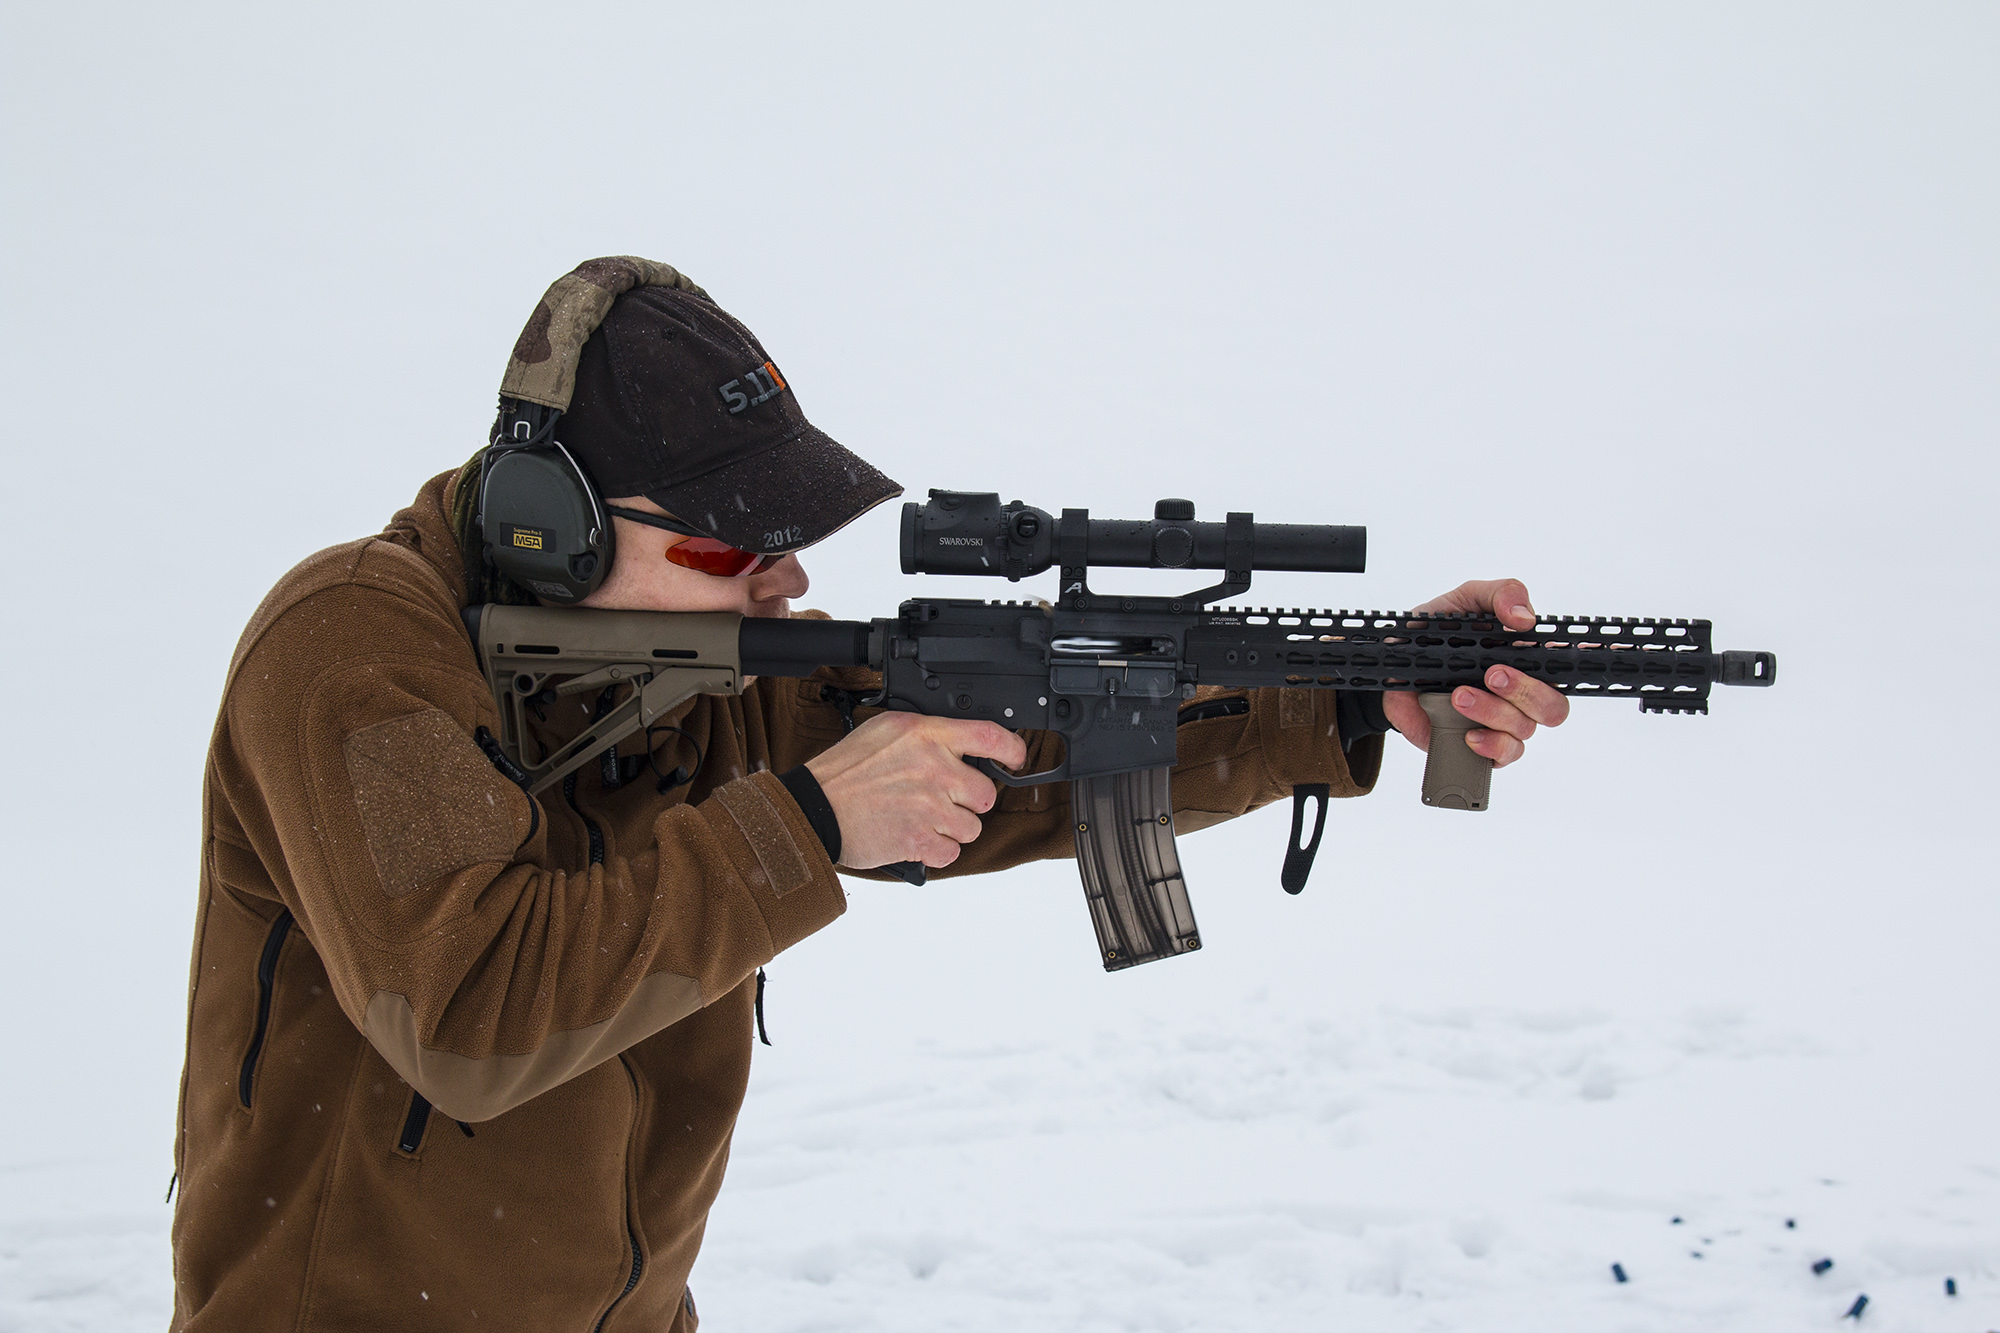
I got a new Chiappa firing pin which (as described in previous posts) is not very good as it is: fat striker head, does not protrude for proper contact with the hammer. So off to the range for test fire and some “gunsmithing” i.e. filing the pin into the place.
From top: the enchanded (broken) pin, new Chiappa pin and the old (broken) Chiappa pinFiring pin evolution: Some light strikes with the fat pin, going down to the sharpened pin and also some duds
In the beginning I got a lot of Failure-to-Fires (FTF) which was sort of a good thing as I noticed that there was some problems with the extraction of rounds that had been deformed, i.e. the non-fired rounds extract fine, but the ones that have been hit with the striker did not always extract.
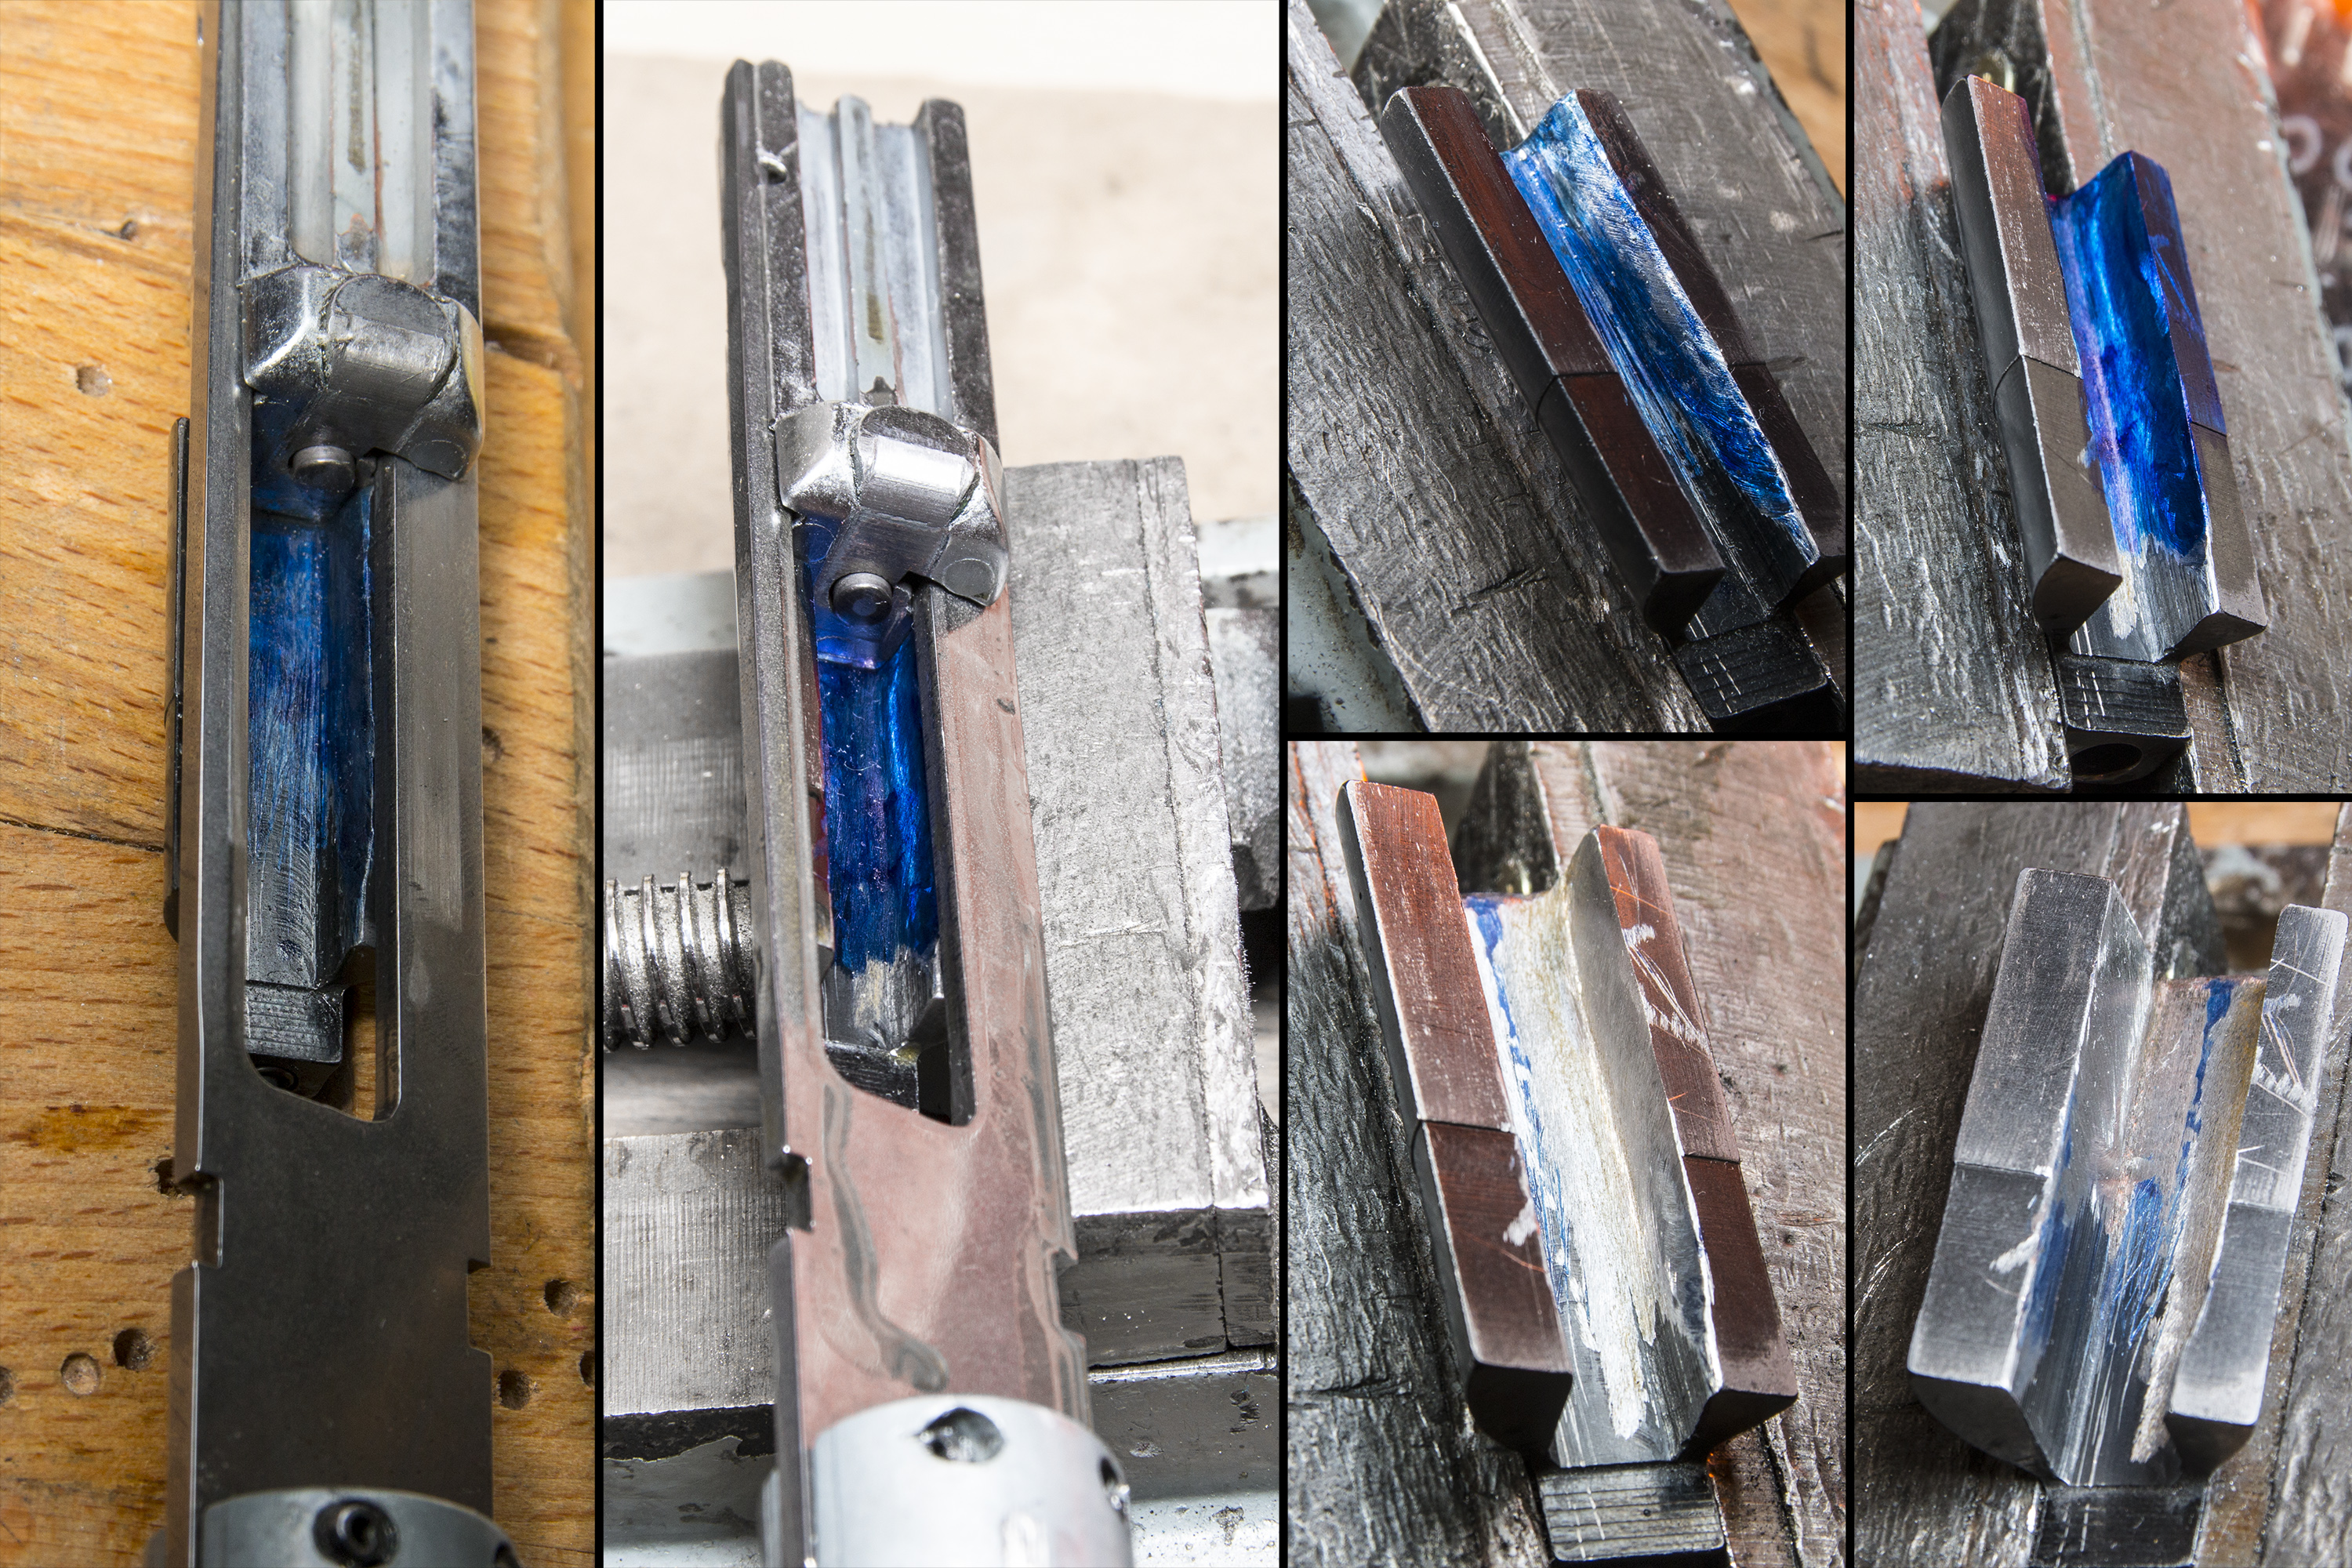
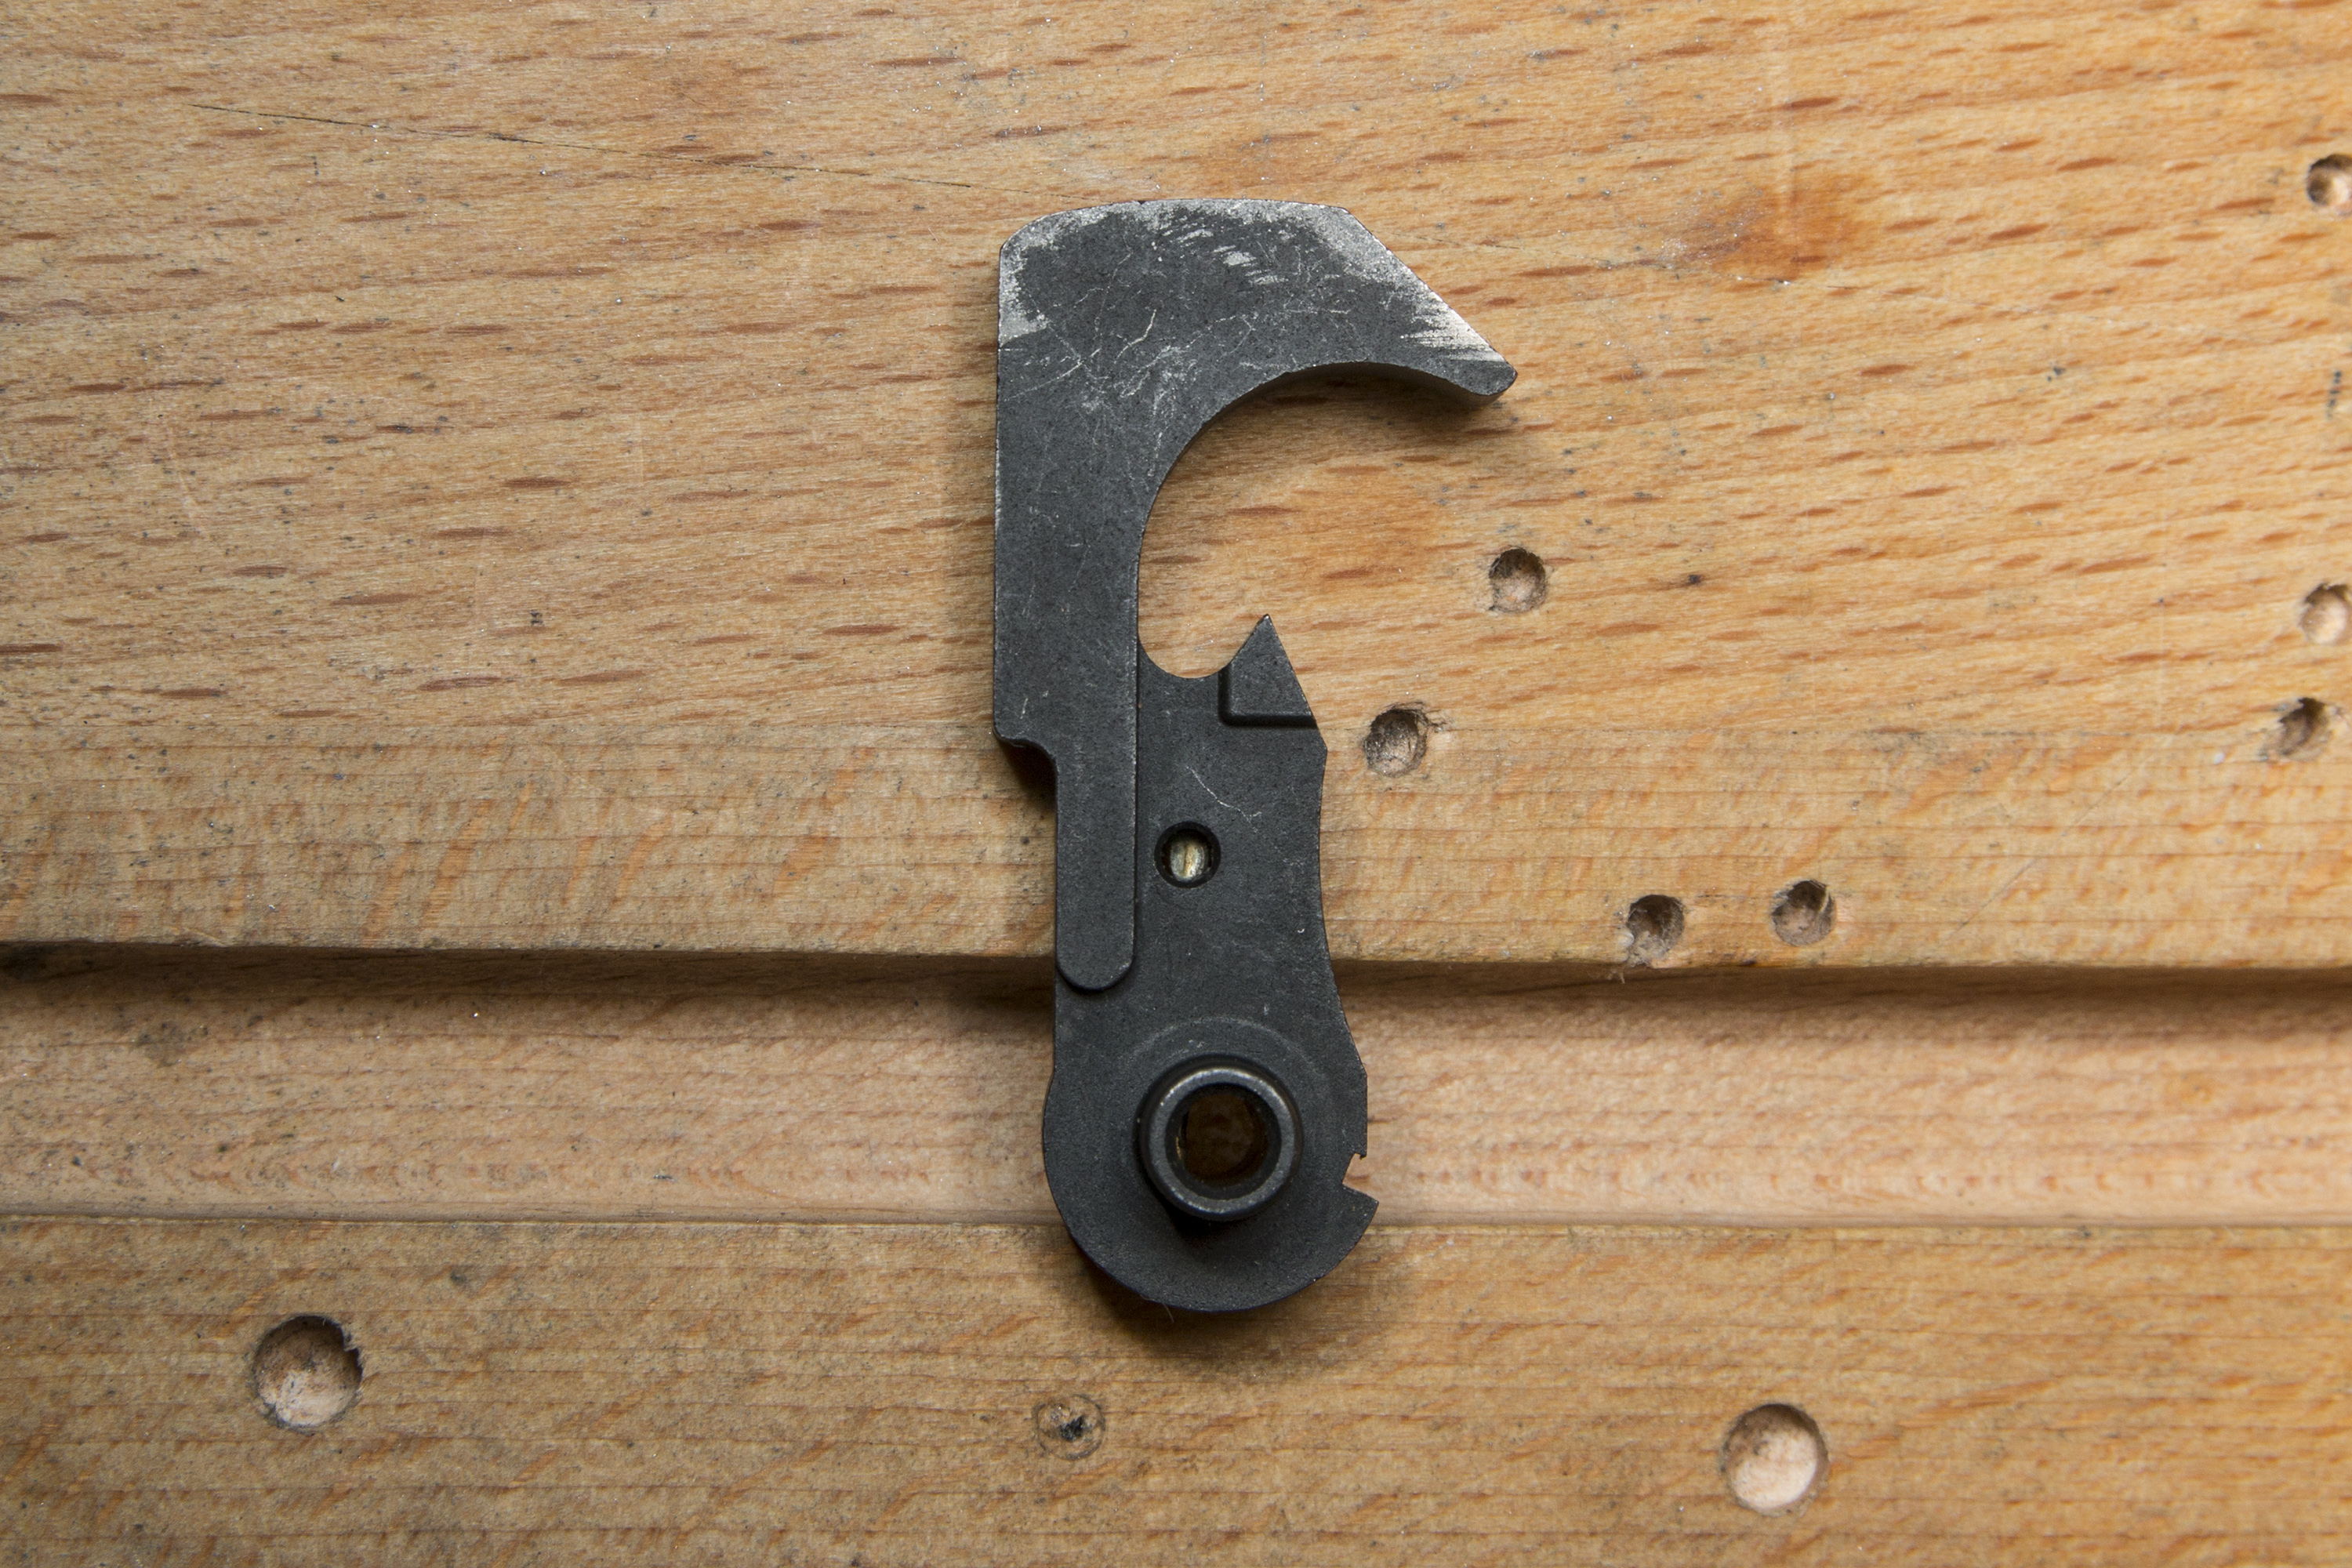
It still appeared that there might be some contact between the weight behind the bolt and possibly the hammer was also touching the slide rail (wear on the side of the hammer). So I once again filed the weight and also did a little polish/dremel on the bolt rail where the hammer might be touching.
Special Squad took part in Finnish IPSC Minirifle Championships as match officials, providing significant work contribution in form of a CRO, two ROs and one general official.
As officials we shot in the pre-match and thus took some handicap: when in pre-match, besides shooting the squad must also do all the necessary stage work and there are always some differences on the found ways to solve the stage challenges. For example on stage 2 we did not shoot the 10cm plates from prone (the stage was designed this way, but the main match showed that there were some faults on prop placement, allowing the prone position) and on stage 10 we actually stood normally on the start, instead of putting the barrel into the hole (this was apparently allowed in the main match).
Two of us shot with the NEA15-22 which was tuned as described in the NEA15-22 saga and we had zero failures, i.e. all rounds fired and no ejection problems. There was 12 stages and minimum rounds per shooter was around 165, actual count was of course higher.
While testing the DIY Brass Catcher, there again was some failure to fires, so I took the rifle apart for checking. It seemed that there might still be too much material on the recoil spring guide / bolt weight.. So I machined (read: dremeled) off some more.
from left: previous and new protrusion, top: markings that had appeared since last session and the new modifications “painted”, bottom: current state of material
Plinker / .22lr : a cheap and fun way to do some training for rifle shooting, but collecting the small brass is a pain in the ass, especially on outdoor ranges, especially on winter when there is snow and all.
The manufacturer seen some of the pictures and they insisted that the non-milspec hammer/trigger was the issue causing light strikes.
If I recall correctly, the original hammer had similar light striking issues and I am pretty confident that the issue is caused by the recoil spring guide that makes contact with the hammer, so I checked the original hammer:
Original hammer wear after about total of 200 rounds (the other side does not have similar wear)
My previous assumption for failure-to-fire was, that the bolt didn’t close properly (possibly due to the overly tight extractor) and thus some of the power from the hammer was used to close the bolt and then there was not enough force to ignite the primer. Now it seems that the power from the hammer is lost somewhere else..
I previously noticed some wear on the recoil spring guide / bolt weight, but didn’t find what would have caused it or if it was there to start with, so I took a magic marker and painted it blue. Now it had new markings and some of them even pretty deep.
Marks on the bolt from charging handle (blue) and the new wear on the recoil spring guide/weight (red)