
Last season (2014) I decided to try shooting in Open Rifle Division and started more detailed specification (i.e. spreadsheet) on will be in the rifle.
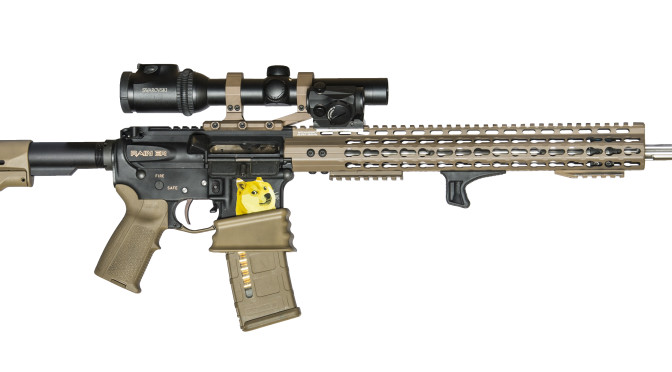
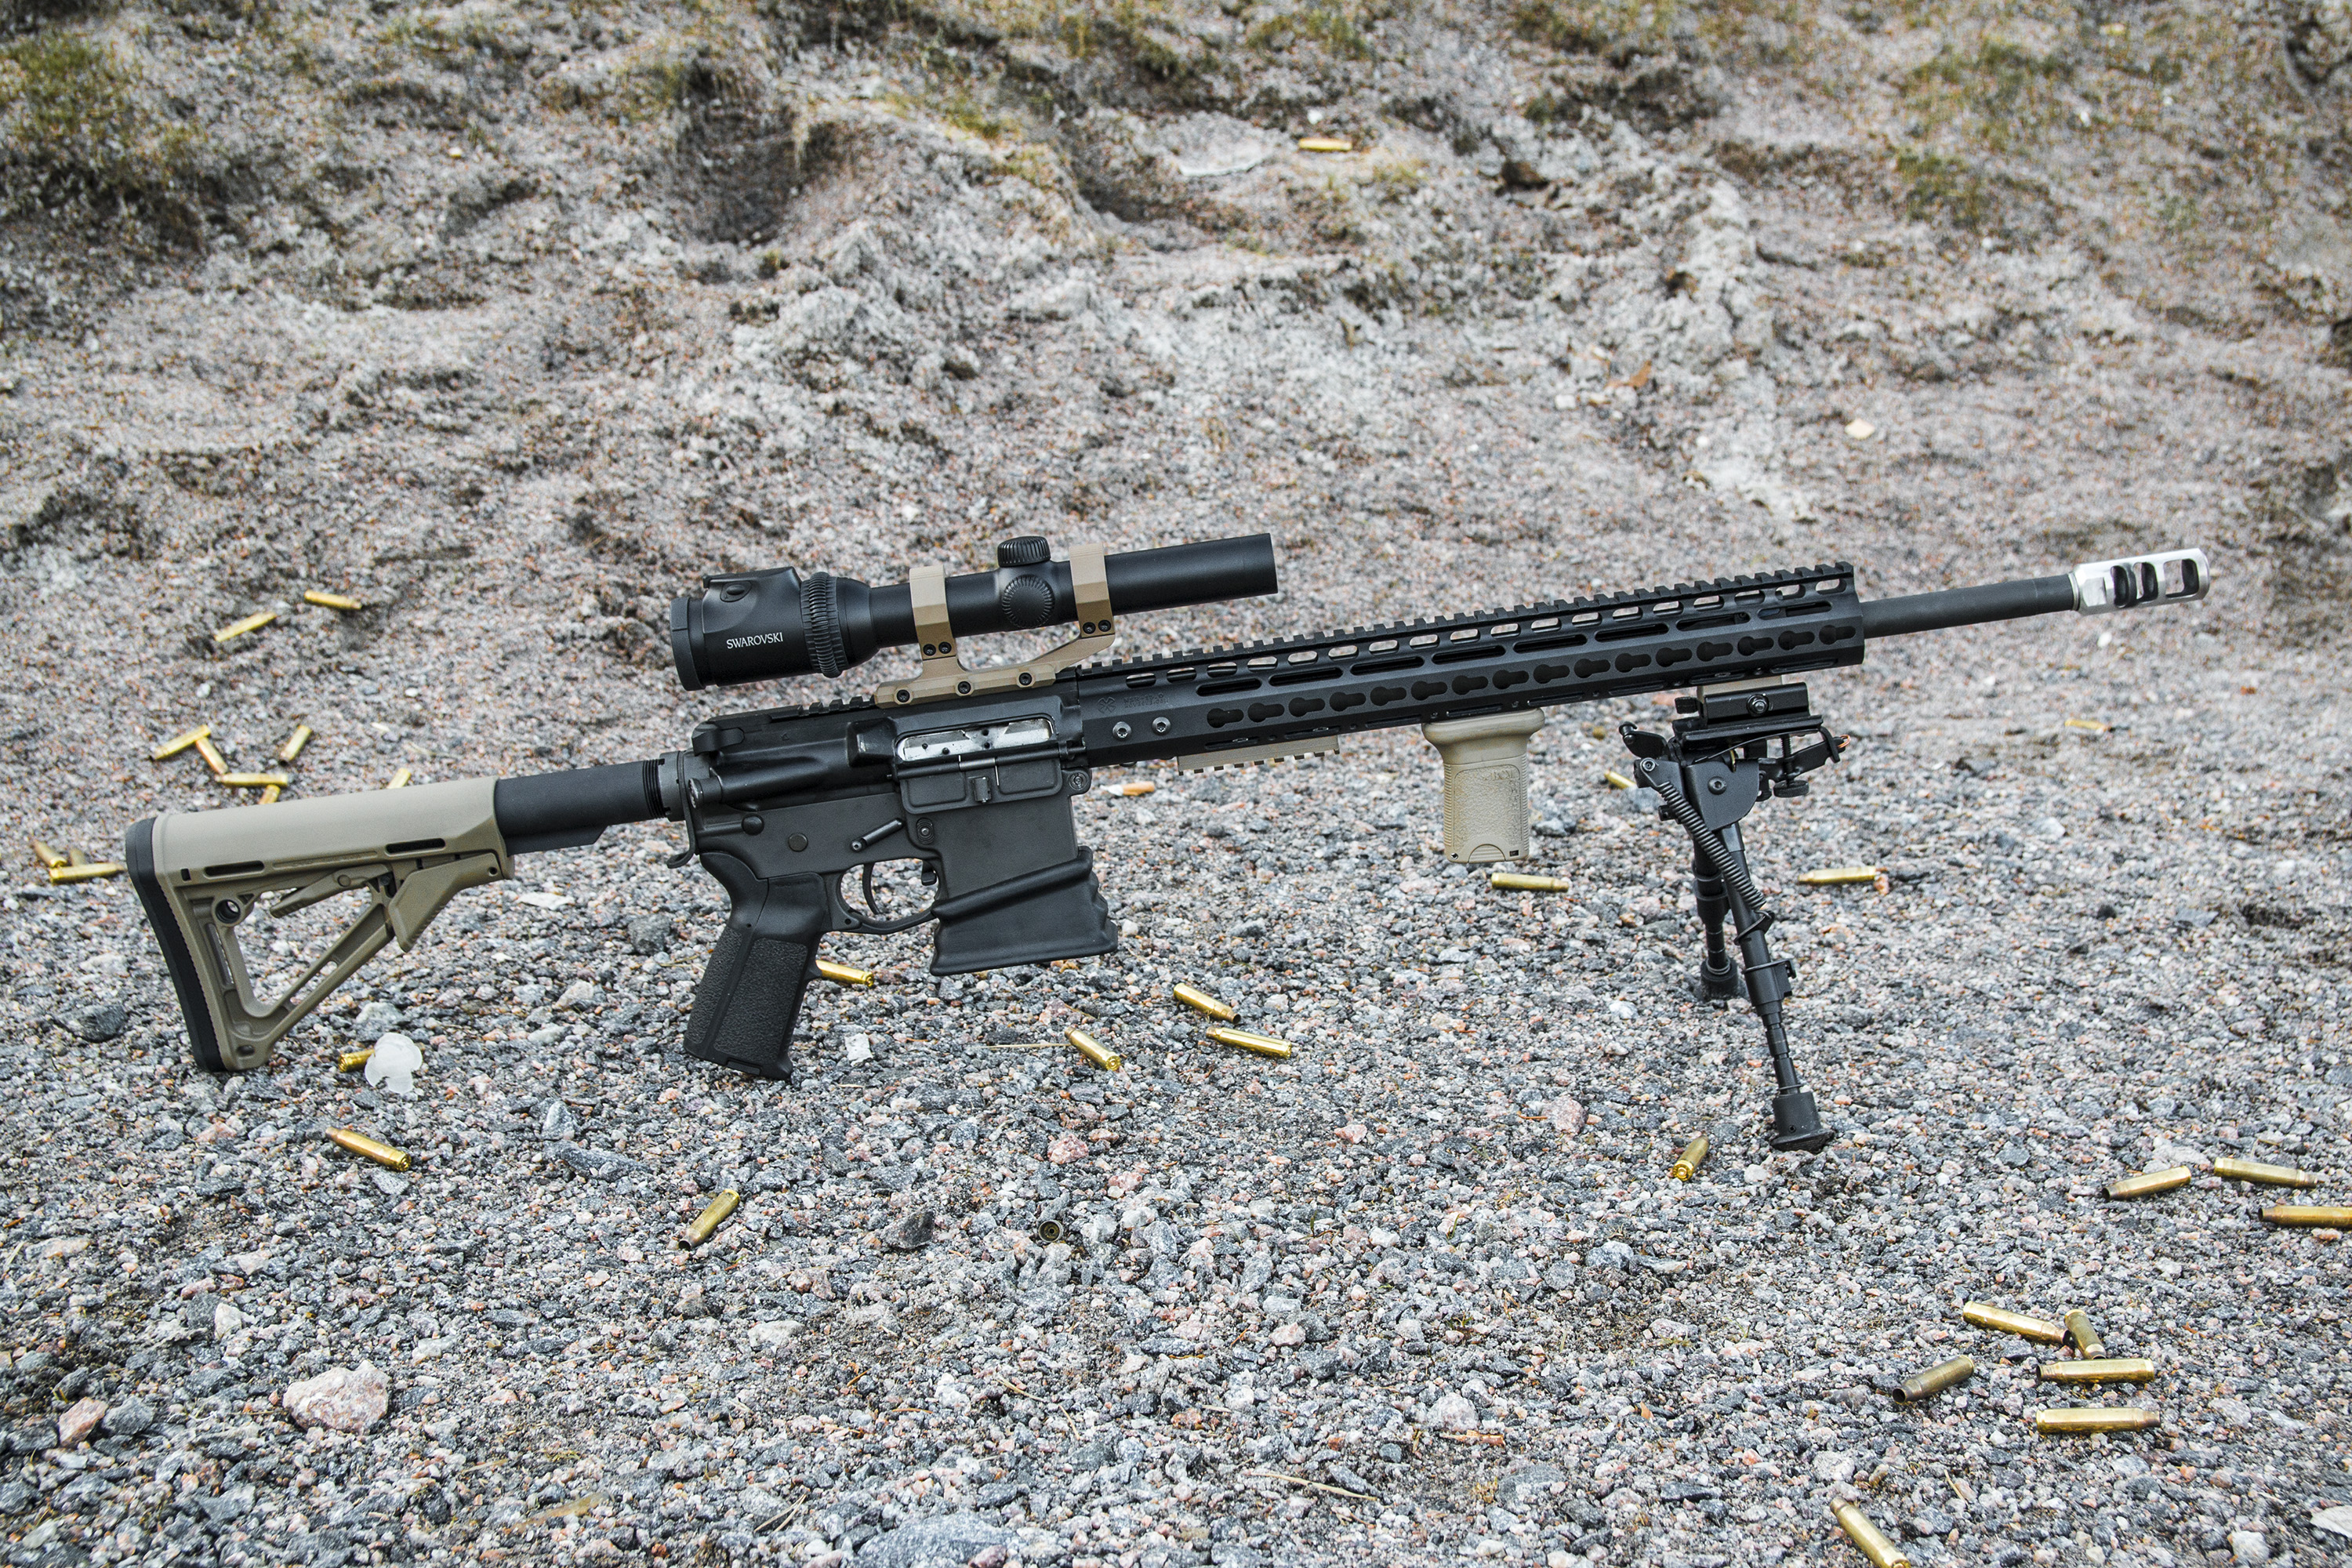
Initial specs were pretty simple with at least 15 inch free float and 1-6x variable scope, but soon came more complicated. First I was thinking about a carbon float but with some insights from an experienced gunsmith and thorough browsing through the web I came to conclusion that a slim keymod float would be the choice: keymod is mostly holes –> light, but enables accessories and slim profile (1½”) gives better grip and adds to lightness, still being stiff enough. At the moment I couldn’t find many ways to acquire 15+ inch slim keymods to Finland so I went with Leapers UTG in FDE and thus started acquiring also the magpul parts in FDE.
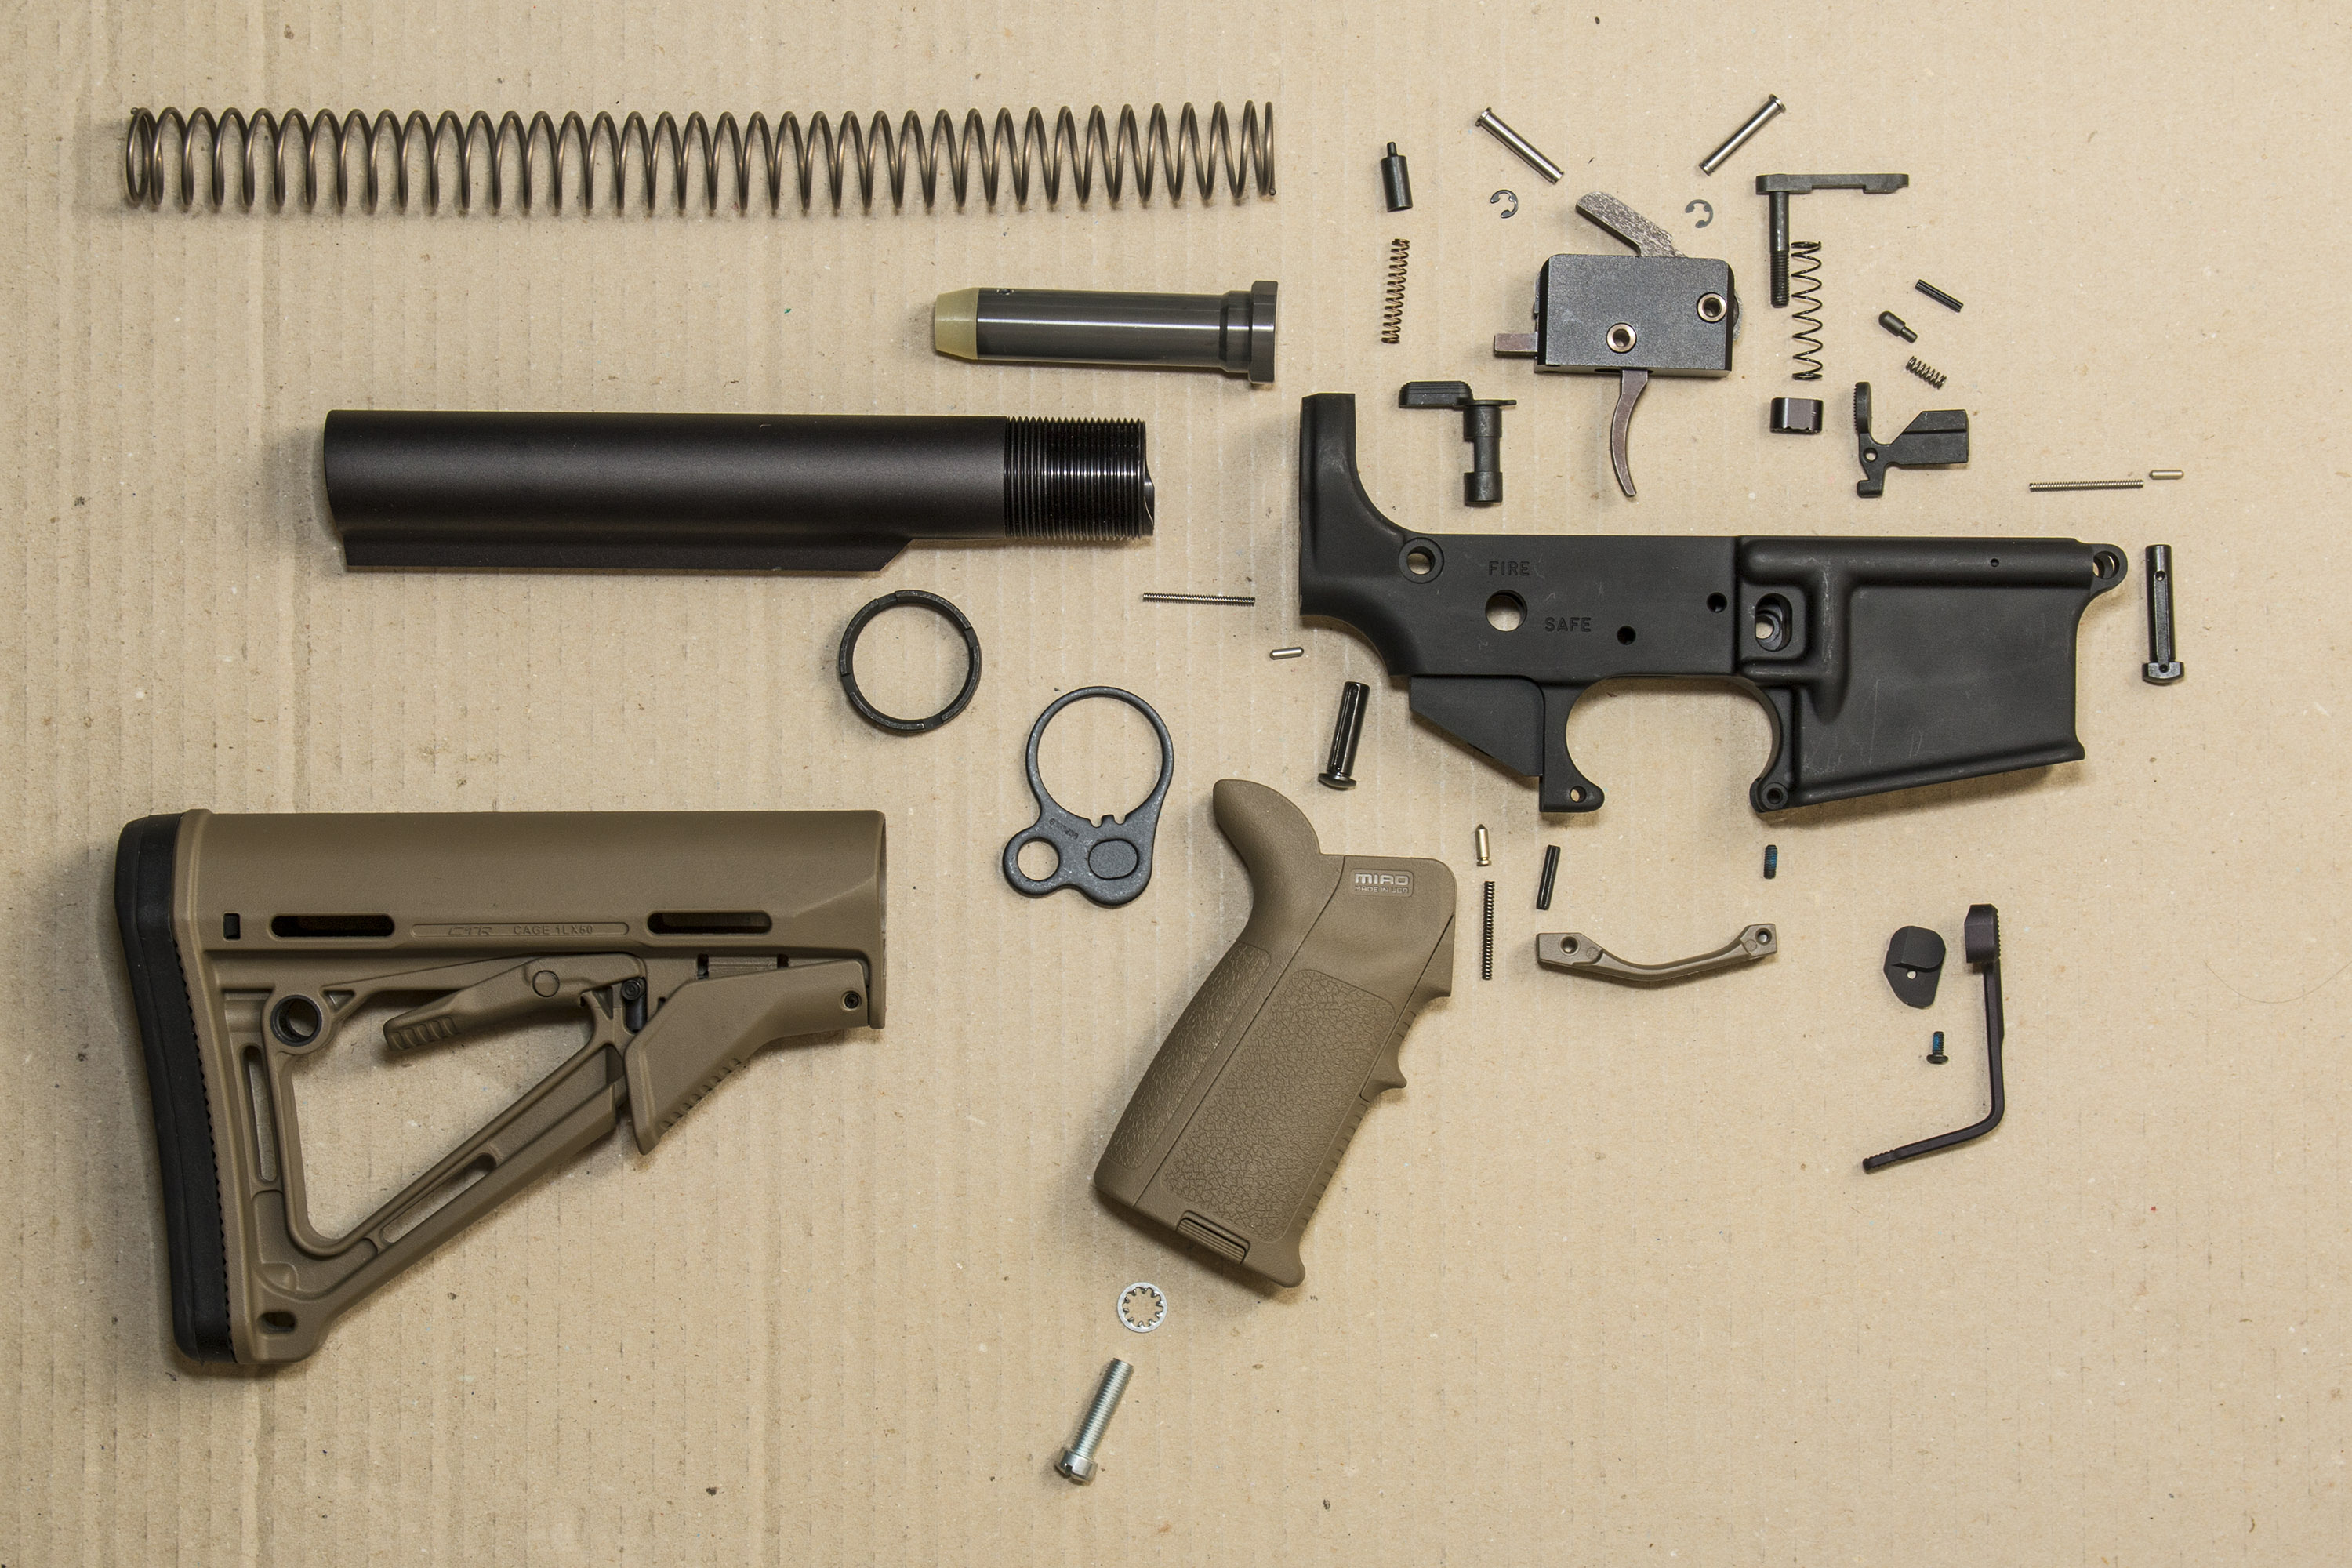
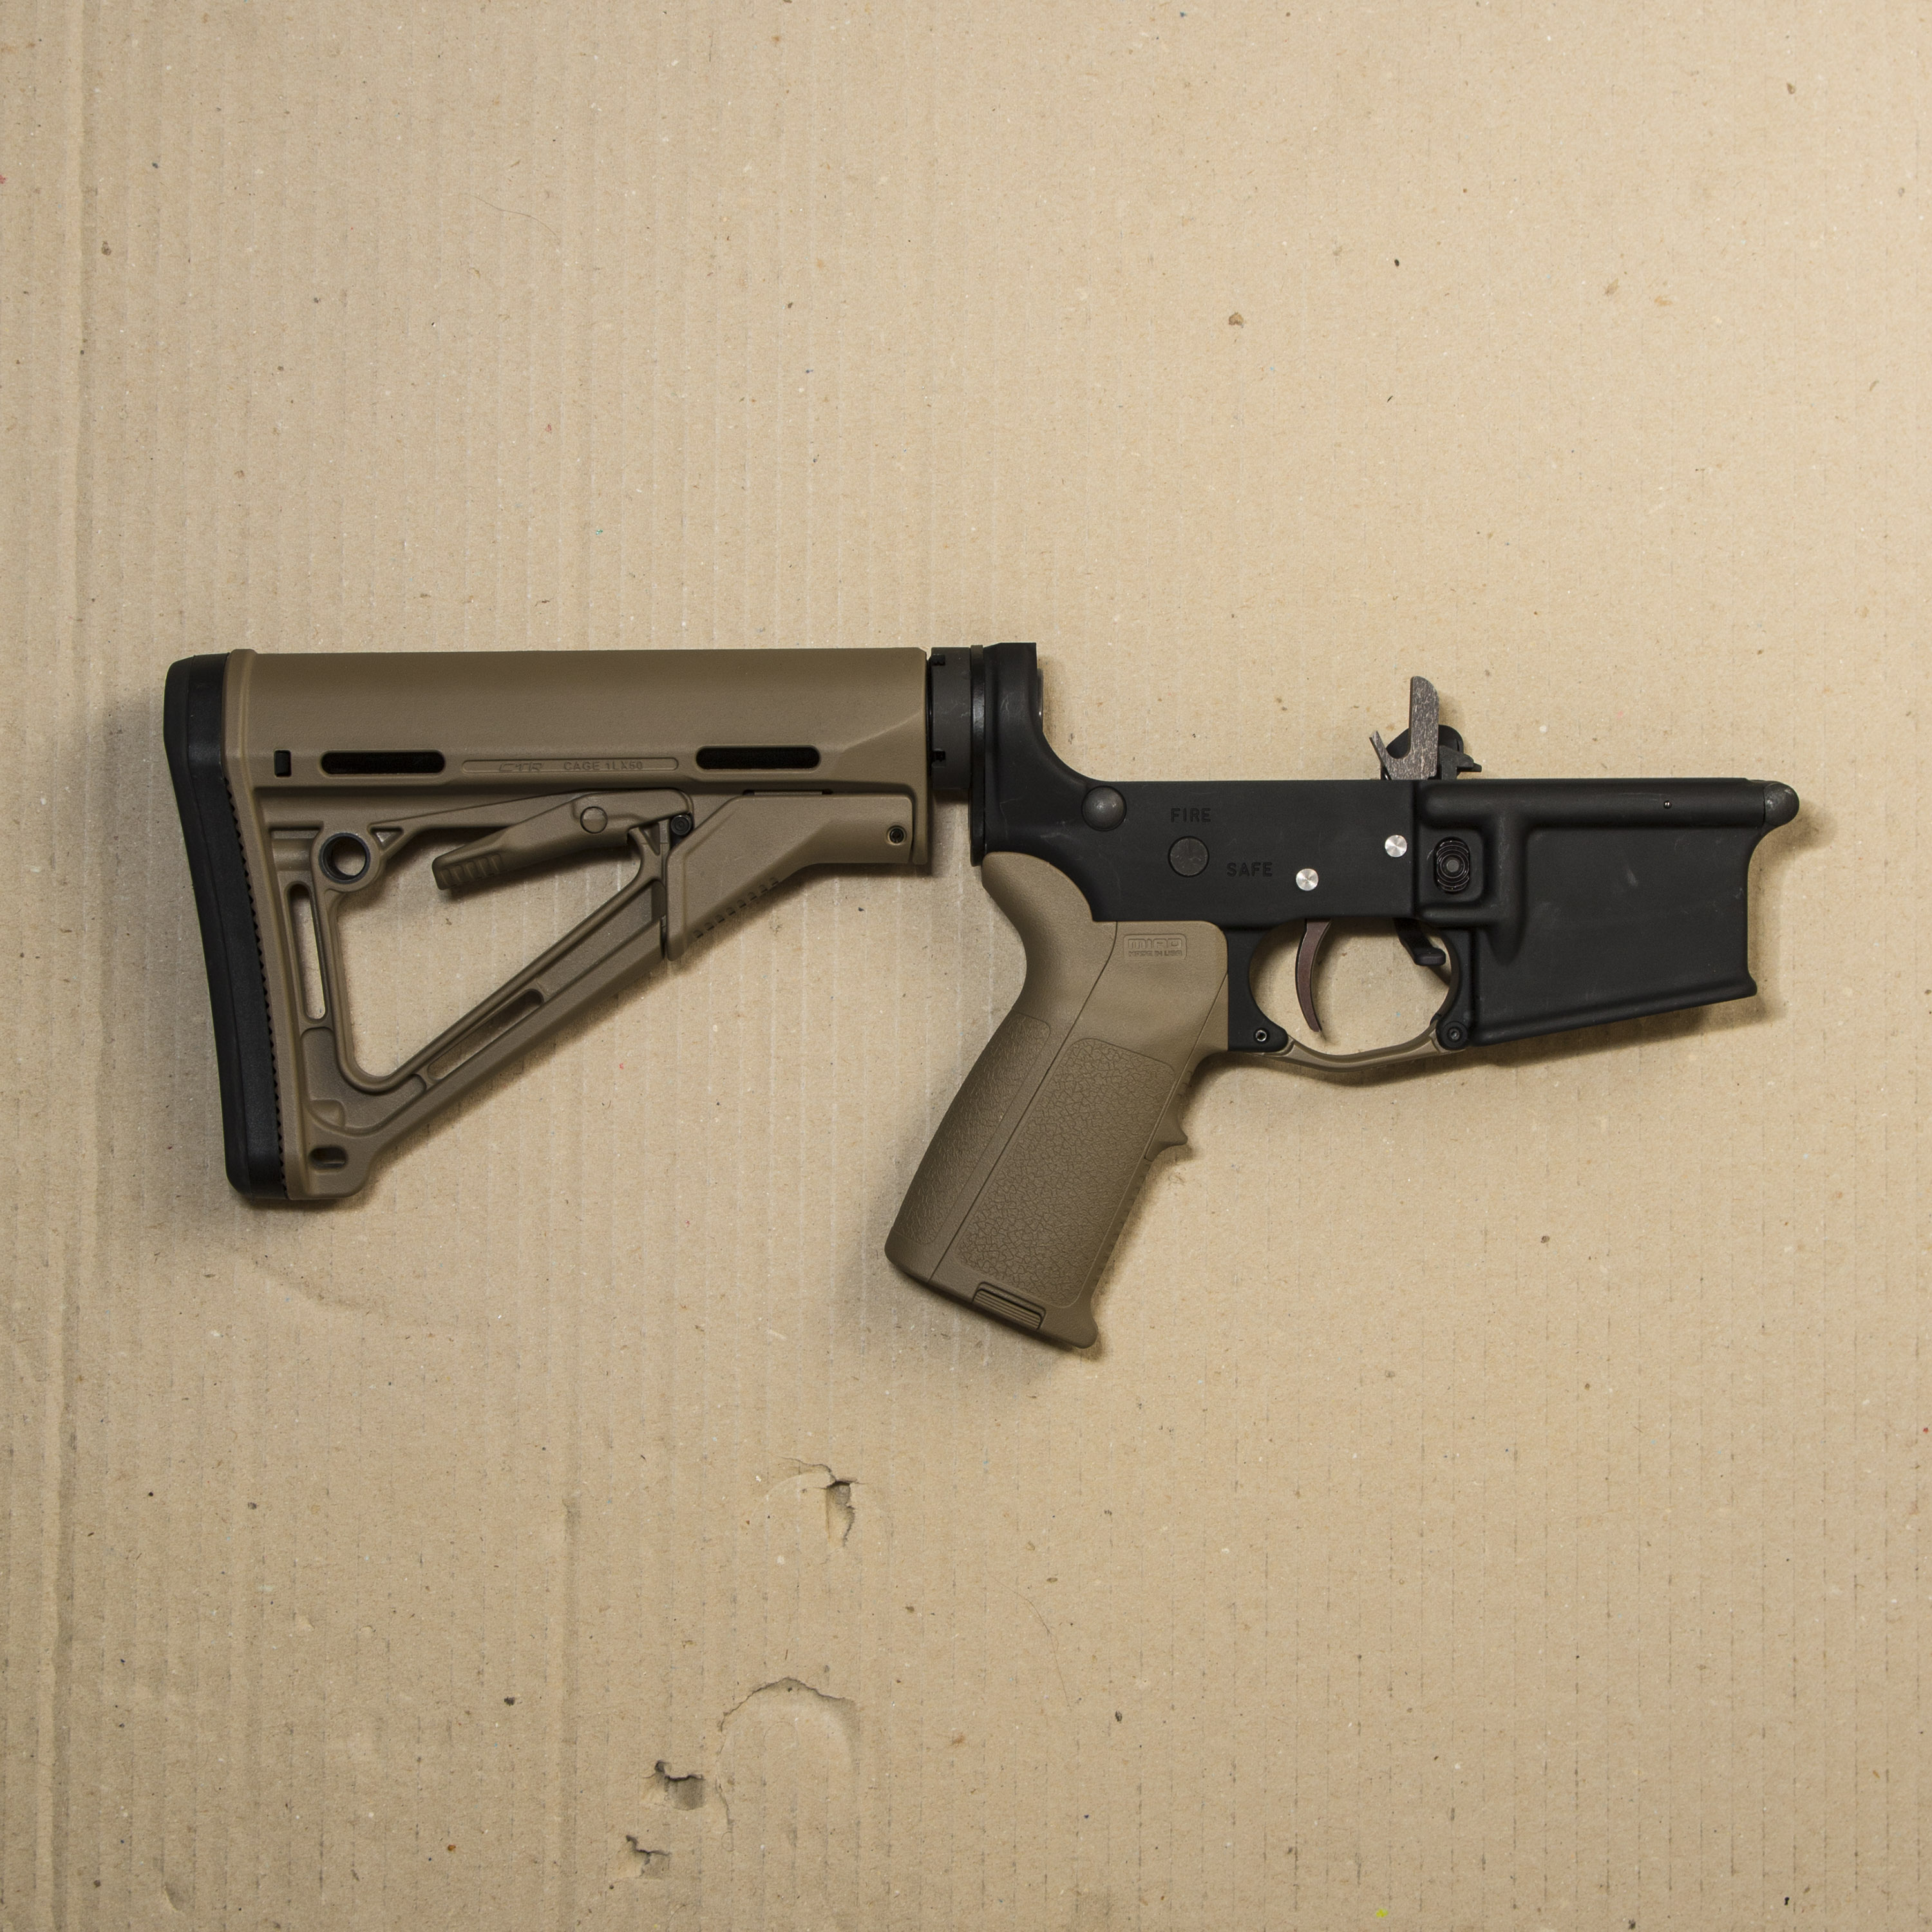
I had grown fond of Magpul MIAD grip (with the largest back piece) in my two other rifles (Standard and Minirifle) so that was the obvious choice for this build too. The A2 stock was also a little clumsy on some specific stages and adjustable stock would have had it’s place. I was wondering between Commercial- or MilSpec, when I found out that Commercial stock can be extended further than the MilSpec enabling a setting for proper eye-relief in both prone and standing positions as head is usually on more forward position on prone and some other specific shooting positions (more about this on a later post). Combined with a proper pull length for my physique/shooting style, the longer setting has its place (at least when shooting with t-shirt instead of plate carrier which would add to the pull length). So the stock was selected to be Magpul CTR Commercial Spec.
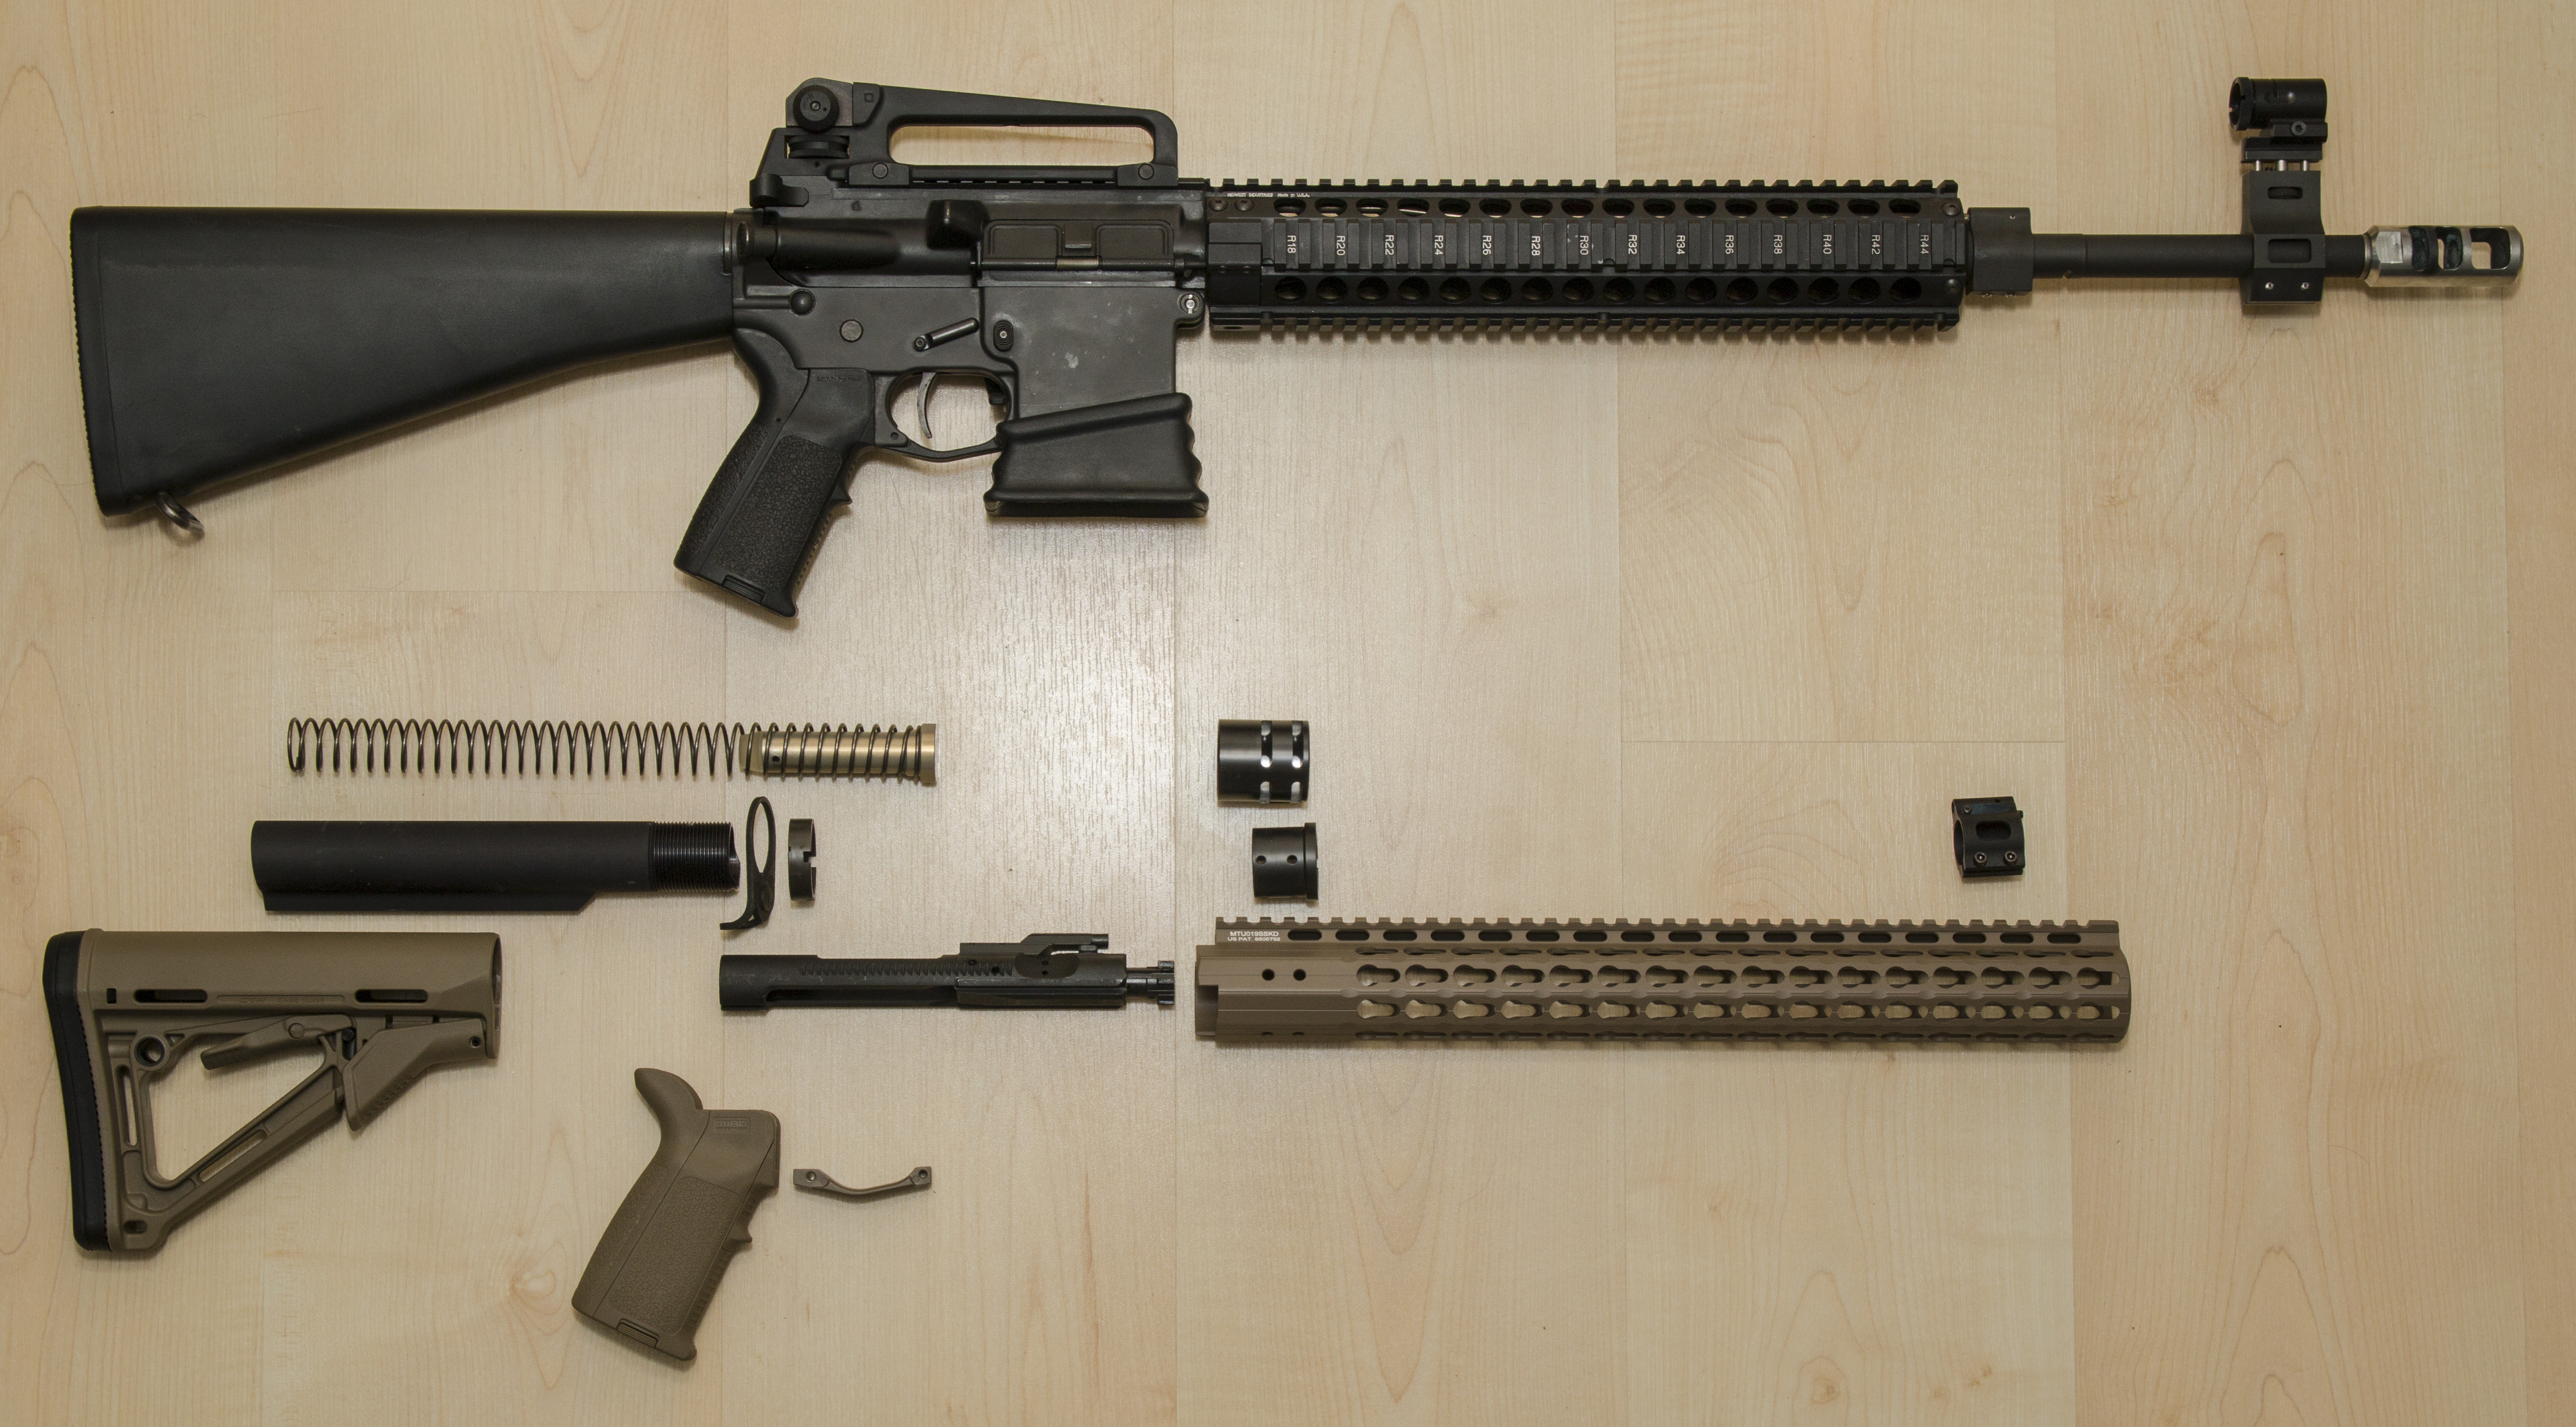
Adjustable gas with low reciprocating mass was one design principle and the gas block became to be the SLR Sentry 7 (probably the best/nicest adjustable low profile gas block). The carrier and bolt begun with Bushmaster Complete BCG, but the carrier later went through a little “diet”.
Due to Finnish gun laws and preference for rifle length gas system, the barrel was selected to be around 18 inches (. Finally I found an ACI (a Finnish make, probably made subcontracted somewhere) Stainless Steel barrel with good reputation on being accurate and cost effective, but on the minus side, the bore finish might be a little crude resulting in accumulation of copper while shot and the length was around 22 inches (which also enables the barrel to be exactly the desired length).
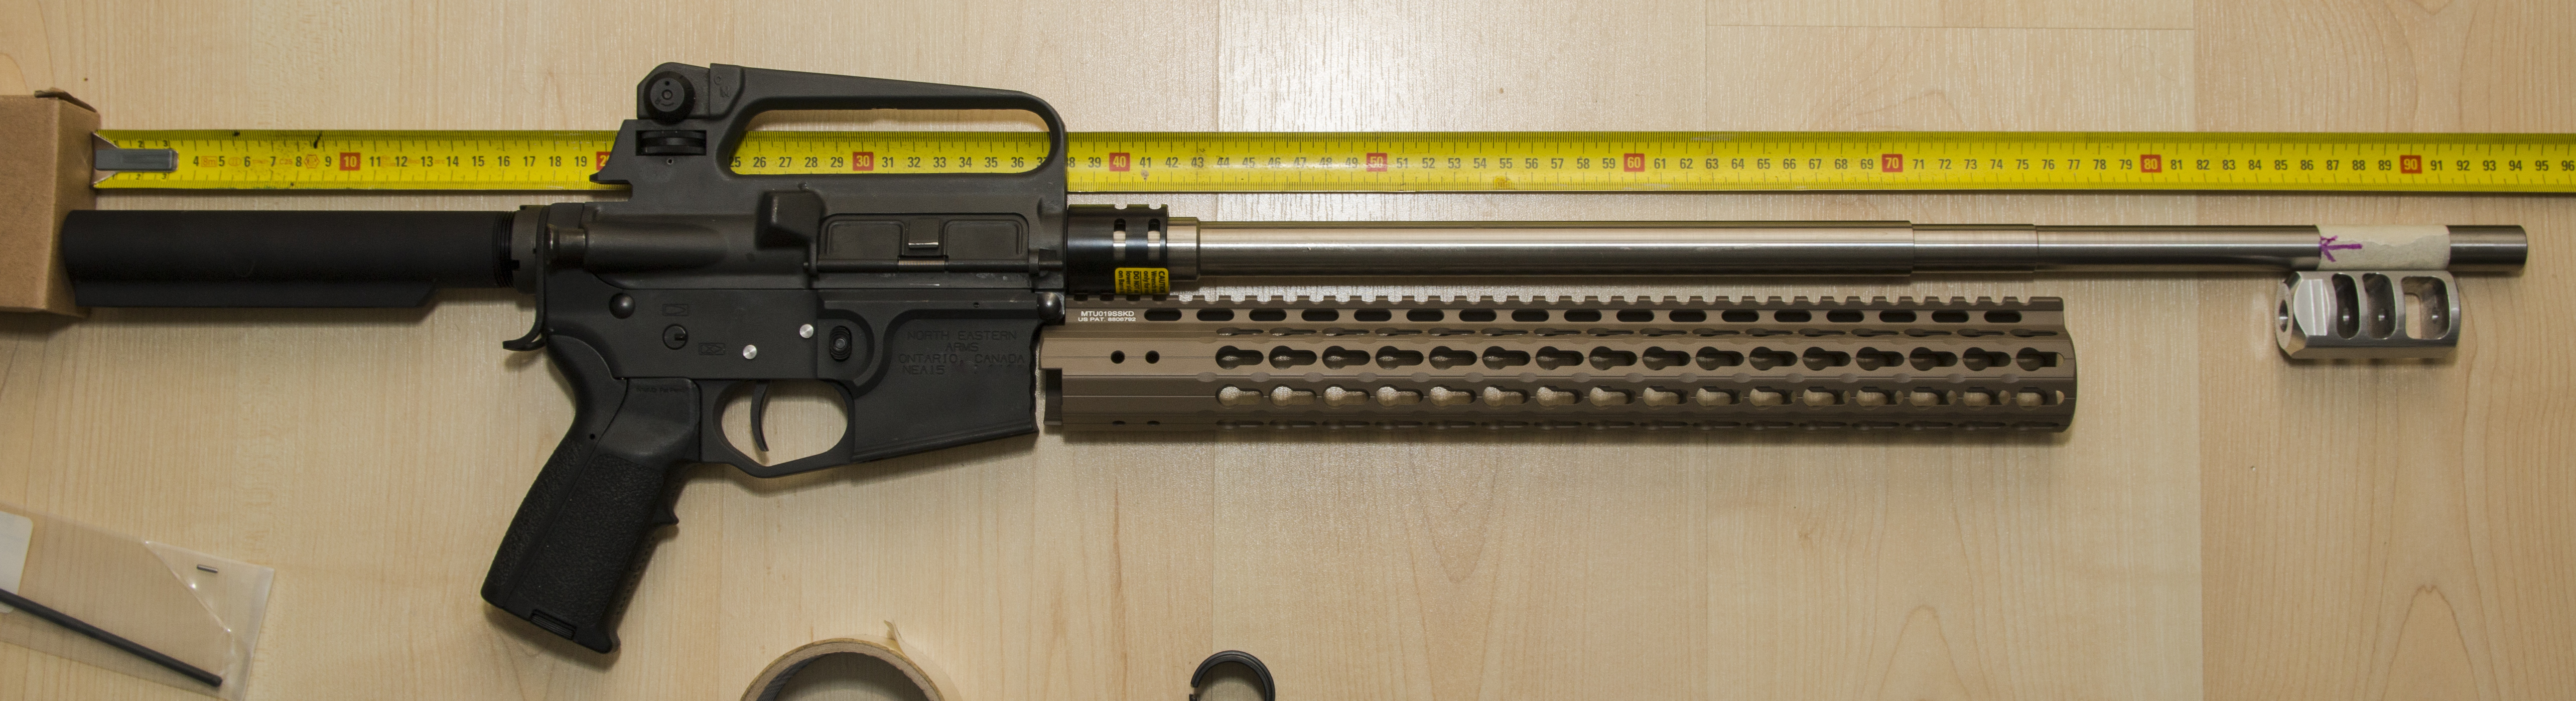

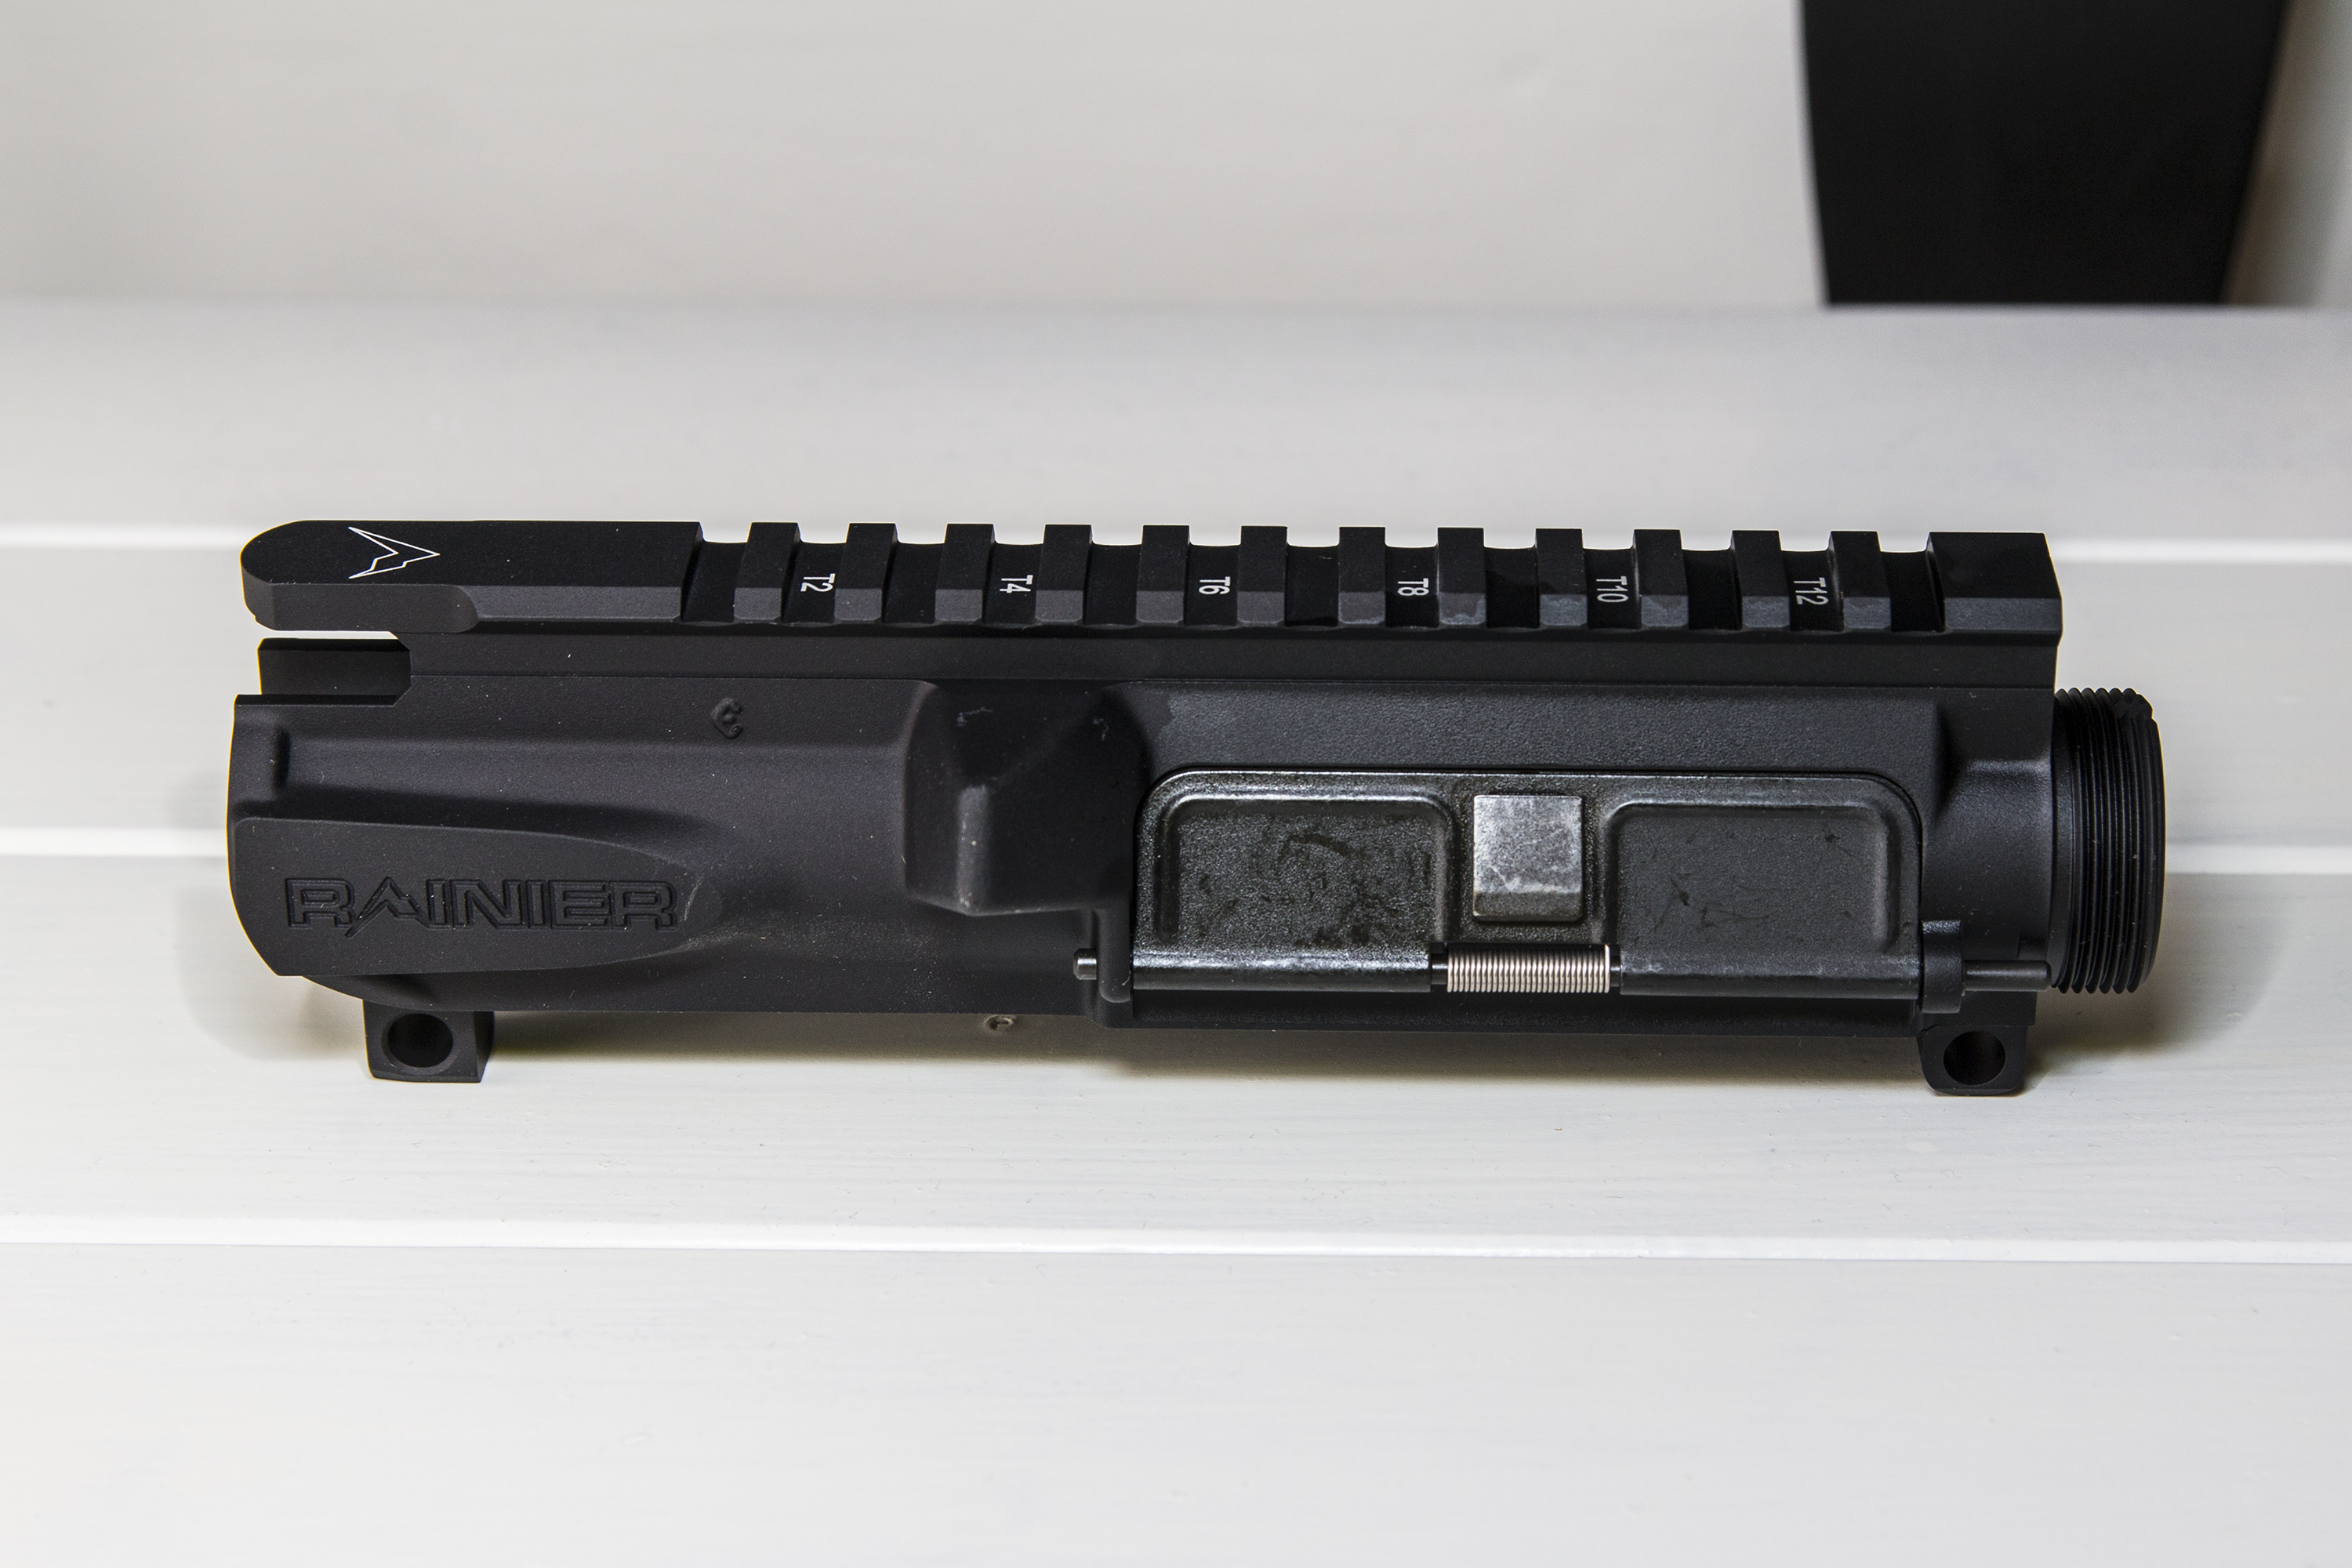
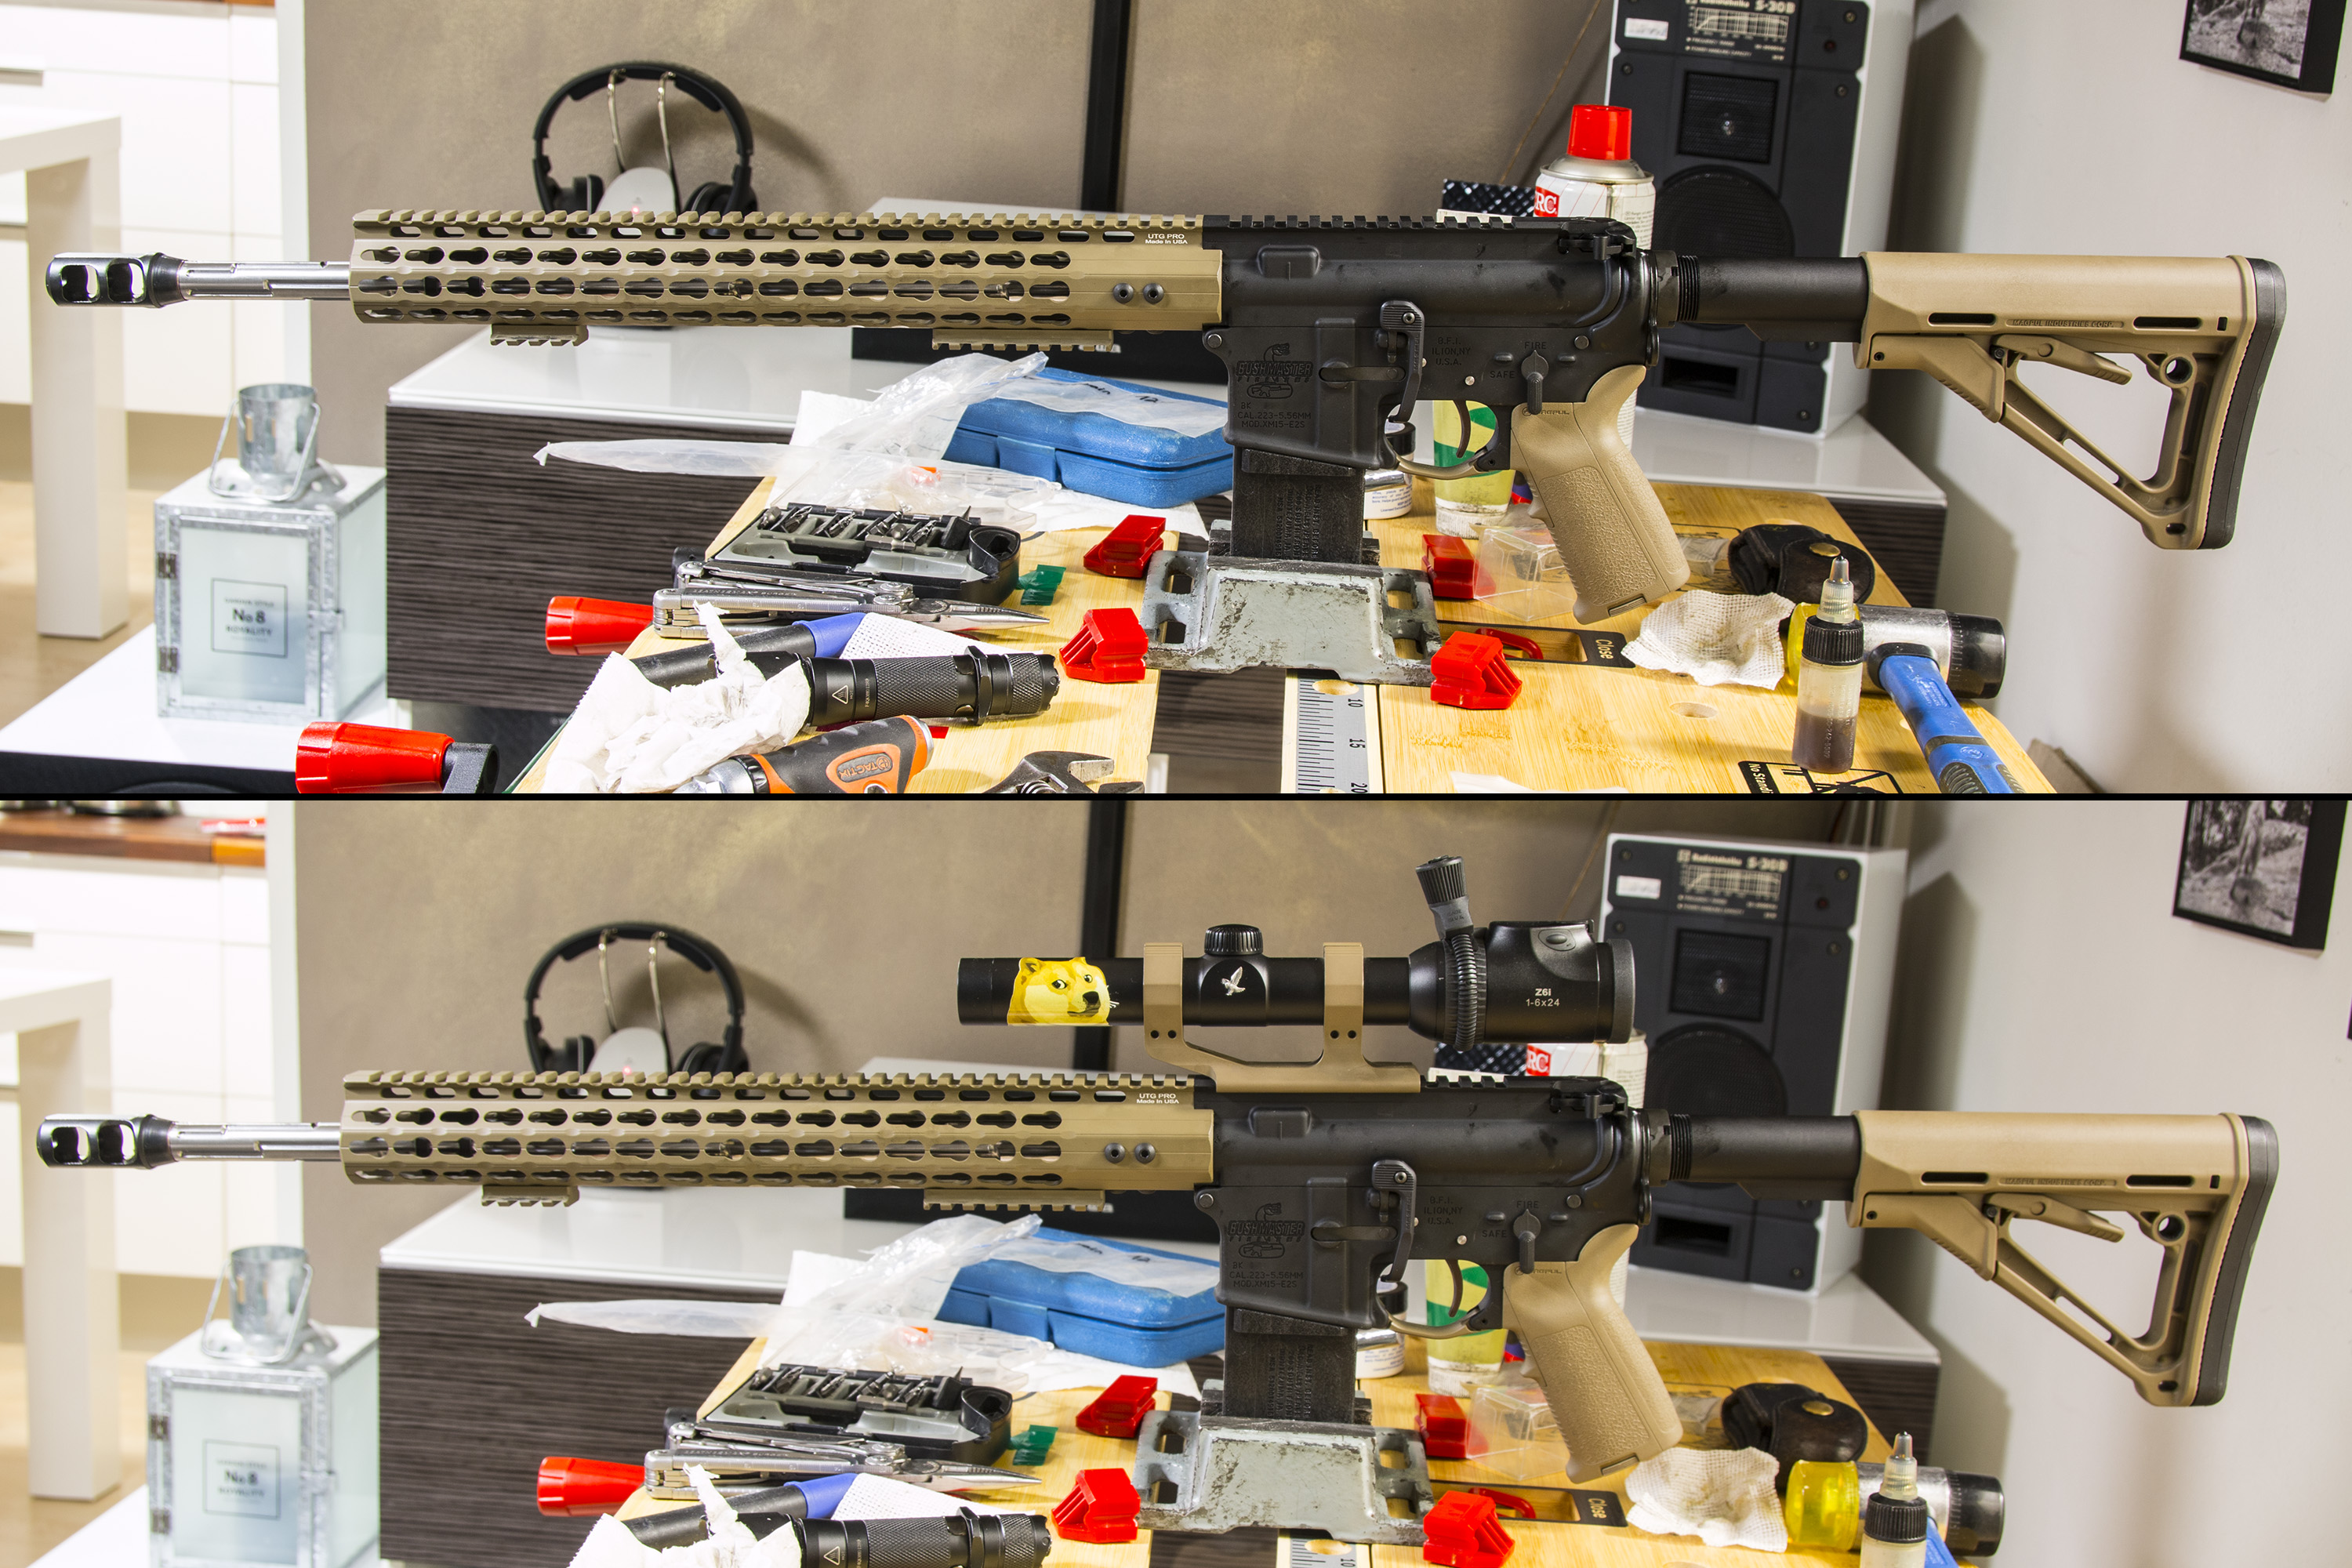
Next items were the Rainier Arms upper receiver without forward assist and the machined Bolt Carrier.

There were some delays on the machining of the barrel and acquiring the lower receiver so in the mean time I upgraded my Standard rifle to Open (including adjustable gas, stock and the 182g carrier with empty carbine buffer plus new and longer “NSR” free float) to enable training before season.
Finally the lower receiver arrived and I was able to but it together.
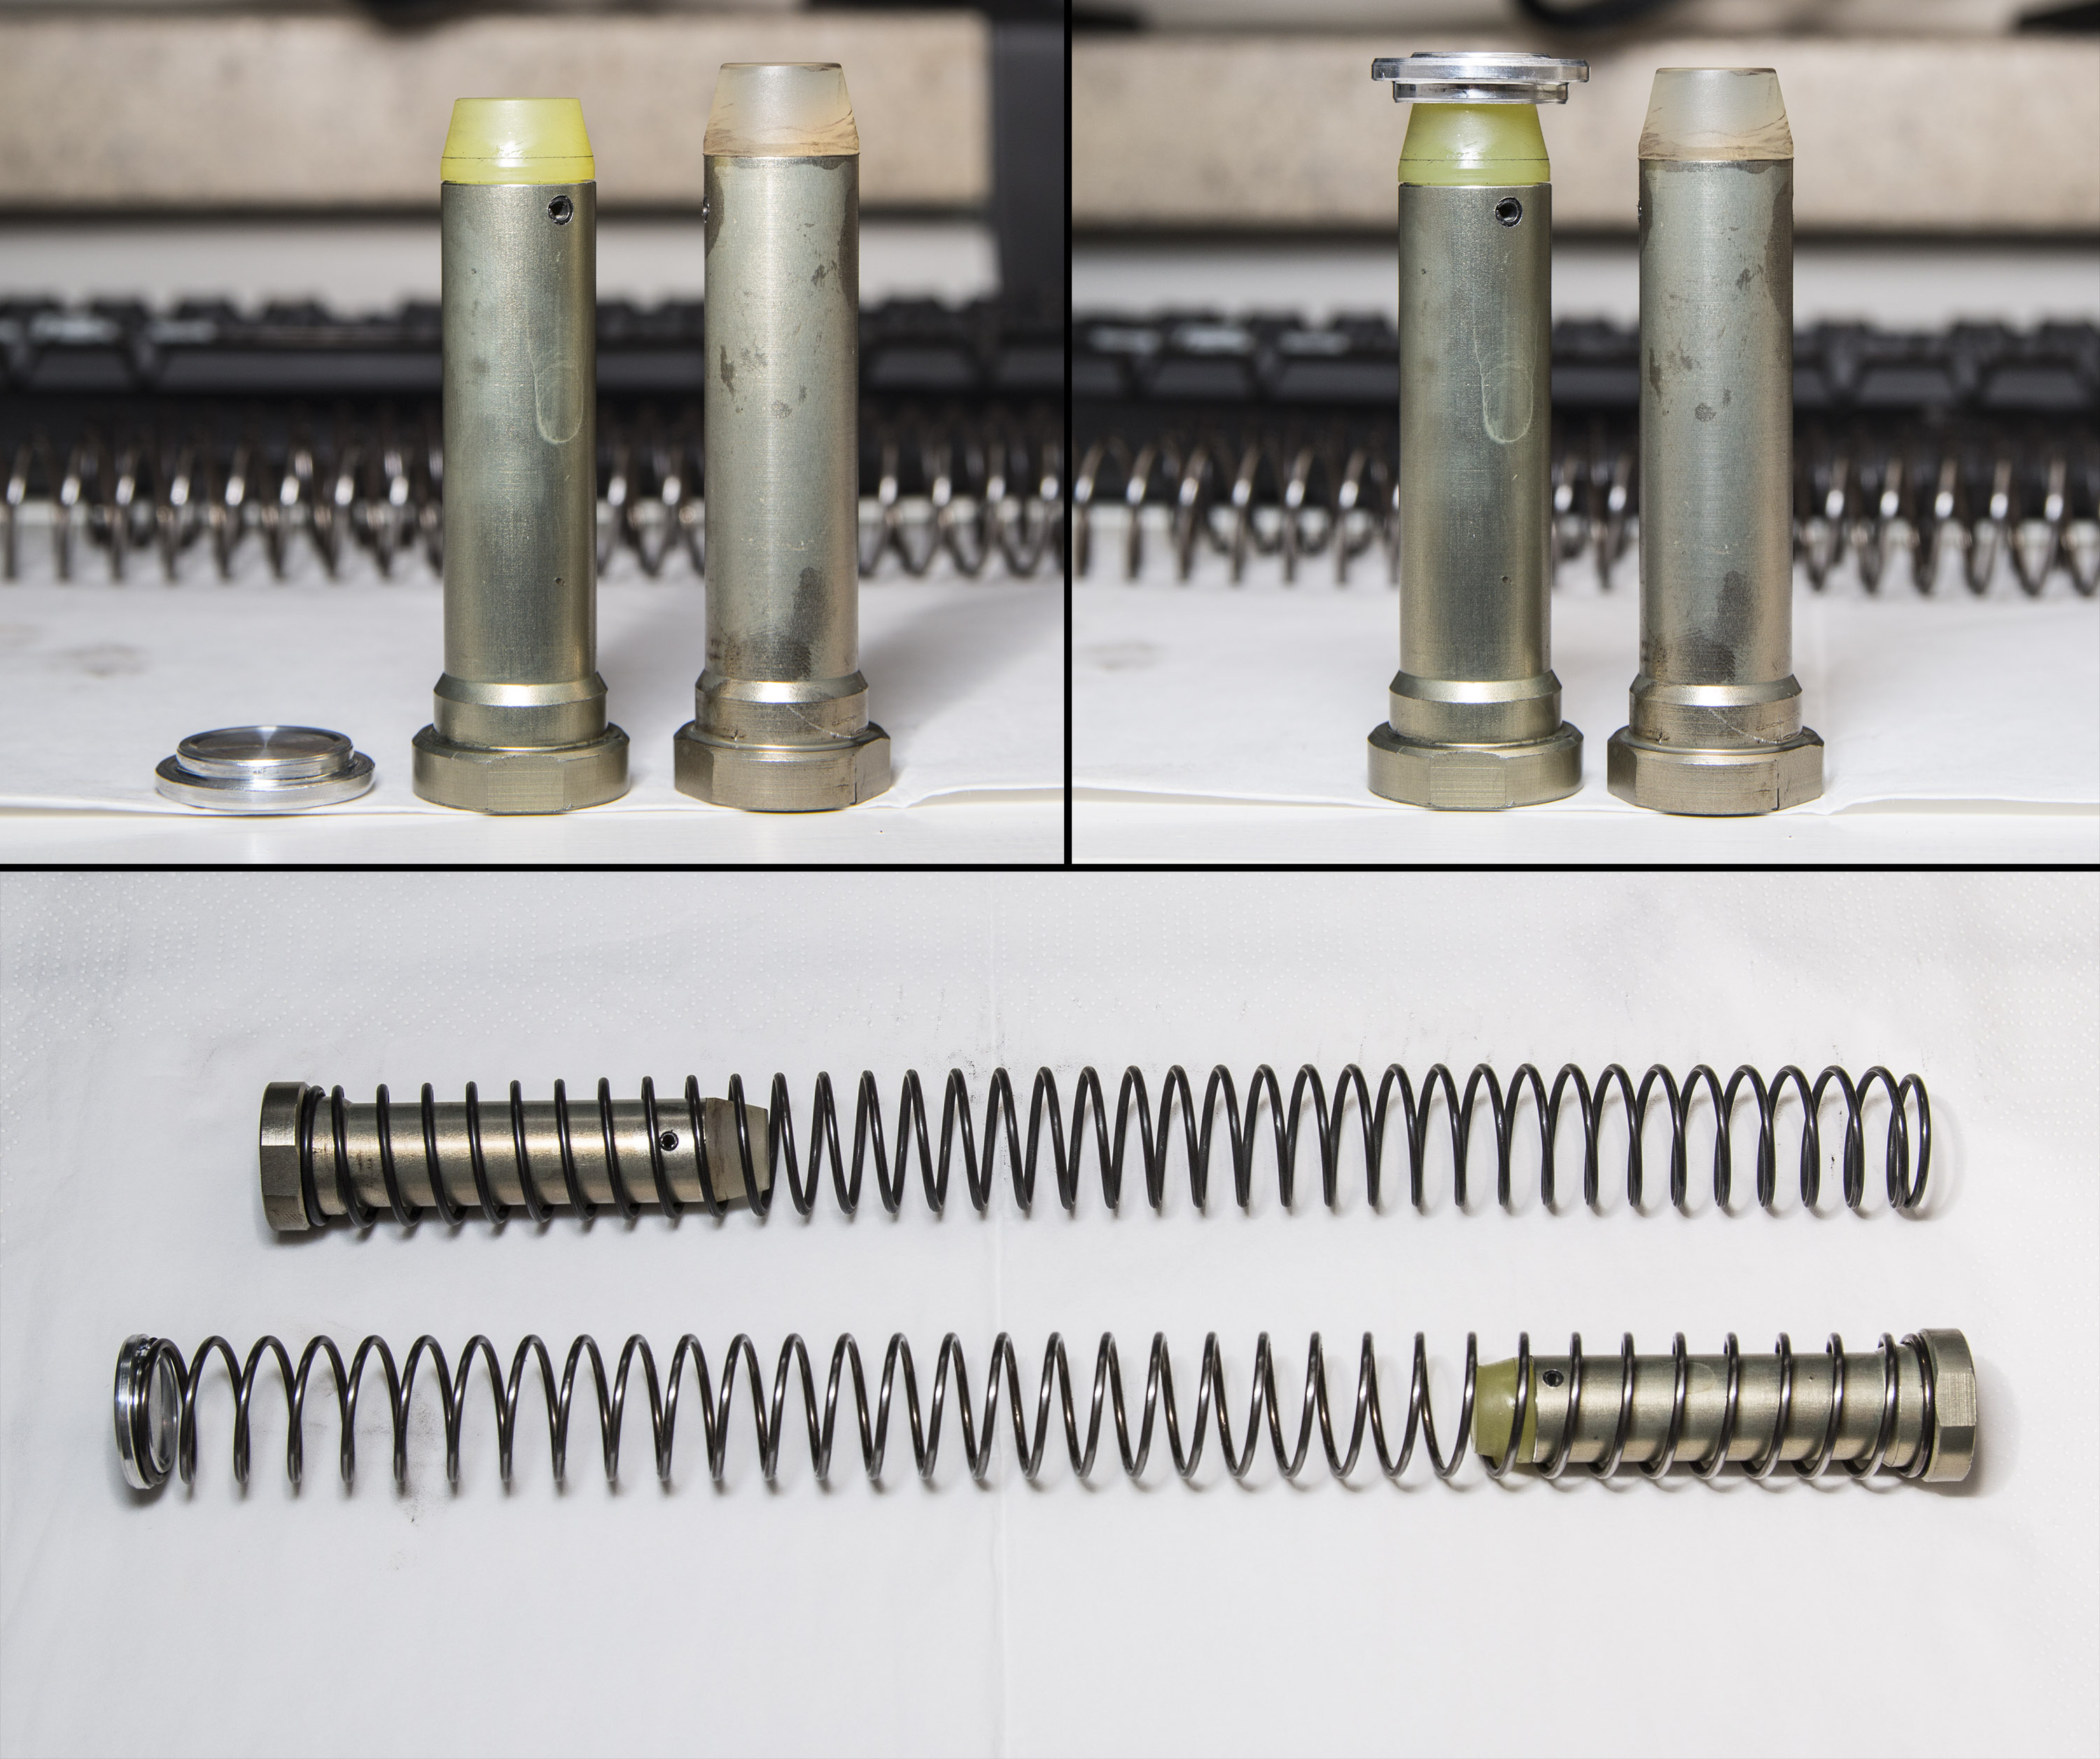
The buffer system was afterwards replaced with buffer in the bottom and a small aluminum paddle against the bolt carrier:
The barrel was to be lightened and made special, while maintaining enough integrity. After going through several different ideas, we landed on graduated fluting. The plan was for the longitudinal lines be 60 degrees apart, resulting 6 lines (360/60 = 6, RIGHT? ). Everything seemed fine on computer screen, but in the mill, using marker as bit, we drew 5 lines and then there was 90 degrees gap left for the sixth, resulting in a quite large WTF-moment.
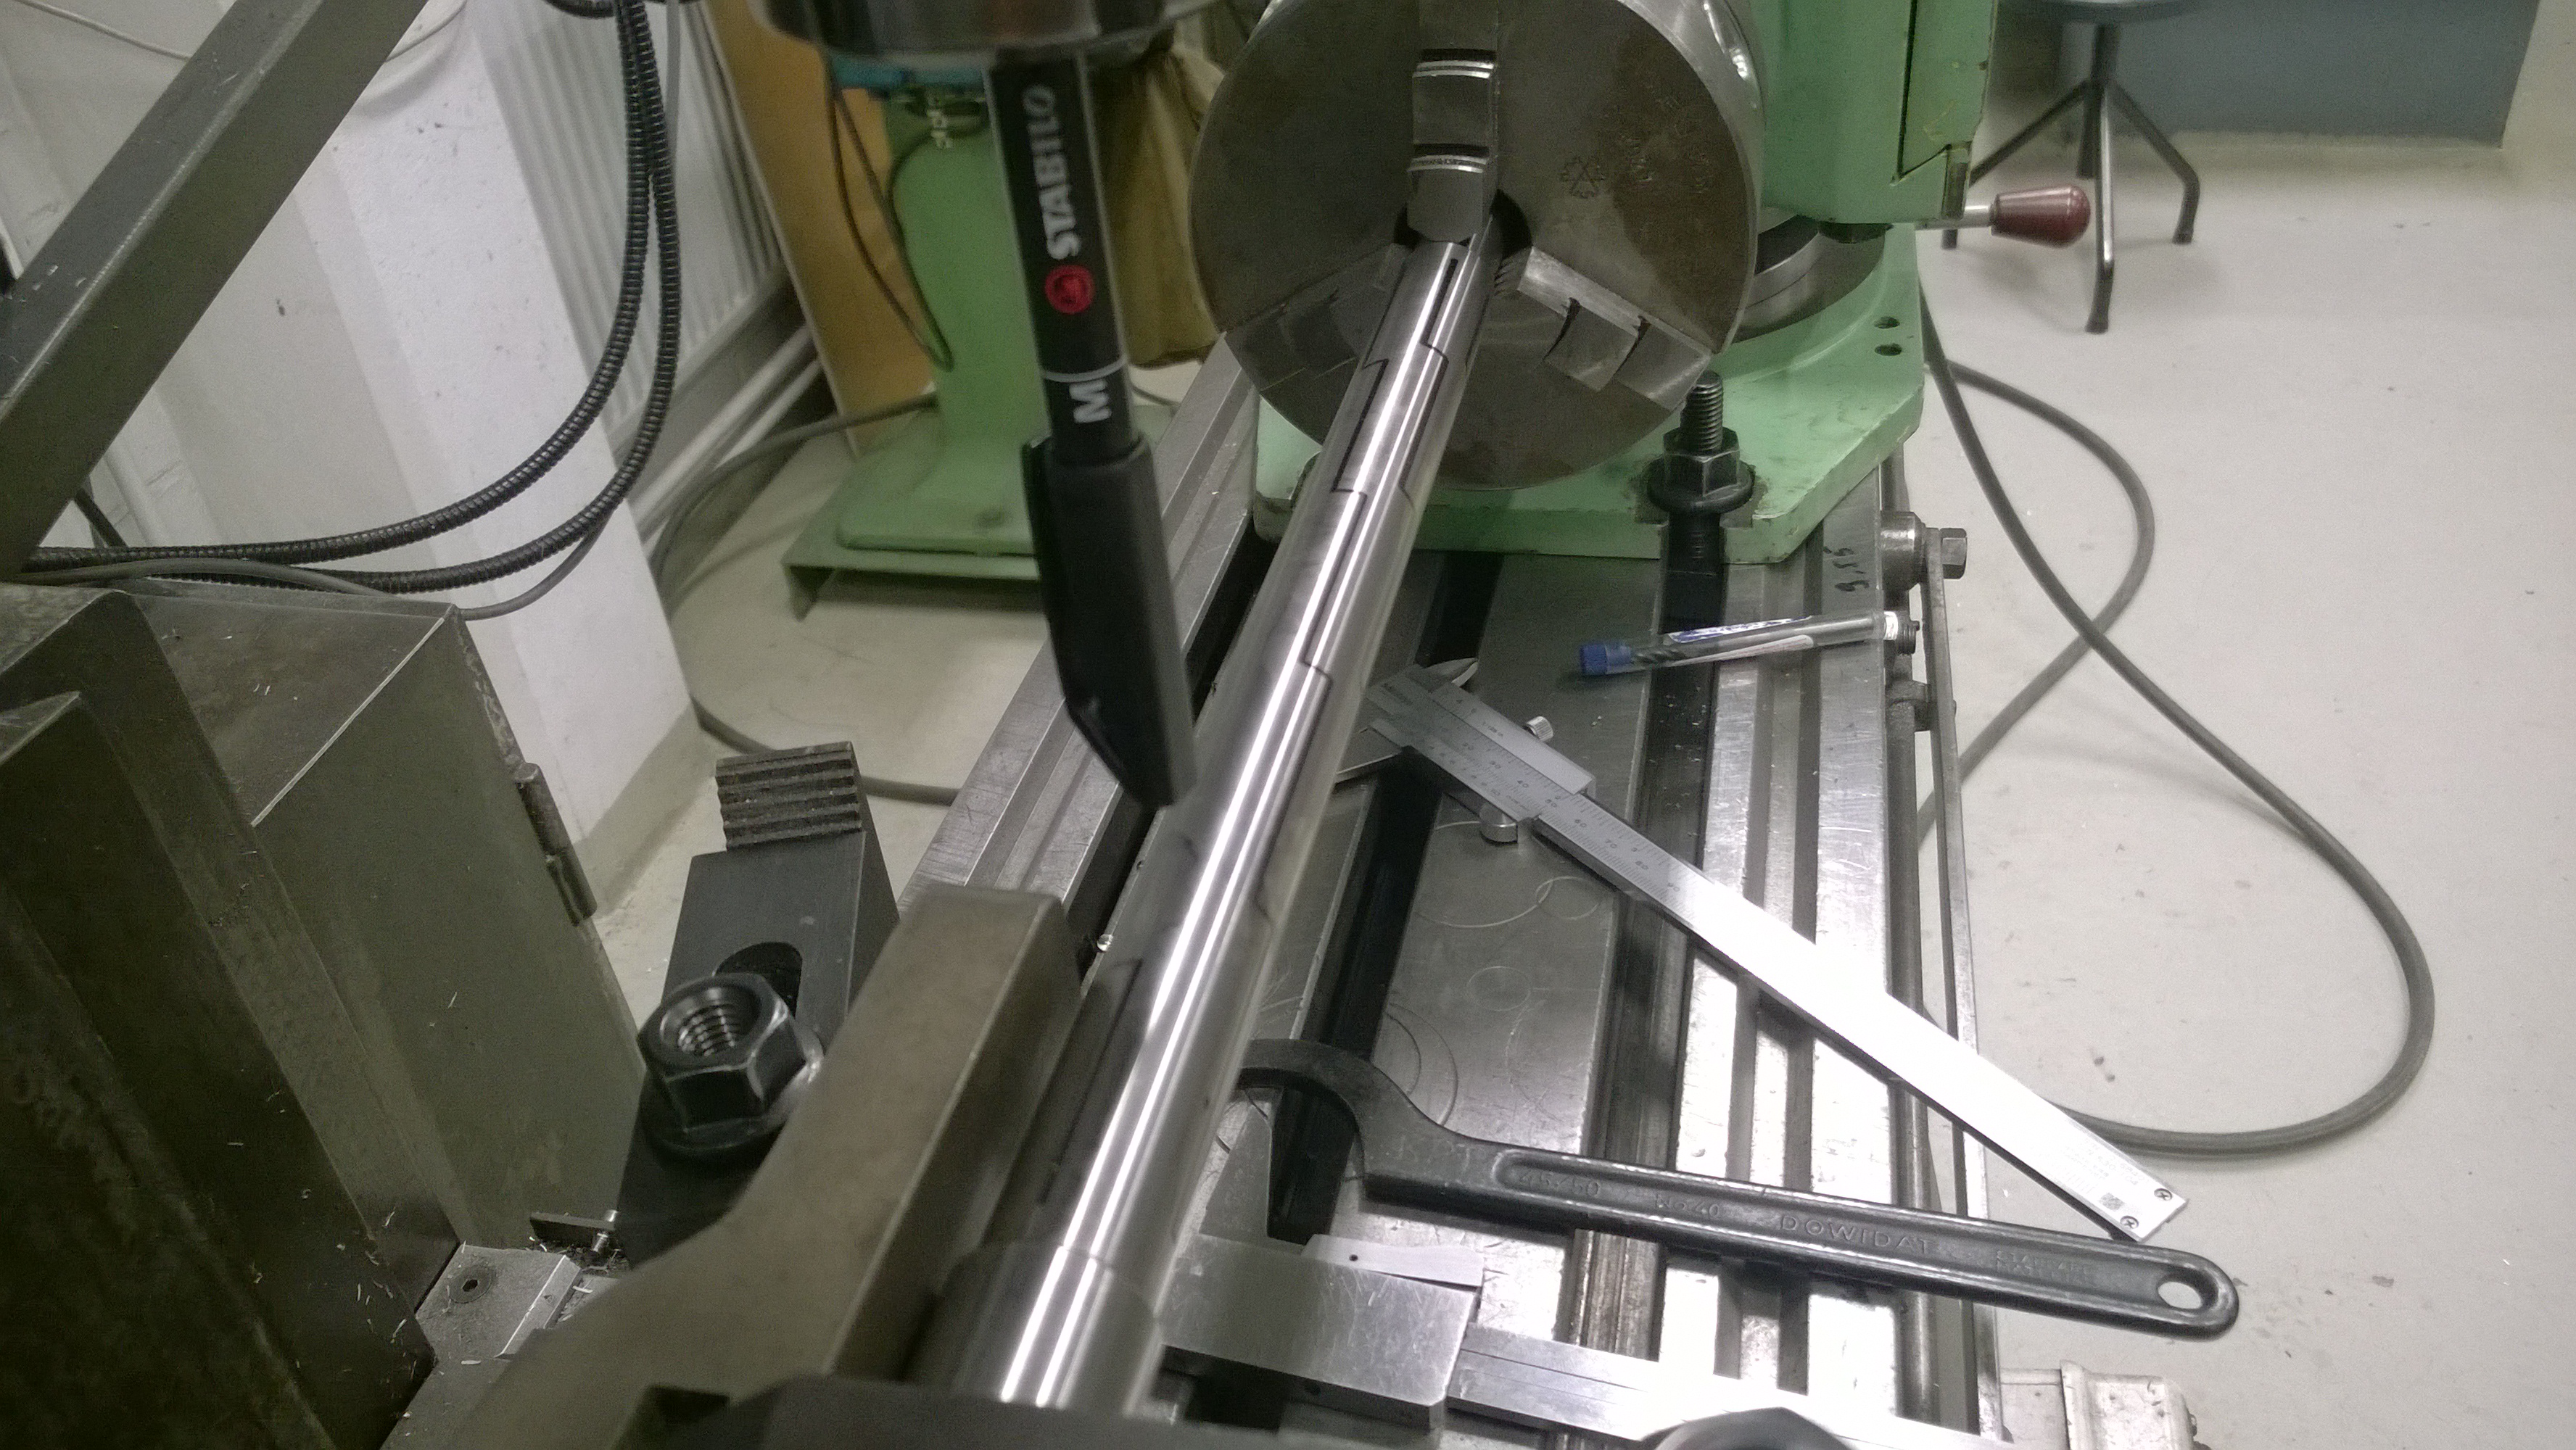
The solution required quite excessive planning with CAD (Cardboard Assisted Design) and the result was, that there is actually only 5 lines to begin with, as they will begin to revolve and the starting angles are spaced 60, 60, 90,60,90 degrees.

Long story short, after the design problems was solved, the barrel was fluted, cut to length and threaded, also the gas block area was reduced to SLR Block dimensions. The result was quite beautiful:

The SLR clamp model is not the best block for the slimmest installations and some modifications were required while installing the free float, mainly filing the gas block bottom and detention bolt heads.
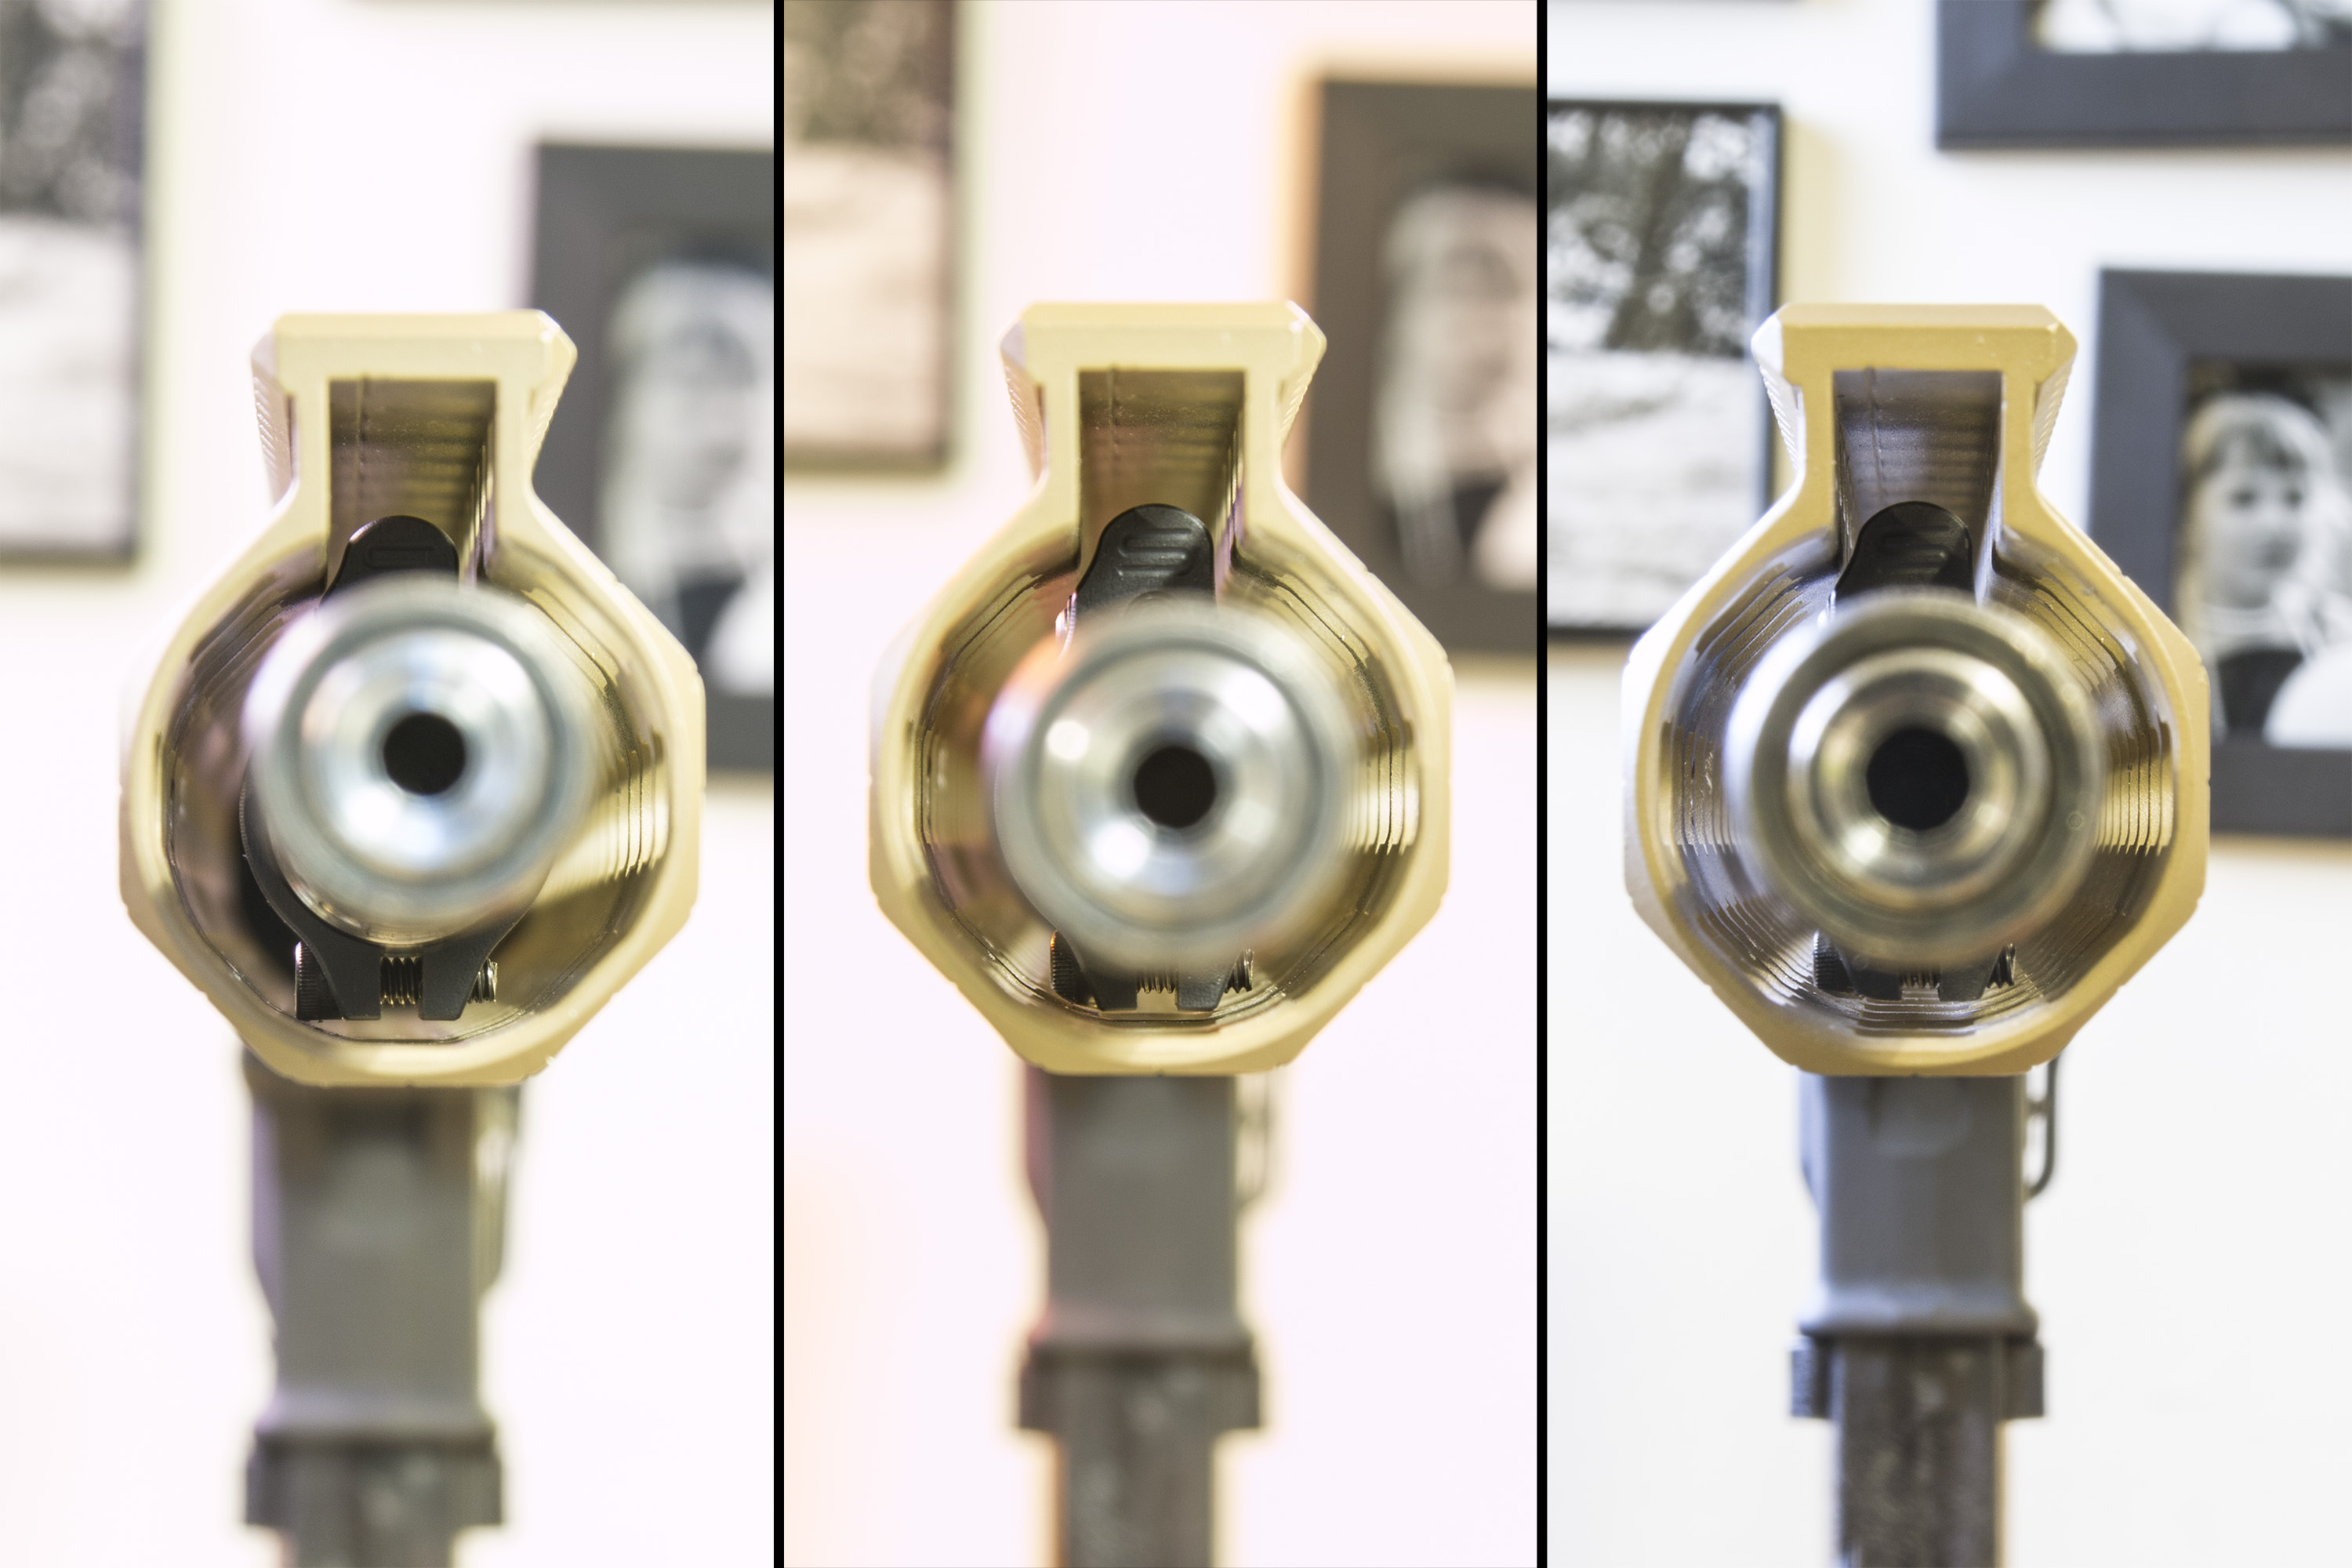
Compensator is a Nord Arms Standard division compensator which was very heavy and thus shortened and lightened.

Of course the were immediately something to fix.. The front rail for bipod was too far rear, but could not be installed a little further due to the tight fit between gas block and free float. Luckily I had a chinese made keymod rail with three mounting holes and if the center one is not used, the ones in the ends with on each side of the gas block. Unfortunately the mounting parts were too high, so that the rail couldn’t be tightened properly, but nothing that a file wouldn’t solve.


After few failed reloads during a CoF, I decided to get a mag-well for this rifle as well. To my surprise, I found an airsoft mag-well in FDE, and it even cost a fraction of the Arredondo one 🙂 (also it appears to hold)

Where did you get the free float? It seems a serious contender for the Vector Optics float.
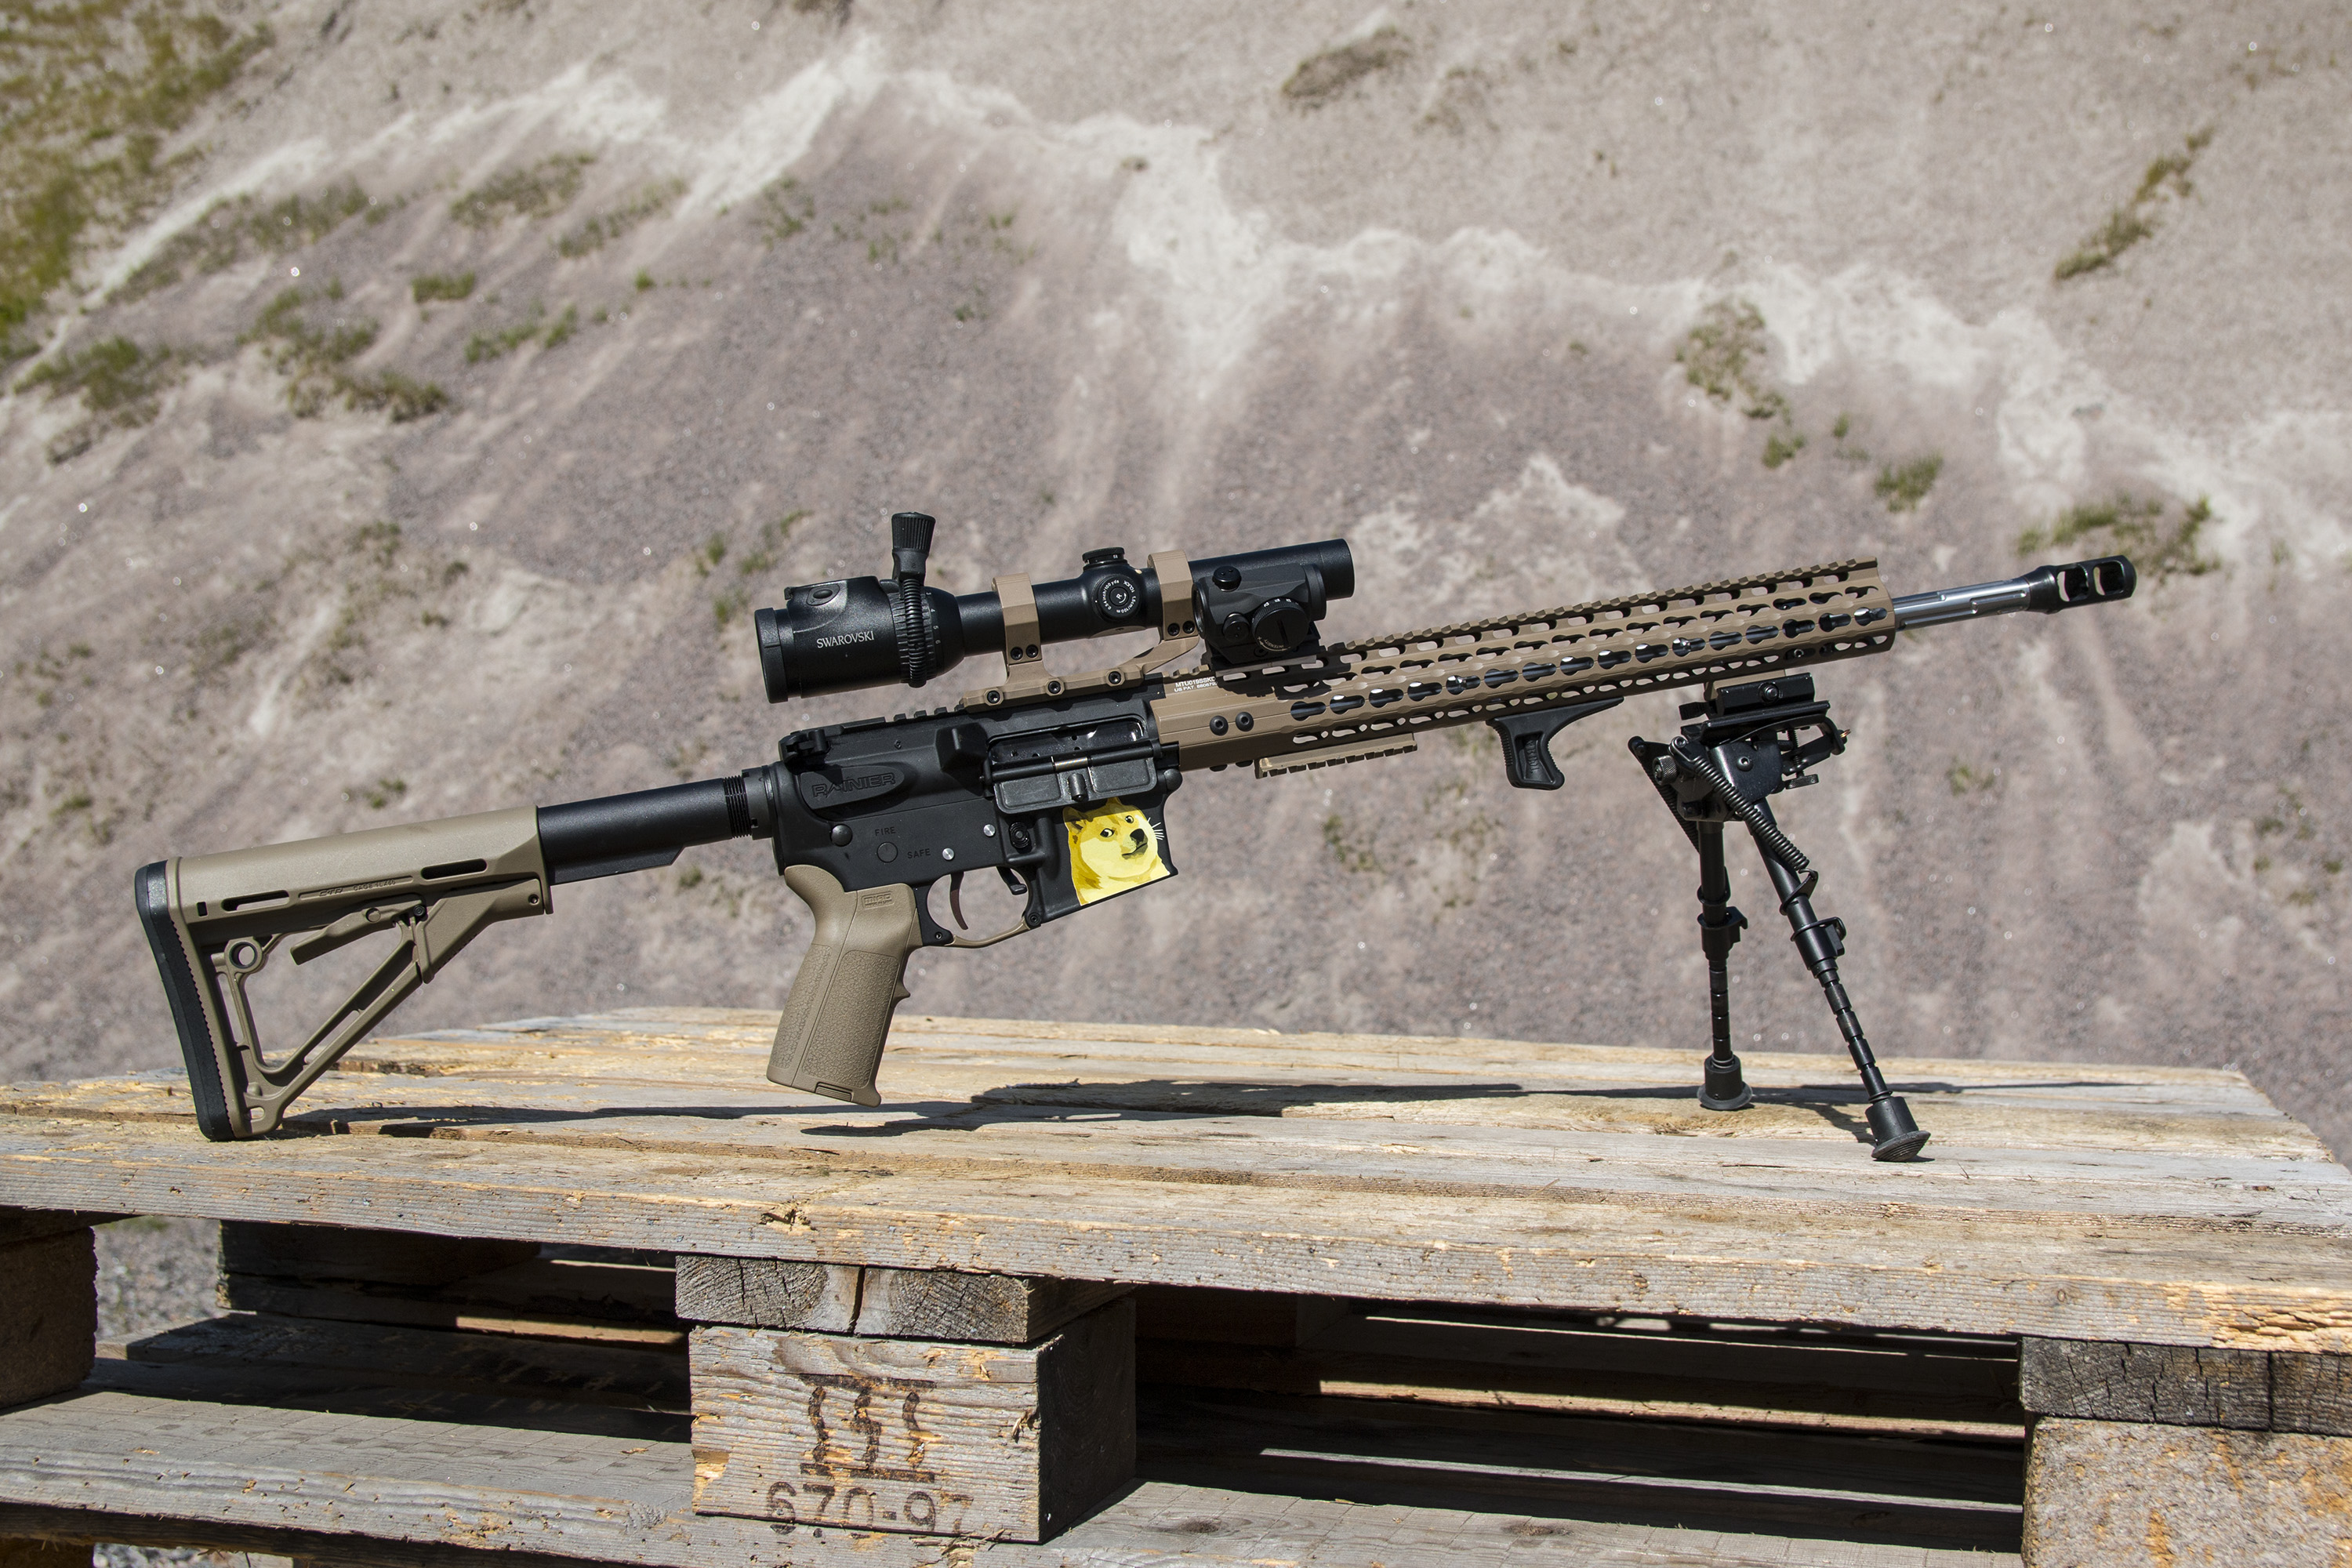
The float is a Leapers UTG Pro Keymod. It was from ebay, where they are available from time to time, but the price is significantly higher than Vector Optics.
I also have a 15″ Chinese NSR keymod on my standard division rifle and there is also a post about that: http://special.squad.fi/chinese-nsr-free-float/